Verifying the Deployment of On-premises Clusters
To verify K8S and TIBCO Mashery Local clusters:
- Open a new terminal and start the k8s proxy for the k8s dashboard by executing the command:
kubectl proxy
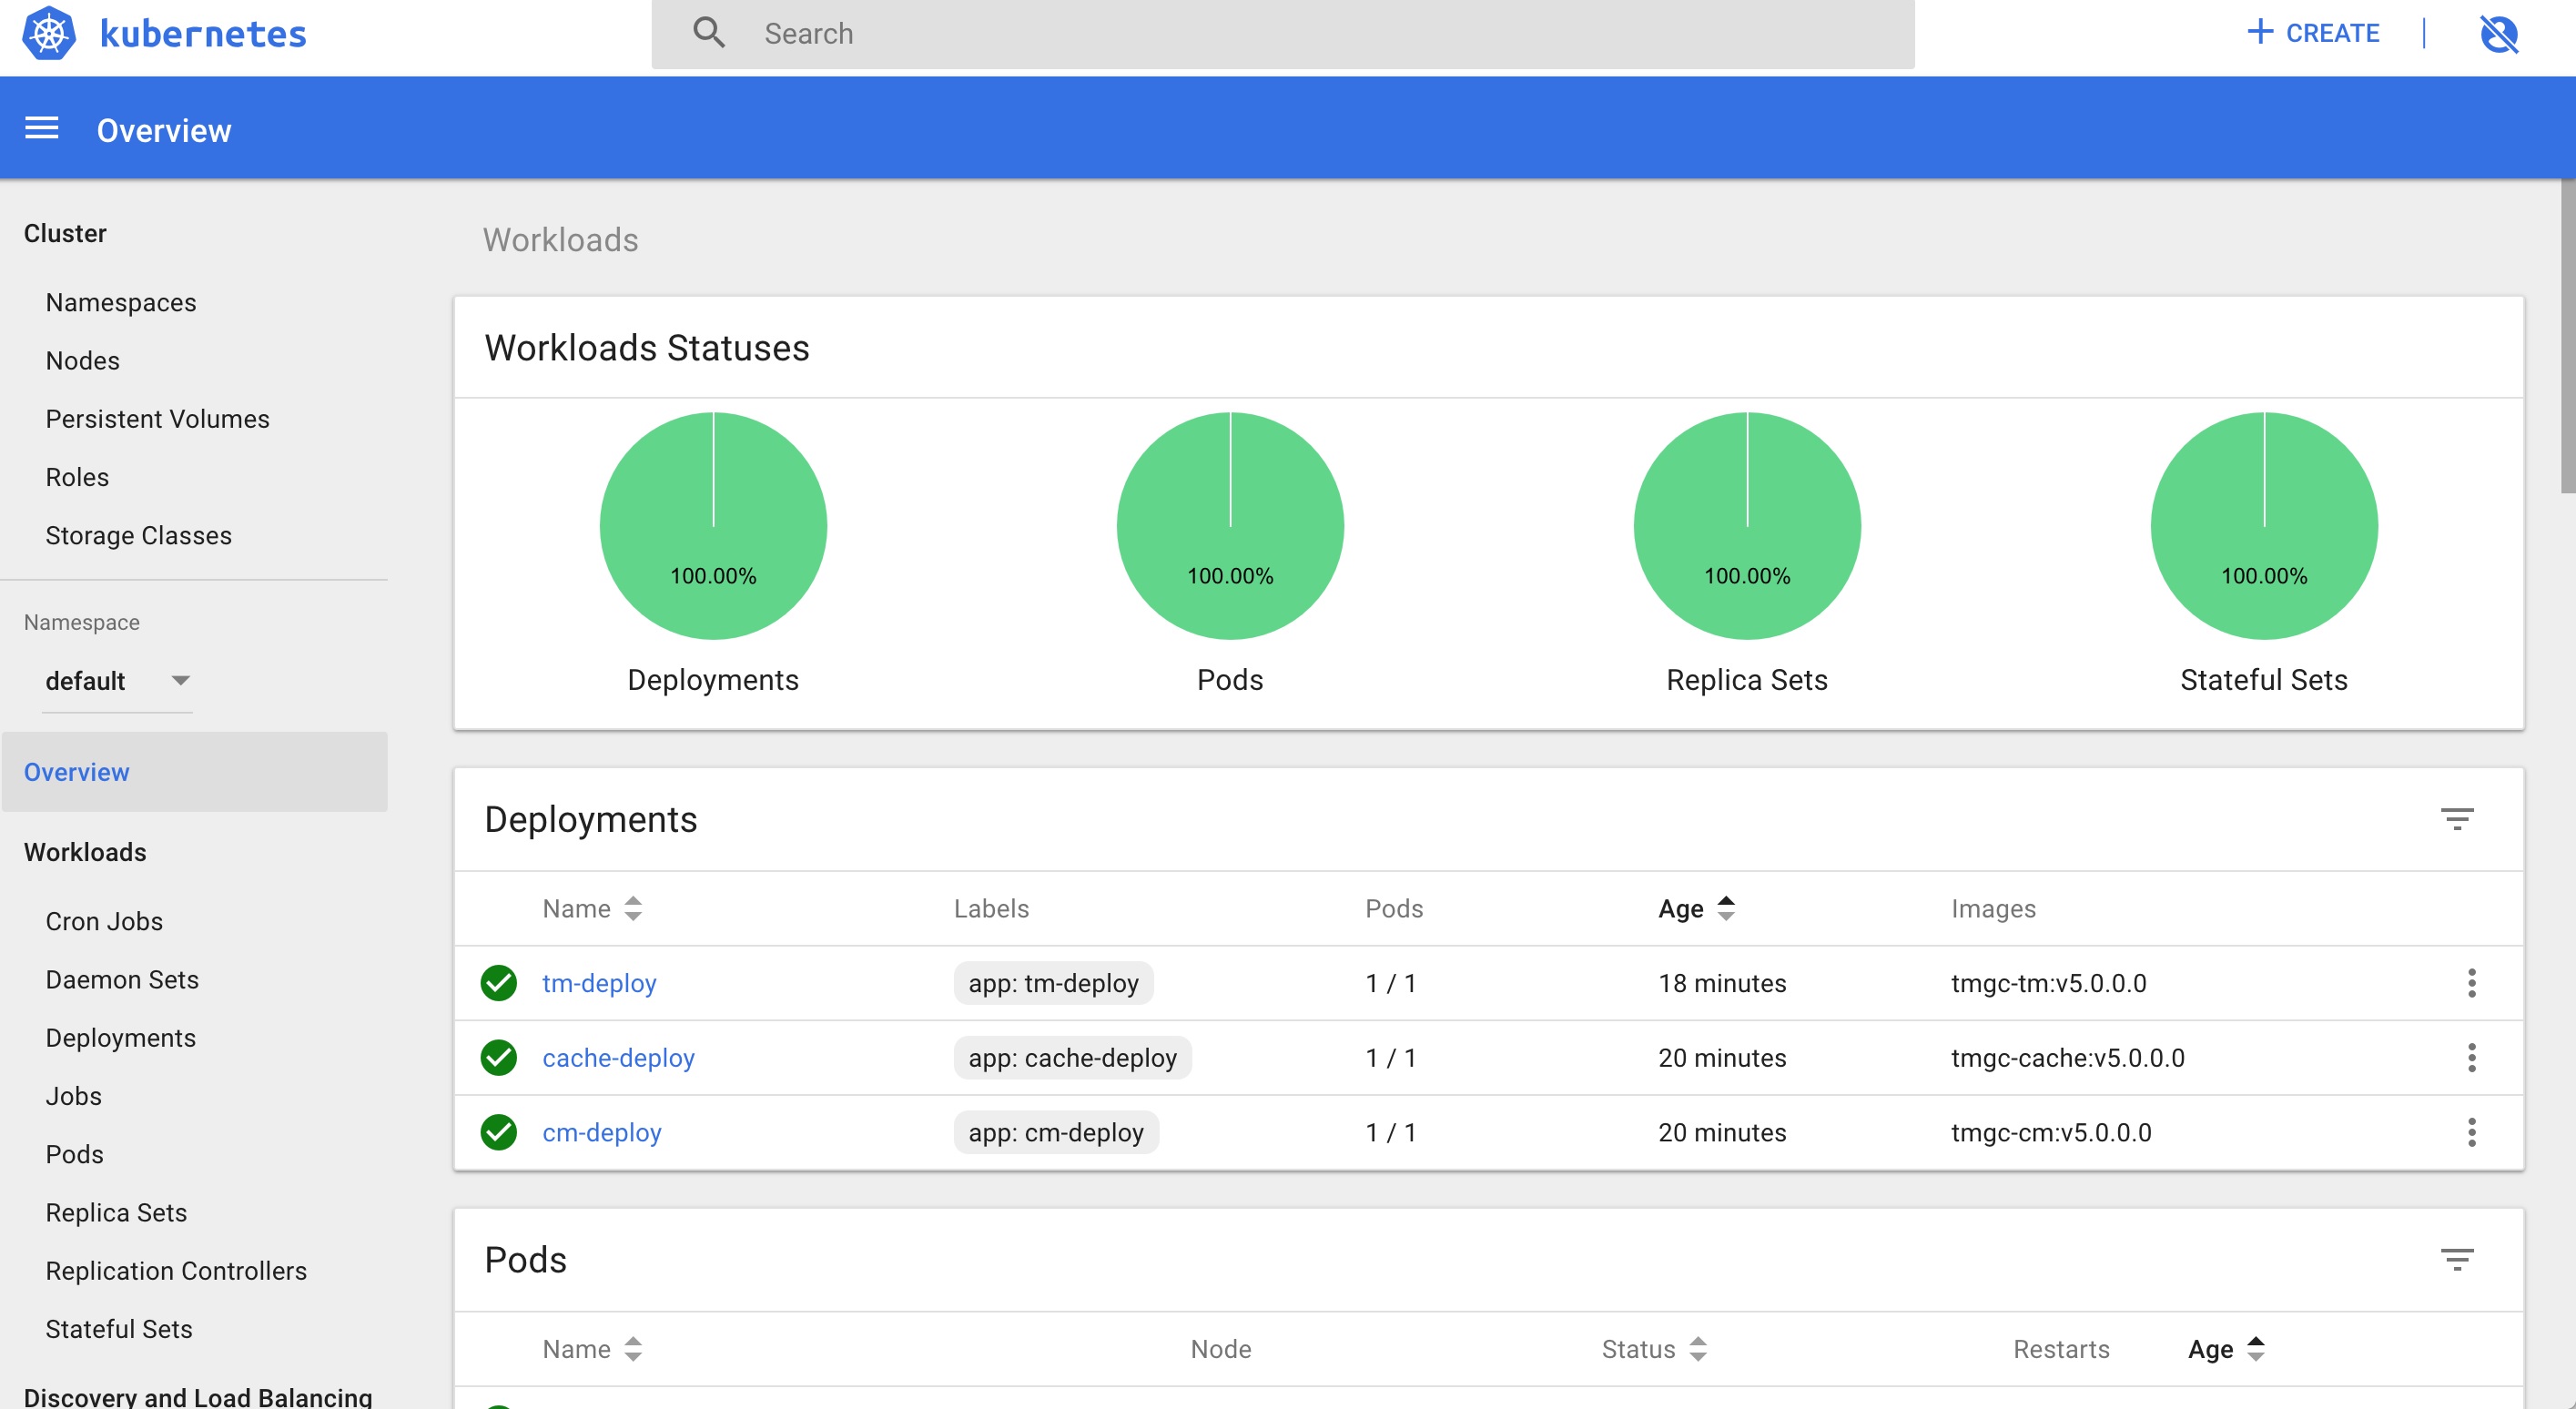
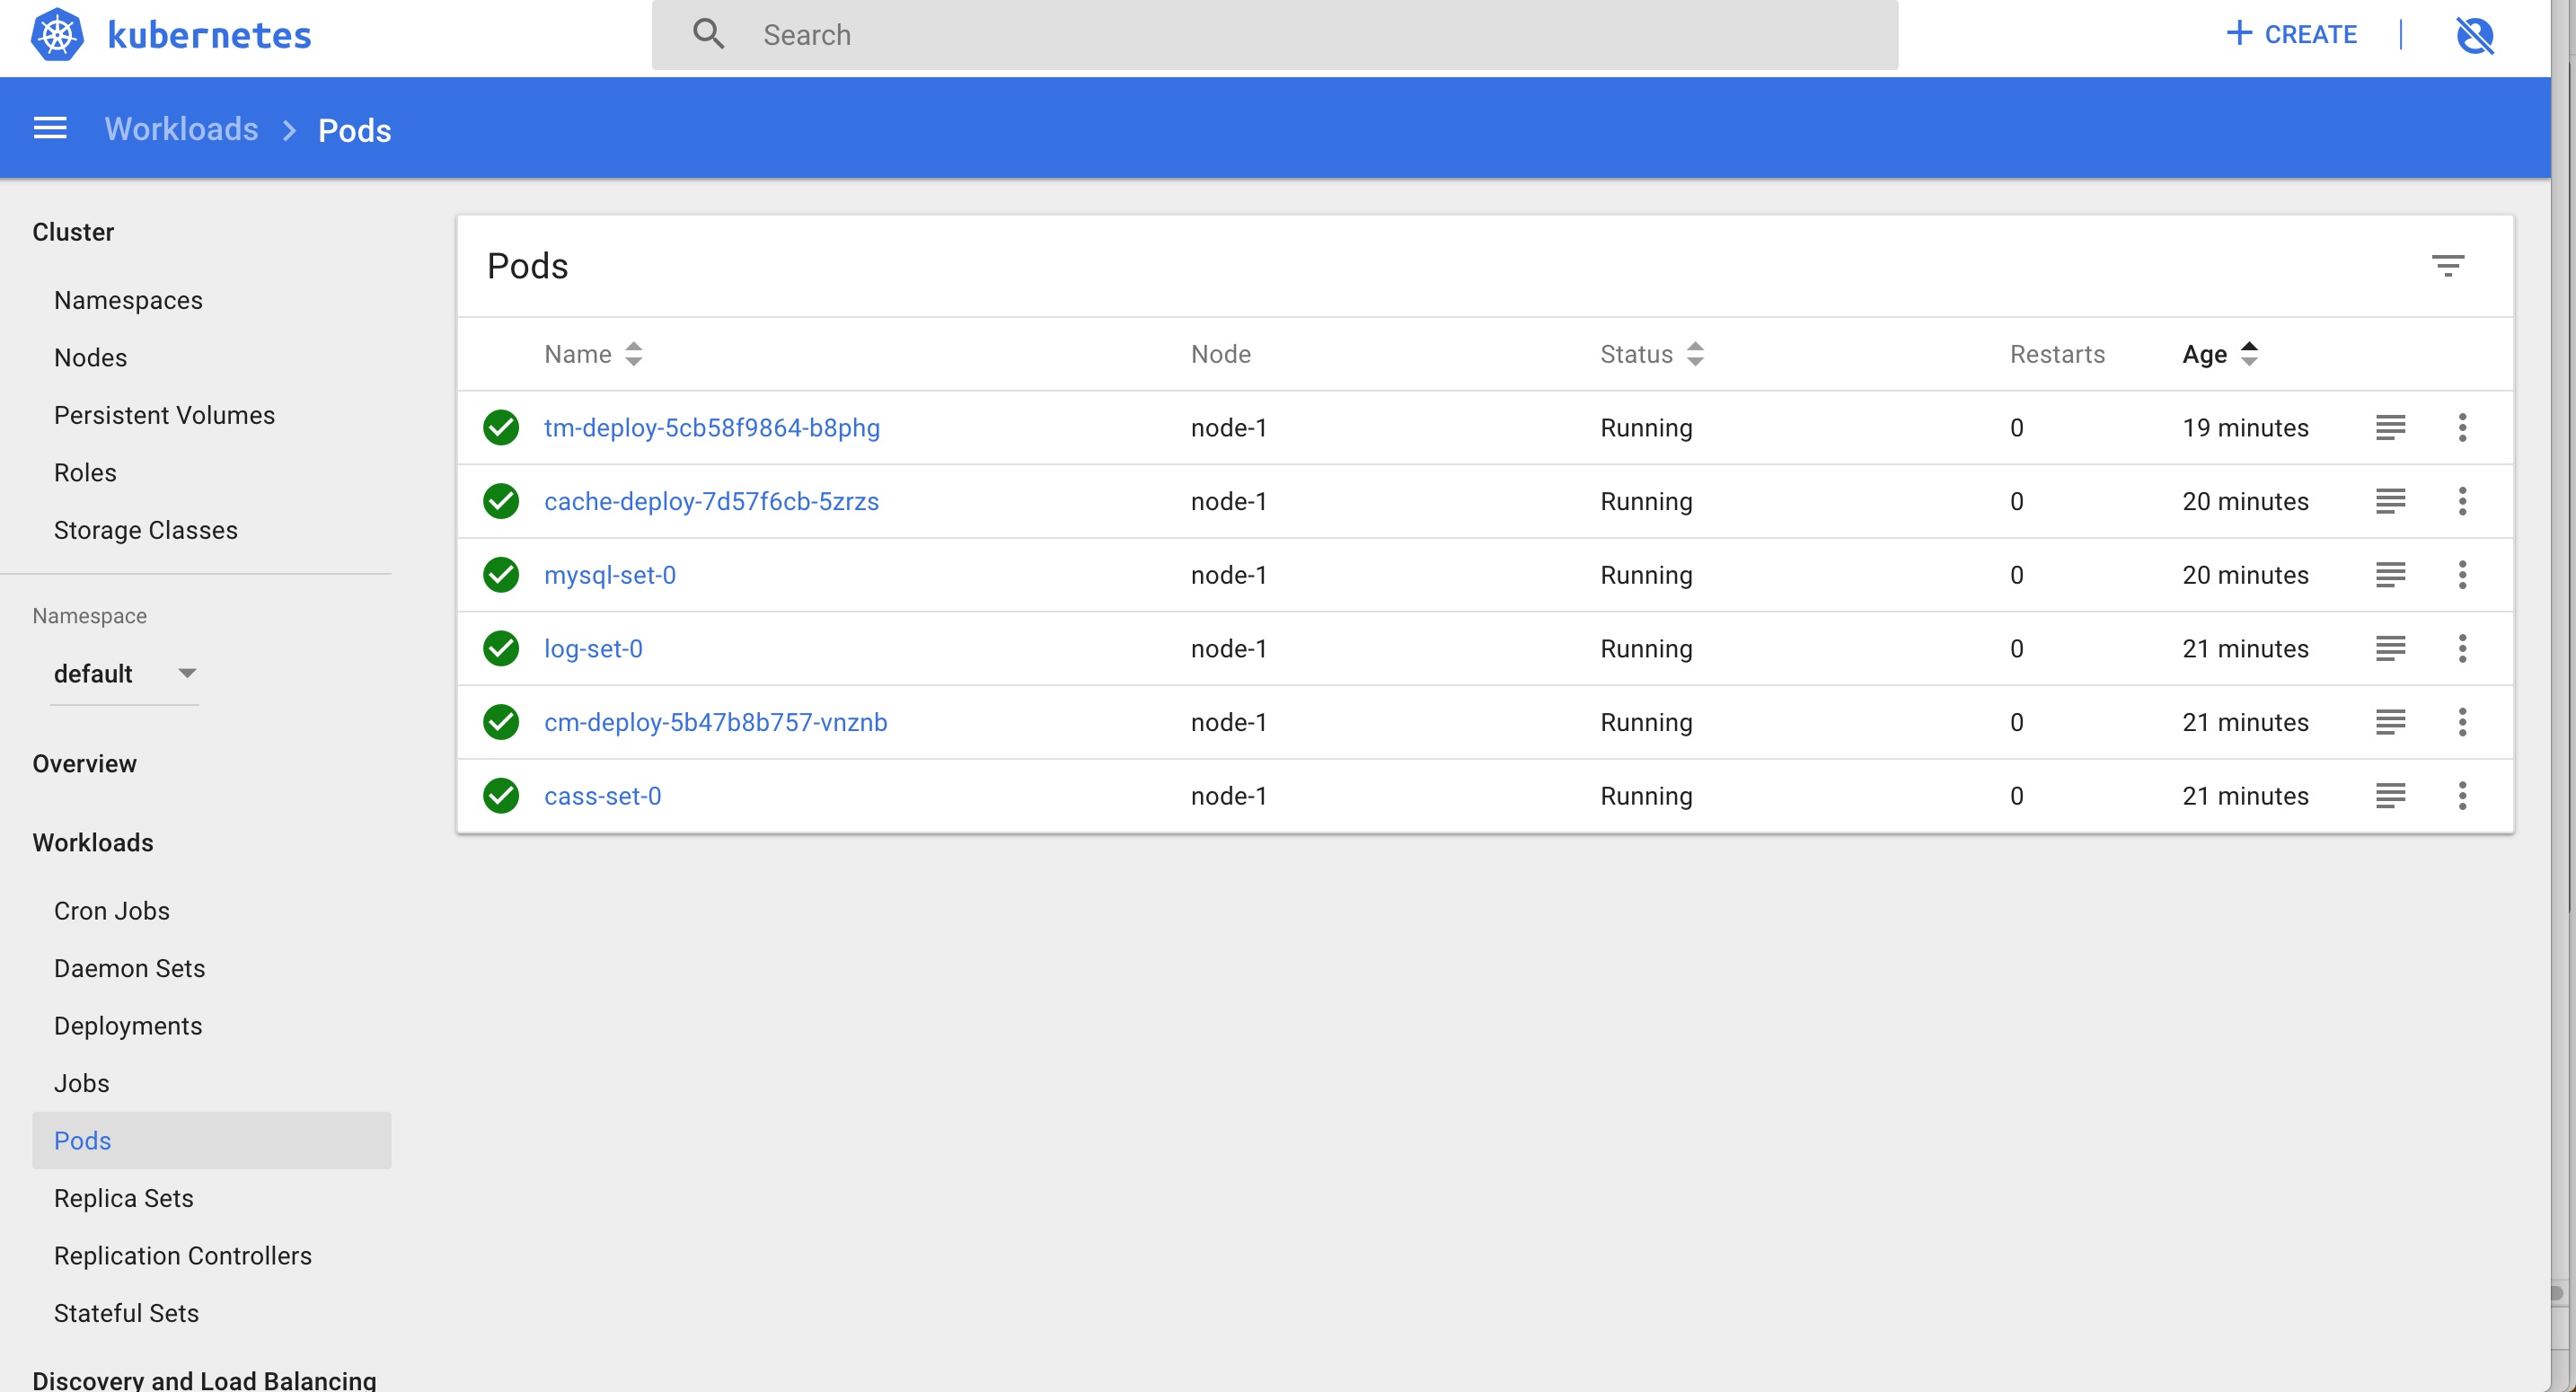
You can access the dashboard by accessing the following URL. Click skip if asked for authentication: http://localhost:8001/api/v1/namespaces/kube-system/services/https:kubernetes-dashboard:/proxy/#!/login. - You can also view all the Mashery Local containers on the dashboard.
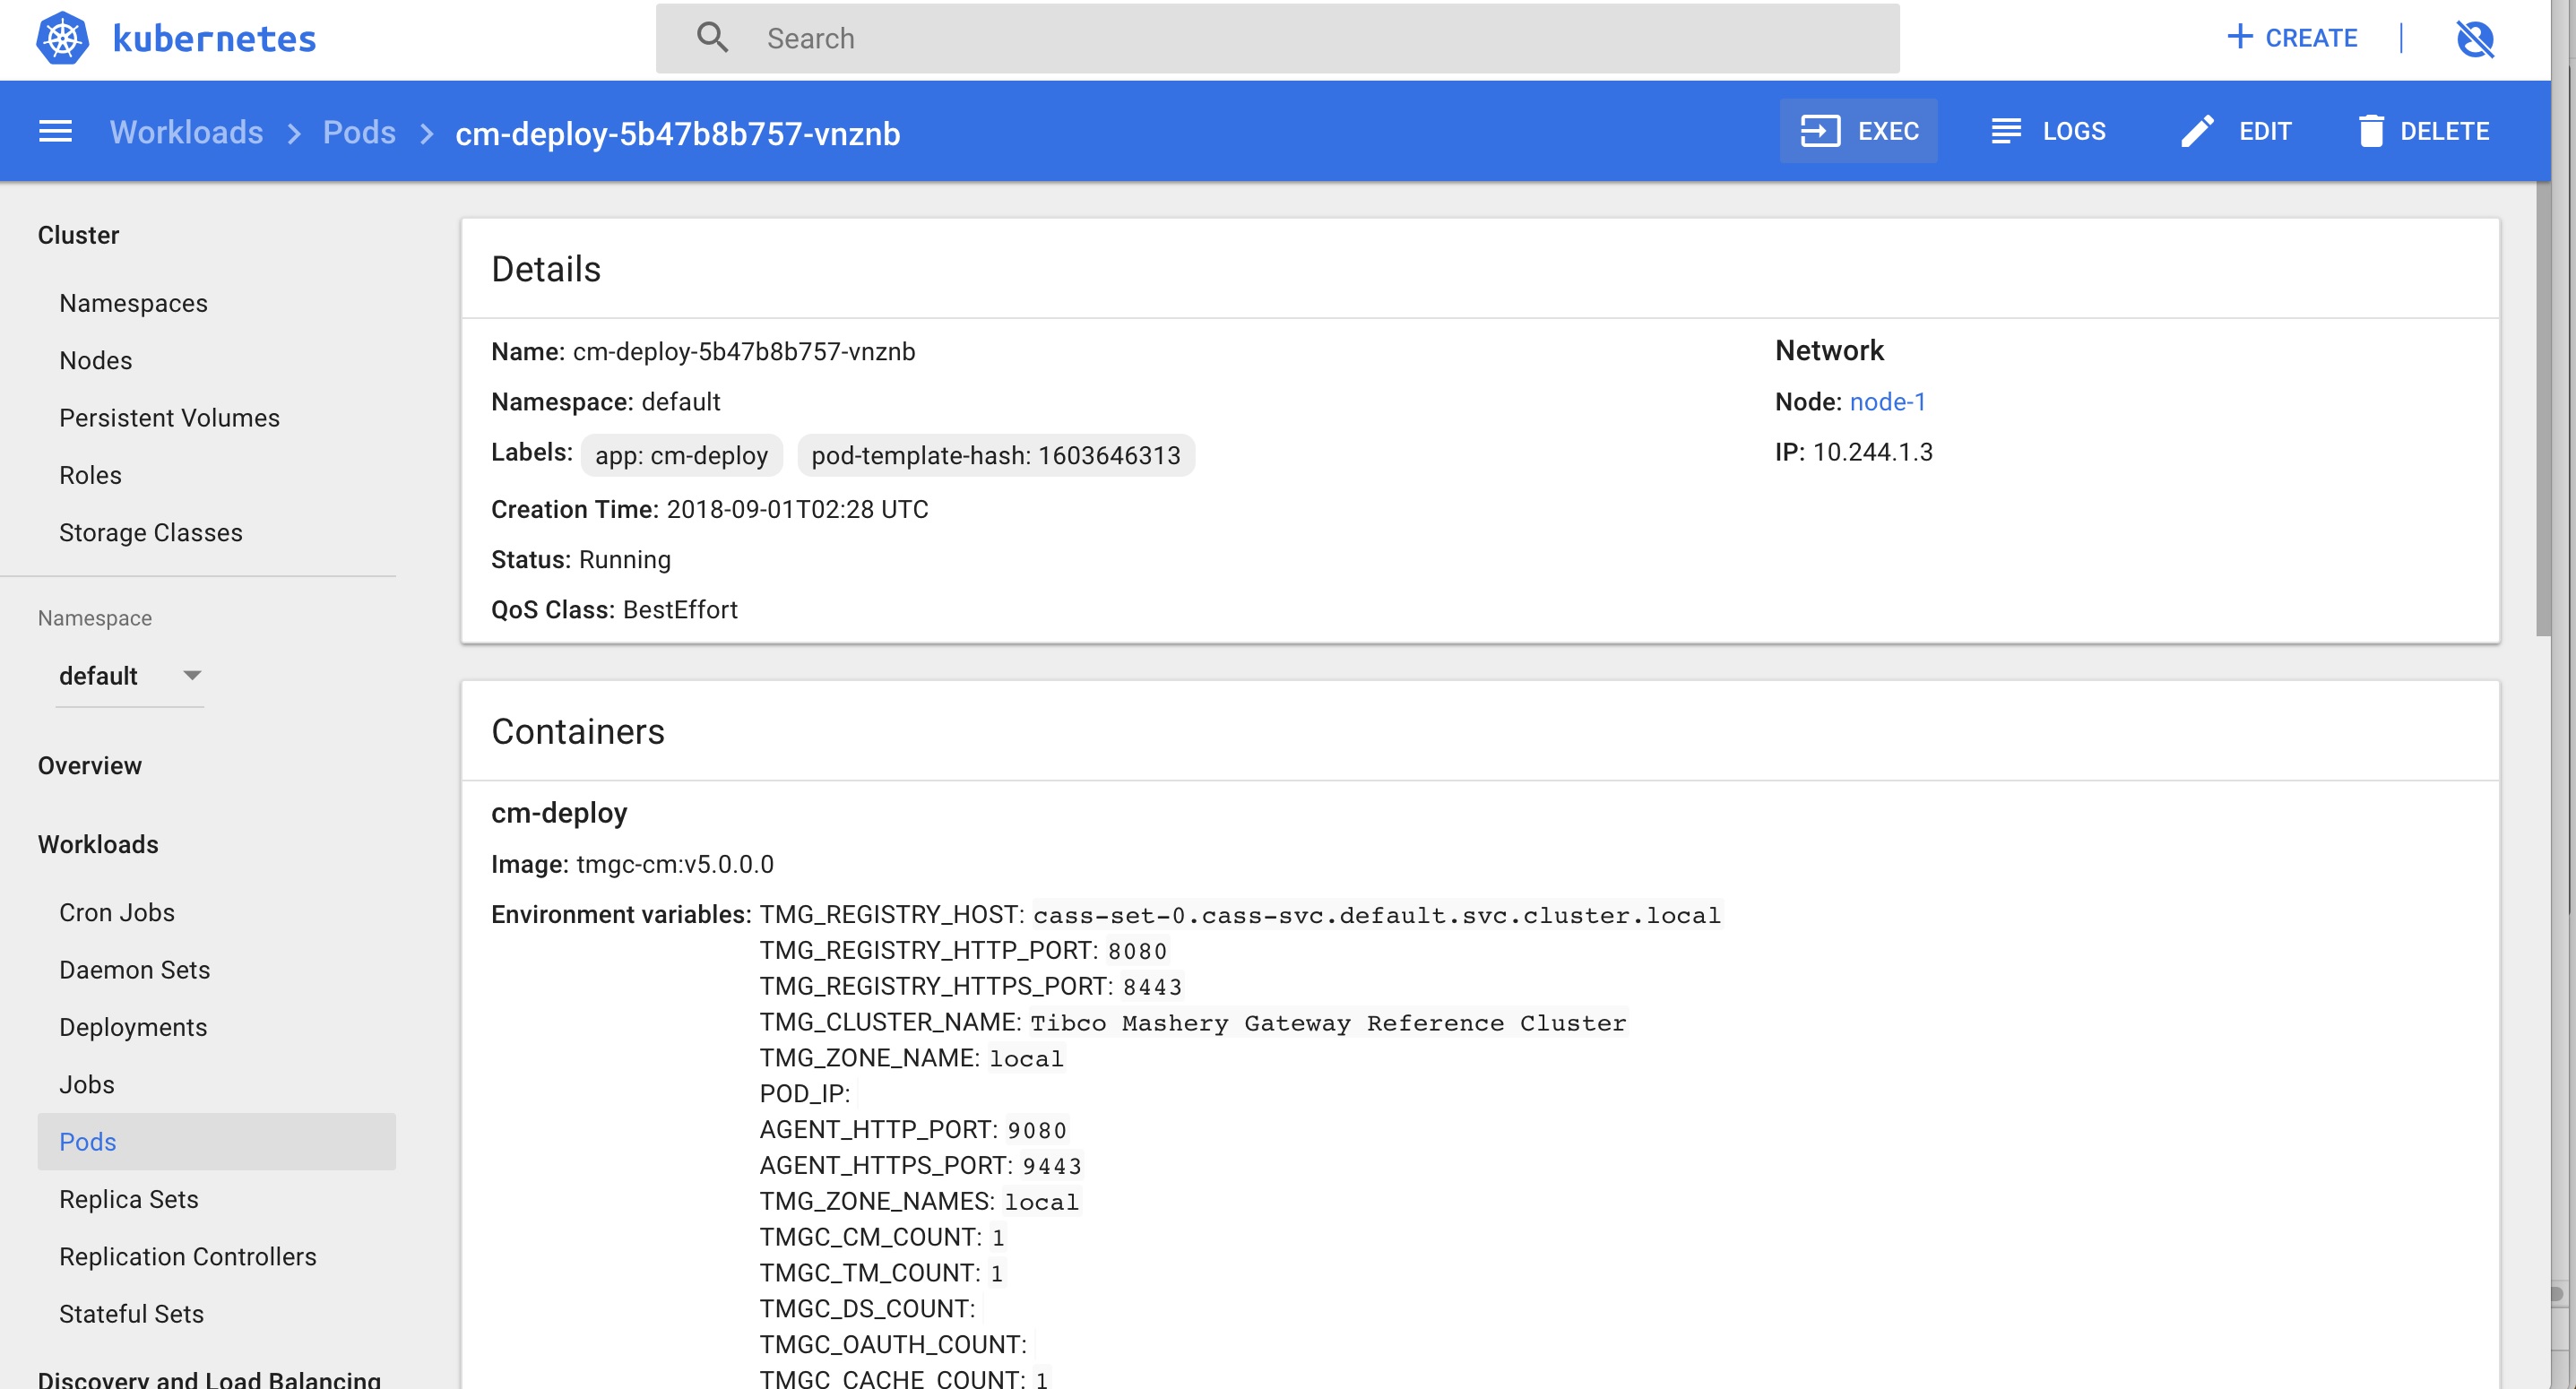
Select the Cluster Manager pod (name starts with "cm-deploy").
Click on Exec to open a Cluster Manager terminal.
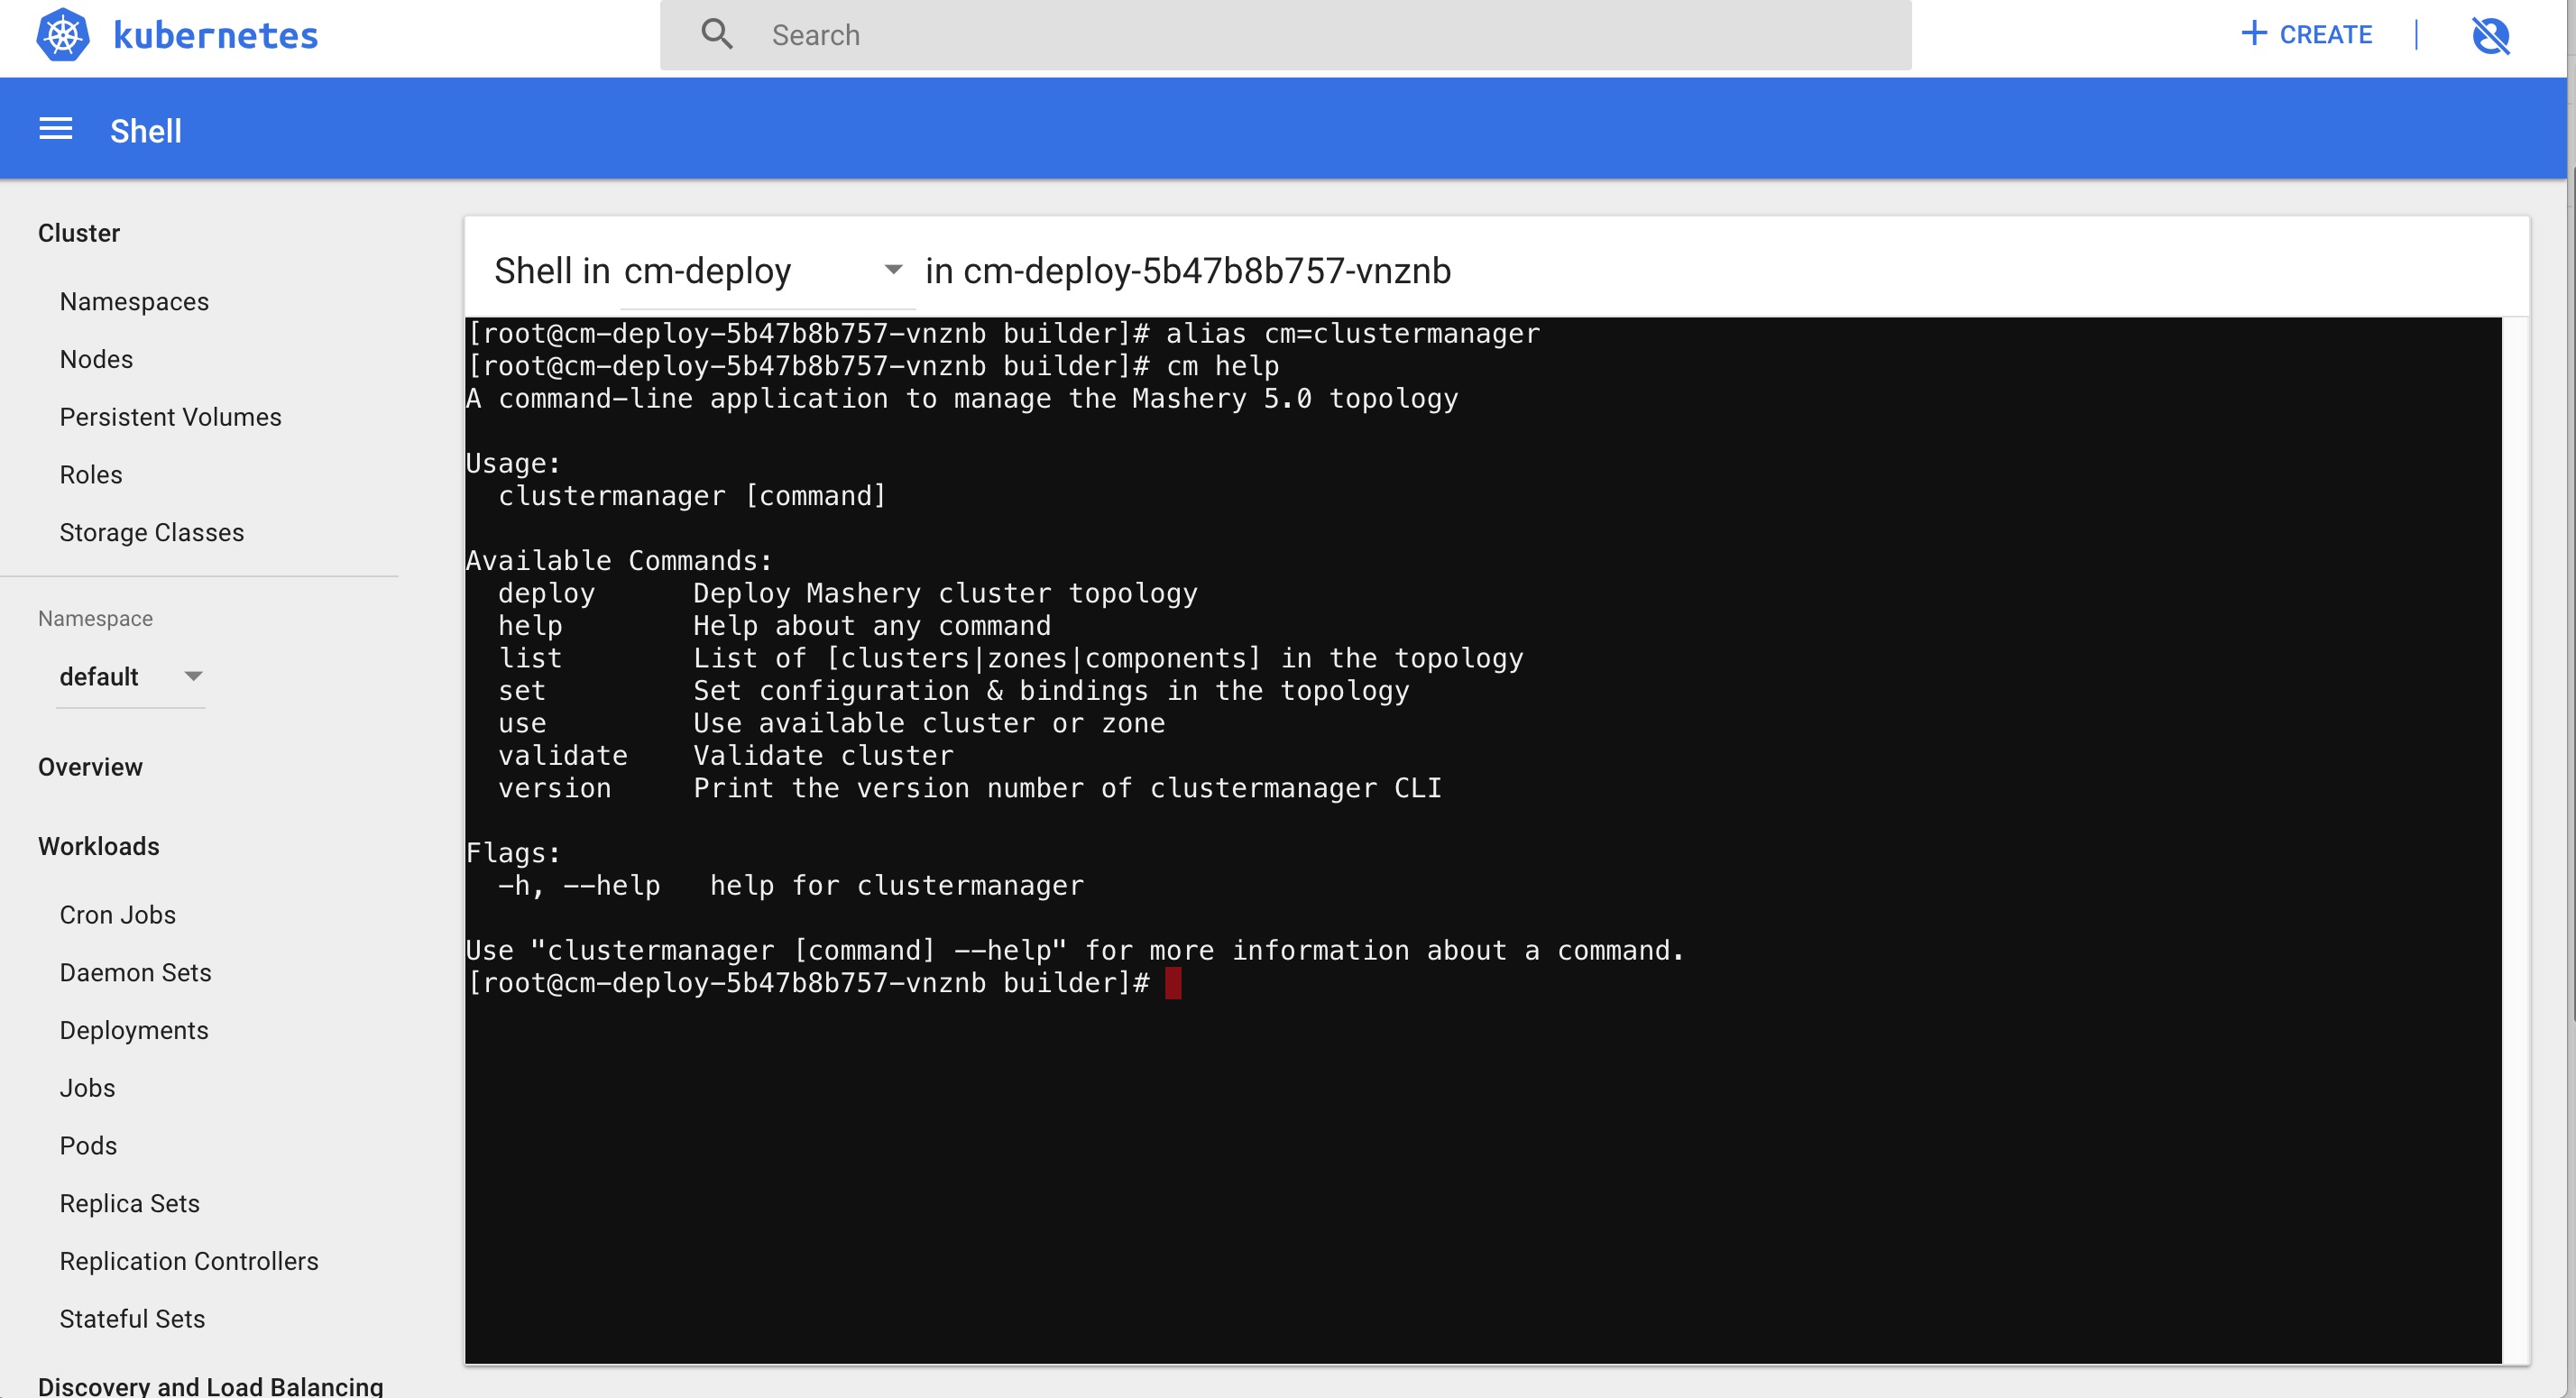
Run the following commands to get started with the Cluster Manager CLI:alias cm=clustermanager cm help
You will see the list of commands you can execute with the CLI. Here is a common set of commands you may want to use:[root@cm-deploy-5b47b8b757-vnznb builder]# cm list clusters Cluster ID Cluster Name ------------------------------------- -------------------- 4a883074-d4d1-48f6-b742-e6fb36a03af1 Tibco Mashery Gat... [root@cm-deploy-5b47b8b757-vnznb builder]# cm use cluster 4a883074-d4d1-48f6-b742-e6fb36a03af1 Using cluster [Tibco Mashery Local Reference Cluster] [root@cm-deploy-5b47b8b757-vnznb builder]# cm list zones Using cluster [Tibco Mashery Local Reference Cluster] Zone ID Zone Name ------------------------------------- -------------------- 77110662-e471-4fa5-9e1d-8c90847440c0 local [root@cm-deploy-5b47b8b757-vnznb builder]# cm use zone 77110662-e471-4fa5-9e1d-8c90847440c0 Using cluster [Tibco Mashery Local Reference Cluster] Using Zone [local] [root@cm-deploy-5b47b8b757-vnznb builder]# cm list components Using cluster [Tibco Mashery Local Reference Cluster] Using Zone [local] Component ID Component Type Component Name Component Status Component Host Component Agent Port Component Service Port(s) ------------------------------------- -------------------- -------------------- -------------------- -------------------- ---------------------- --------------------------- a80da2cc-f8dd-4576-a774-107e6cfcc565 sql sql registered 10.244.1.5 9080 3306 6efff6cc-c8df-4bde-ad74-8c856b2992fd nosql nosql-2ece1ca0-08... unused_tml_id 0 86bf8edf-ee46-4b4f-9cf5-b2fa47f118b5 cache cache registered 10.244.1.6 9080 11212,11211,11213,11214,11215,11216 873e1450-622c-45a8-84c6-565dd0bbc1c0 trafficmanager tm ACTIVE 10.244.1.8 9080 8080 be69180c-5602-4977-81d8-a17bd51e3434 trafficmanager tm registered 10.244.1.7 9080 8080 855dfab0-9894-4931-a14f-3a6849082c50 logservice log registered 10.244.1.4 9080 24224 [root@cm-deploy-5b47b8b757-vnznb builder]#
Once you have logged into Cluster Manager, you can run the
validate command to get the summary of the entire cluster:
clustermanager validate
Logging into a Kubernetes Node
Open a new terminal on your local machine, navigate to tmgc-deploy/onprem/k8s/manifest-single-zone and then run vagrant ssh <machine name>.
Making a Traffic Call
To make a traffic call:
- Get the traffic endpoint by running the following command for local k8s:
kubectl get svc | grep "tm-svc" | awk -F' '
'{print $2}'
This will print the IP. For newer versions of kubectl, such as 1.11, replace $2 with $3 in the command.
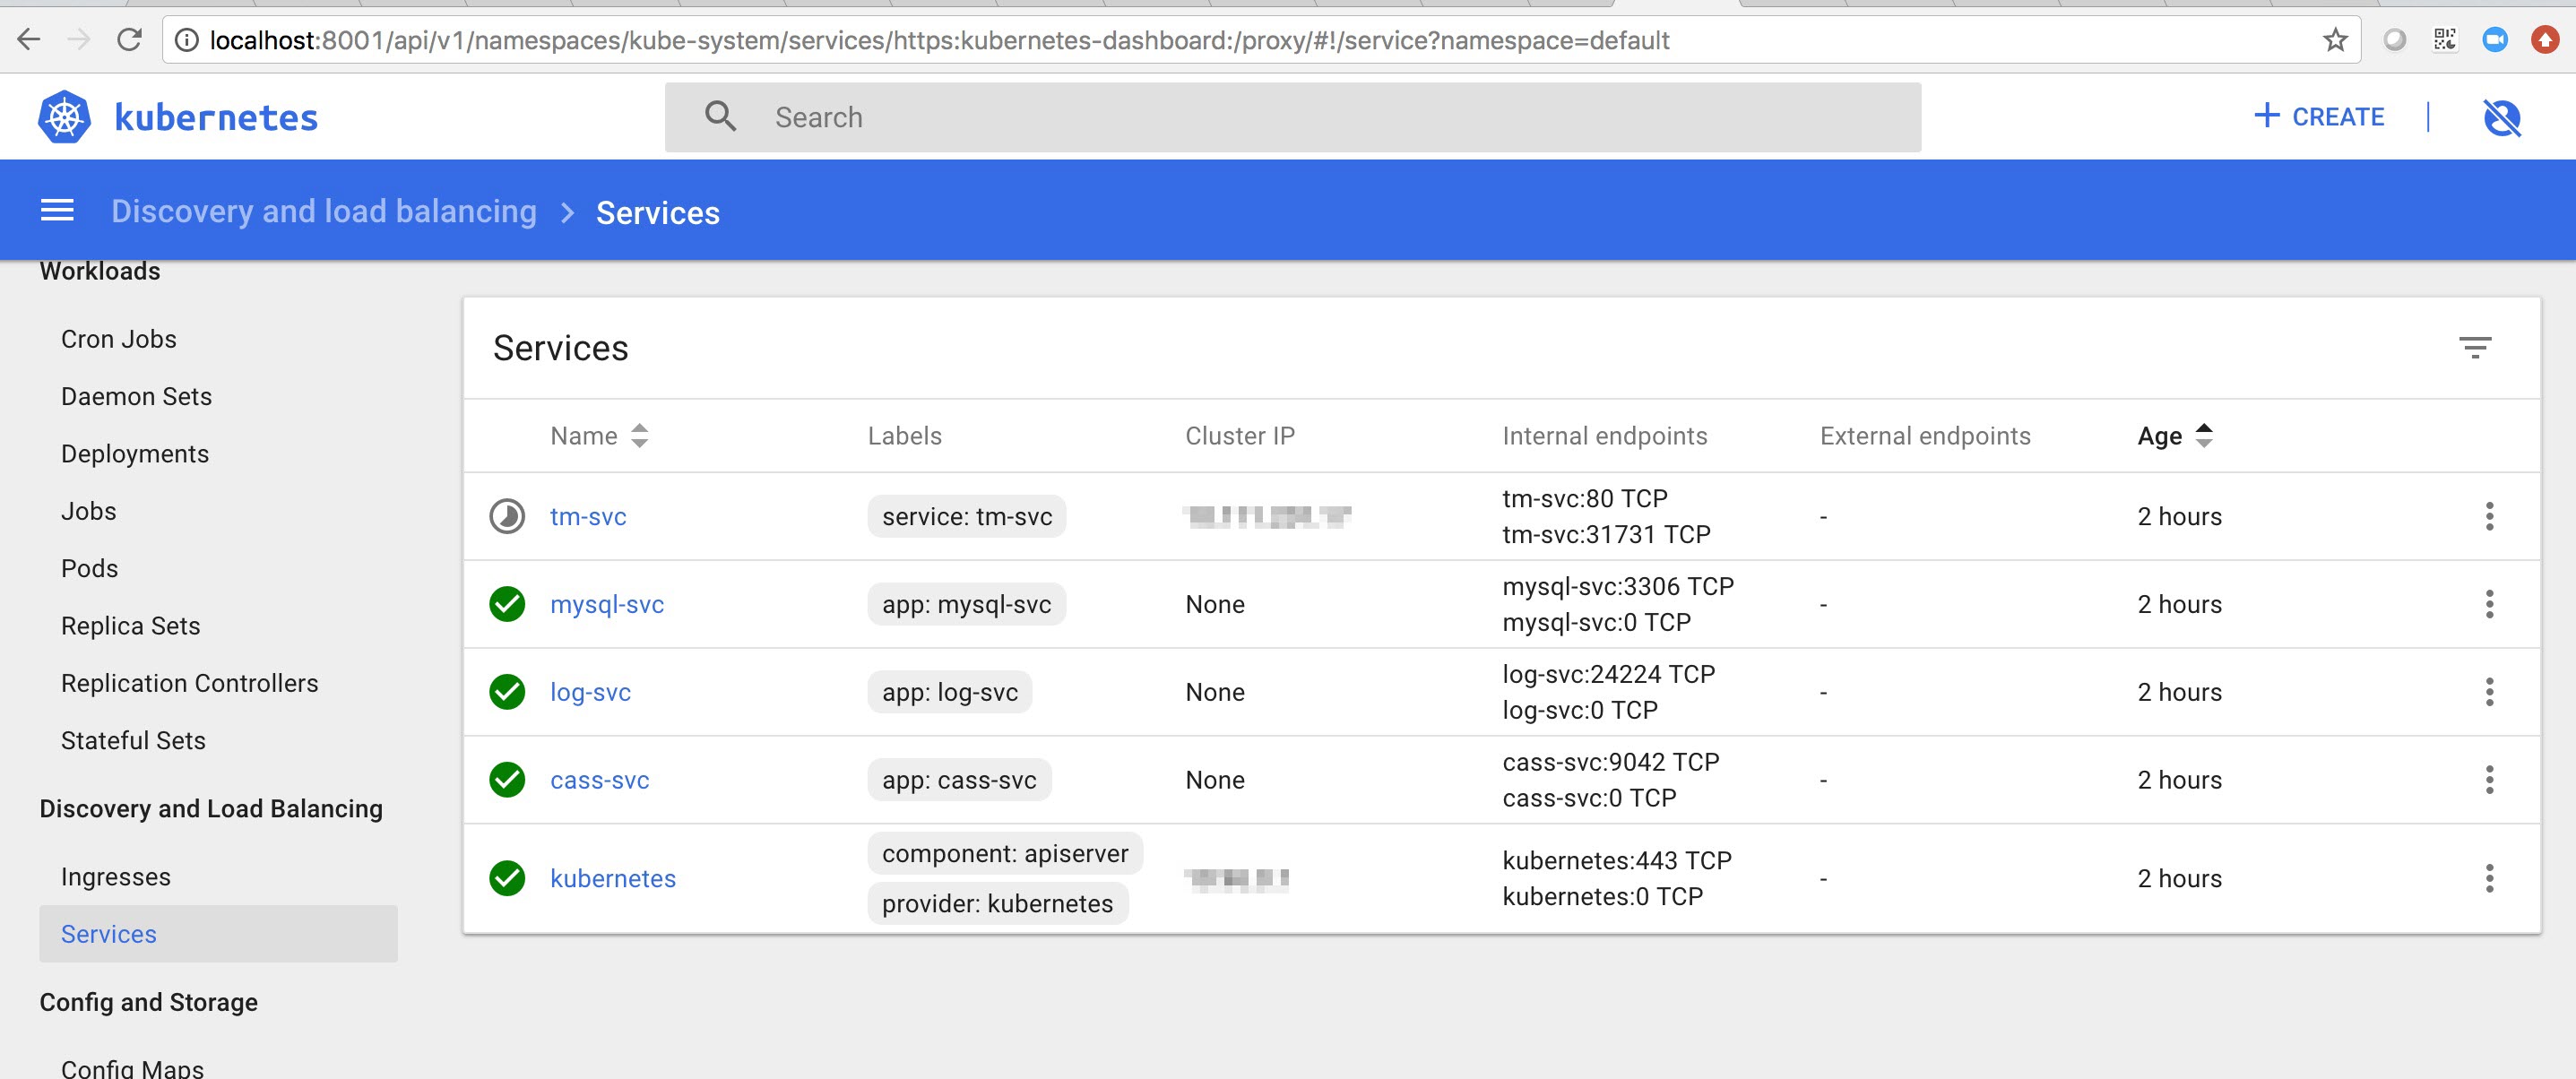
You can also get the IP from k8s dashboard. Click on the Services tab on the left panel and search for tm-svc. Note down the corresponding Cluster IP. This is the IP you will use to make the TIBCO Mashery Local call.
- Go to the shell of any container other than
tml-tm and do the curl call as follows. The endpoint and API key in the following curl call corresponds to the sample data.zip attached above.
curl -v -H 'Host:chainsproxy.api.momtest.mashspud.com'
'http://<IP from step
1>/v1/api/patient/1234/qatest/testRequestInfo.php?api_key=3bvu8u3p8k5vjxmhrs6tnd6e'
A successful call should give output similar to the following:TIME NOW: 2018-09-1814:43:41 ================================ Server Script: /internal/patients/1234/info/qatest/testRequestInfo.php Query params: api_key=3bvu8u3p8k5vjxmhrs6tnd6e Request Method: GET Request Protocol: HTTP/1.1 Requested URI: /internal/patients/1234/info/qatest/testRequestInfo.php?api_key=3bvu8u3p8k5vjxmhrs6tnd6e REQUEST HEADERS: Array ( [host] => content.mock.mashery.com [Accept] => */* [User-Agent] => Mashery Proxy [X-Original-User-Agent] => curl/7.51.0 [X-Forwarded-For] => 100.96.1.1, 18.209.223.93 [X-Forwarded-Port] => 80 [X-Forwarded-Proto] => http [Connection] => keep-alive ) - The following sample curl is from AWS deployment and MOM sync mechanism was used. Ideally, curl in step 2 and 3 should return same output:
curl -v -H'Host:api.example.com''http://a6c10dbf4ae0b11e886b6063d52d7762-1137774647.us-east-1.elb.amazonaws.com/v1/api/patient/1234/qatest/testRequestInfo.php?api_key=3bvu8u3p8k5vjxmhrs6tnd6e'
Copyright © Cloud Software Group, Inc. All rights reserved.