Creating an Instance
The TIBCO Cloud MDM Console provides a wizard to provision a TIBCO MDM instance. After you log into TIBCO Marketplace and select TIBCO Cloud MDM, click Launch. The MDM Console wizard is displayed.
Based on your subscription type and the licenses associated with the subscription type, you can create one or more instances. On consuming all the licenses available for a particular subscription, the Create New Instance button on TIBCO Cloud MDM Console is disabled.
Procedure
- Click the Create New Instance link.
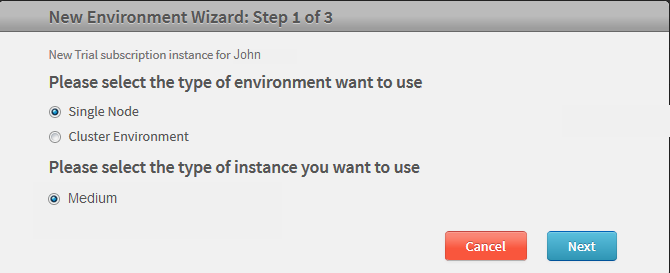
- The New Environment Wizard: Step 1 of 3 is displayed. Your access to the MDM Console depends on your subscription type.
- Select the Medium instance type and click Next.


| Field | Descriptions |
|---|---|
| Enter company name: | Specify the company name in this field. The company name is the MDM Enterprise name. The company names can be same for multiple instance. However, the environment name must be unique. |
| Password for Super User: | Specify the super user’s password in this field. Use this password to login to the configurator.
The password must be according to the new password policy. |
| Confirm Password for Super User: | Specify the super user’s password again to confirm. |
| User name for MDM Admin: | Specify the MDM admin user name in this field. |
| Password for MDM Admin: | Specify the MDM admin password as per the new password policy in this field. |
| Confirm Password for MDM Admin: | Specify the MDM admin password again to confirm. |
| Email Id for MDM Admin | Specify the email ID for the Instance ID. On clicking Message to Admin on the MDM Console, email is sent to the admin using this email ID. |
- Click Launch. The provisioning progress bar is displayed.
- The provisioning complete screen is displayed.
-
Click
Start MDM. The TIBCO MDM Welcome page is displayed.
Enter the Company Name, User Name, Password and click Login.
-
First time user's are redirected to the
Reset Password page.
Enter the new user password in the appropriate fields and click Reset.
- Click Proceed to MDM Console. The MDM Console dashboard is displayed.


Copyright © Cloud Software Group, Inc. All rights reserved.