Creating Records

Procedure

  1. Click Browse and Search.
  2. In the Repository Name drop-down list, select the repository in which you want to add records.
  3. Click . The Add Record screen is displayed.
  4. Enter values in the Record ID and Record ID Extension fields. The values are displayed in tree header at the left side.
  5. Click the Attribute Group tab. For example, AccountDetail.
  6. Enter values in the fields. The field names are based on attributes created for each repository. The attributes are validated for errors as shown in the following figure:
    Note:
    • For Timestamp data type attribute, if you enter the format other than user profile, an error message is displayed.
    • Selection of the Time zone value displayed on the Calendar is optional. If you do not enter it, the value which is selected in the user profile is considered.
  7. Click Save and Process. The record is saved in the repository.
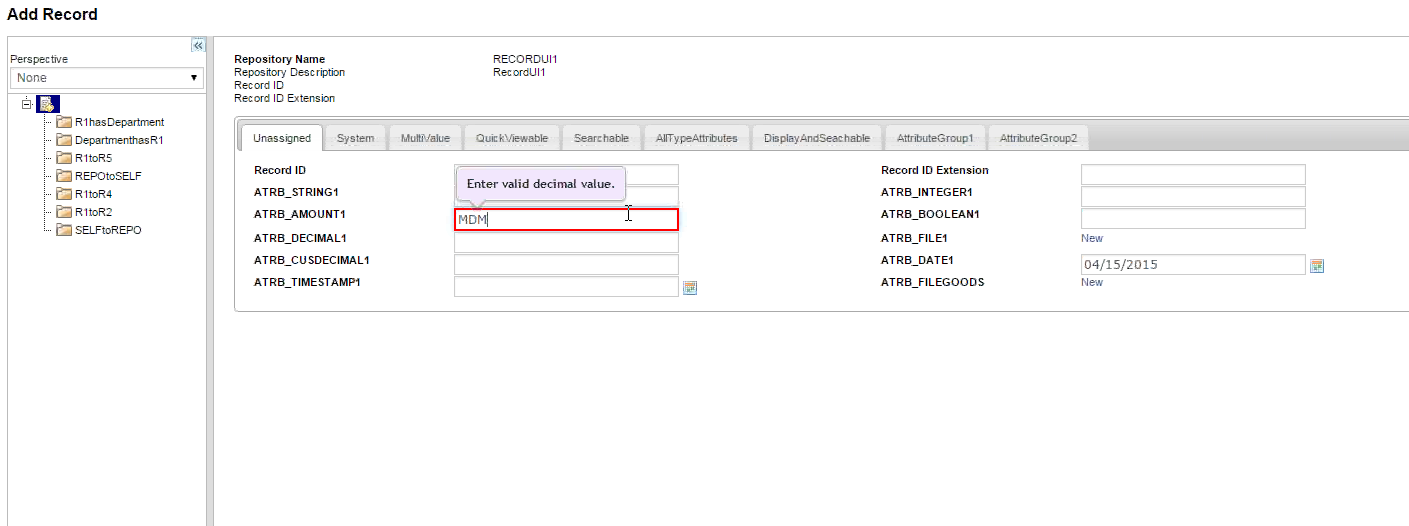
    Note: The rulebase ‘refresh’ flag now applies to the text field attributes of the Record UI. For example, if you have set ’refresh’ flag in the constraint (condition or action) to true and change the attribute value on the Record Add or Record Modify screen, the screen is automatically refreshed and dependent attribute values are re-computed.
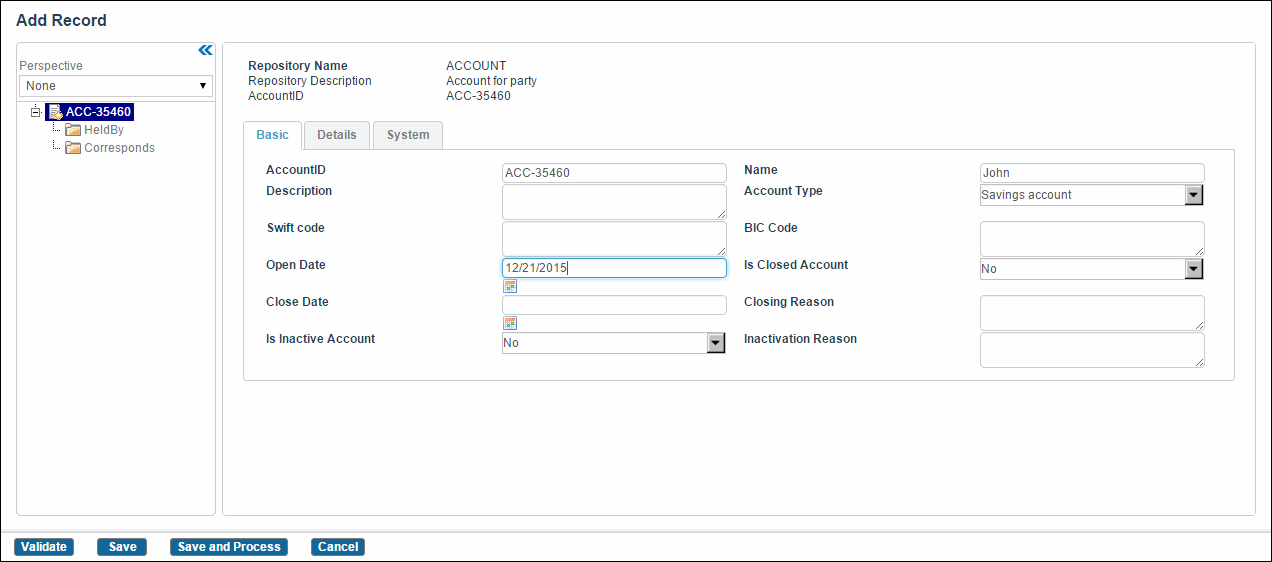