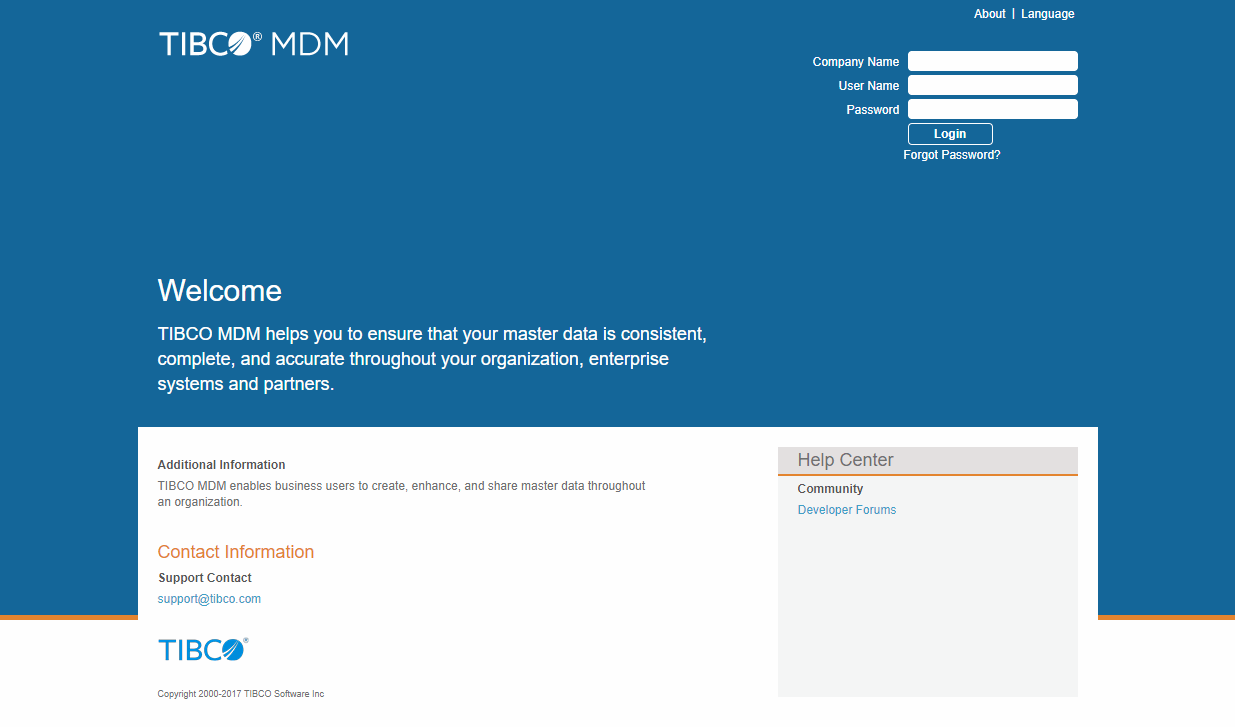
Customizing the Login Screen
You can customize images, colors, and text displayed on the Login screen. Customization of the Login screen is a static change and the changes are persisted within the period of application server run time.
Create a Custom Template
- Contact TIBCO Support to get the html template for the Login screen.
- Make changes to the template as per your requirement.
- Do not remove the IDs of an enterprise, username, and the password fields or the element itself from the template.
- Compile the html template and generate xmlc class. Refer to the section,Compiling and Deploying the Custom Form.
Use customLogin.html
- Create the customLogin.html file in the $MQ_COMMON_DIR/htmlprops/ directory.
- Create the custom Java script to customize the login screen. For example, the following script replaces the support contact text
support@tibco.com to
support@mycompany.com along with setting default values for the company name, user name, and password fields.
<script> jQuery("#enterpriseNameId").val("MYCOMPANY"); jQuery("#loginname").val("admin"); jQuery("#passwd").val("admin"); jQuery("#loginContactInfoSubContent").text("support@mycompany.com"); jQuery("#enterpriseNameId").focus(); </script> - Save the file.
Copyright © Cloud Software Group, Inc. All rights reserved.

