Setting up Time and Timezone
After you have created an attribute using the Timestamp data type, the
![]() icon is displayed next to the attribute name field.
icon is displayed next to the attribute name field.
Procedure
-
Click the
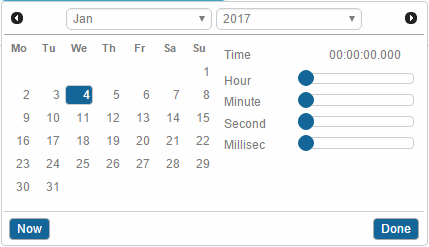
 icon to select the date and time. The following Calendar is displayed:
- To display the current time, click the Now button on the calendar. The current time is displayed on the calendar and in the selected field.
-
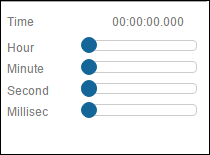
To change the time, you can either type in the field or click the
 icon on the Hour, Minute, and Second bars.
-
To reduce time, click the
icon to the left side of Hour, Minute, Second, and Millisec sliders.
-
To increase time, click the
icon to the right side of Hour, Minute, Second, and Millisec sliders.
The selected hour, minute, second, and milliseconds are displayed on the calendar and in the selected field.
If you have selected the Time Zone format during user profile creation, the Time Zone drop-down list is displayed. By default, the time zone is displayed that you have selected during user profile, creation.
Copyright © Cloud Software Group, Inc. All rights reserved.