Installing the Desktop Client Program
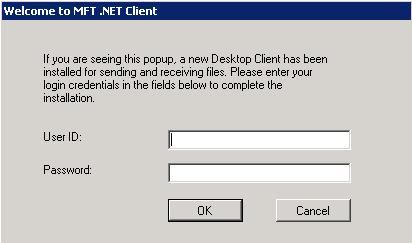
To connect and install MFT desktop client program on your desktop, you can use either a full or a shortcut URL.
See the formats of the full URL and shortcut URL below:
When using a self-signed certificate, you must install the certificate before you can download and install the desktop client. For more information, see
Installing a Certificate.
- Full URL: https://[DNS_HostName]:[httpsPort]/[context]/client/install.html
- Shortcut URL: https://[DNS_HostName]:[httpsPort]/desktop-install
Note: If the default context was not used during the installation, the redirector file for this shortcut as well as others mentioned later in this manual will need to be updated to redirect to the non-standard context. Follow the instructions below to make these changes:
The redirection files can be found in the MFTIS_Install\server\webapps\ROOT directory. Use a text editor to open and change the cfcc context in these files to the new context chosen during the installation. Once your changes have been made, save and close the files.
Procedure
Copyright © 2021. Cloud Software Group, Inc. All Rights Reserved.

