Configure AS2 Server
Click to configure the AS2 server on the Configure AS2 Server page.
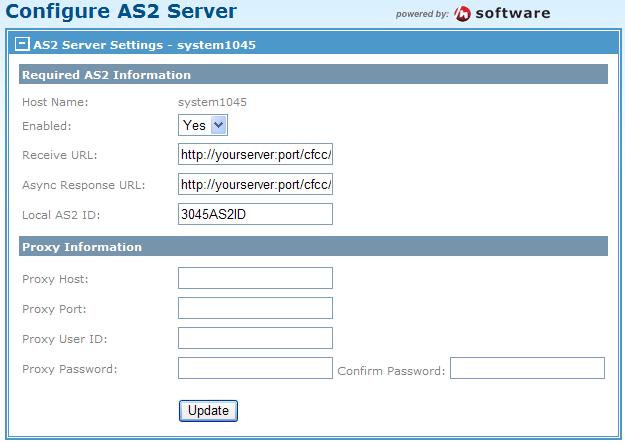
Before the AS2 server can be started, it must first be enabled and configured.
Firstly, select Yes from the Enabled list.
Next, specify both the Receive URL and Async Response URL fields. Both URL’s are created from information taken during the installation of TIBCO MFT Internet Server and need to be specified with the correct HTTP protocol information and port.
Then, change the port to communicate from your internet browser to your web server using a non-ssl port number, most commonly this would be 80 but your environment might be configured differently.
If your AS2 server protocol requires a proxy server, you will need to configure the Proxy Information section. If not, this can be skipped.
You can also define a local AS2 server ID in the server definition that would be used for incoming transfer being done with the TIBCO MFT Internet Server AS2 server or you can leave this field blank and specify it in later when creating a server definition. If this field is configured, it can also be overridden in the server definition.
Finally, click Update when your changes are completed.