Provisioning TIBCO Developer Hub from TIBCO Control Plane
To provision the TIBCO Developer Hub capability from TIBCO Control Plane, ensure you have a registered data plane in the TIBCO Control Plane.
-
Correct Ingress Controller and Storage Class options. From TIBCO Control Plane, refer to Managing Resources.
-
You can integrate TIBCO Developer Hub with GitHub when provisioning (if needed), see GitHub.
/tibco/hub and it cannot be changed.- Procedure
-
On the TIBCO Control Plane, click the Data Planes menu from the sidebar. Then, go to your registered data plane and click Provision a Capability.
-
To provision TIBCO Developer Hub, select the correct version from the dropdown and click Start.
-
On the Resources tab, select the correct Storage Class and Ingress Controller.
-
On the Configuration tab, enter a unique developer hub name. The other information, such as Developer Hub Version Number, Host Name, and Ingress Class Name populates based on the given details on the Resources tab.
Enter the Kubernetes Secret Object. This Kubernetes Secret should contain all the environment variables specified in the custom config YAML file. Accept the TIBCO End-User Agreement and click Next.
Note: The host name should not contain any special characters or spaces.Note: Your Kubernetes Secret and custom config file must contain the GitHub Org token for GitHub with the TIBCO Developer Hub and should be added when you are performing the provisioning process. -
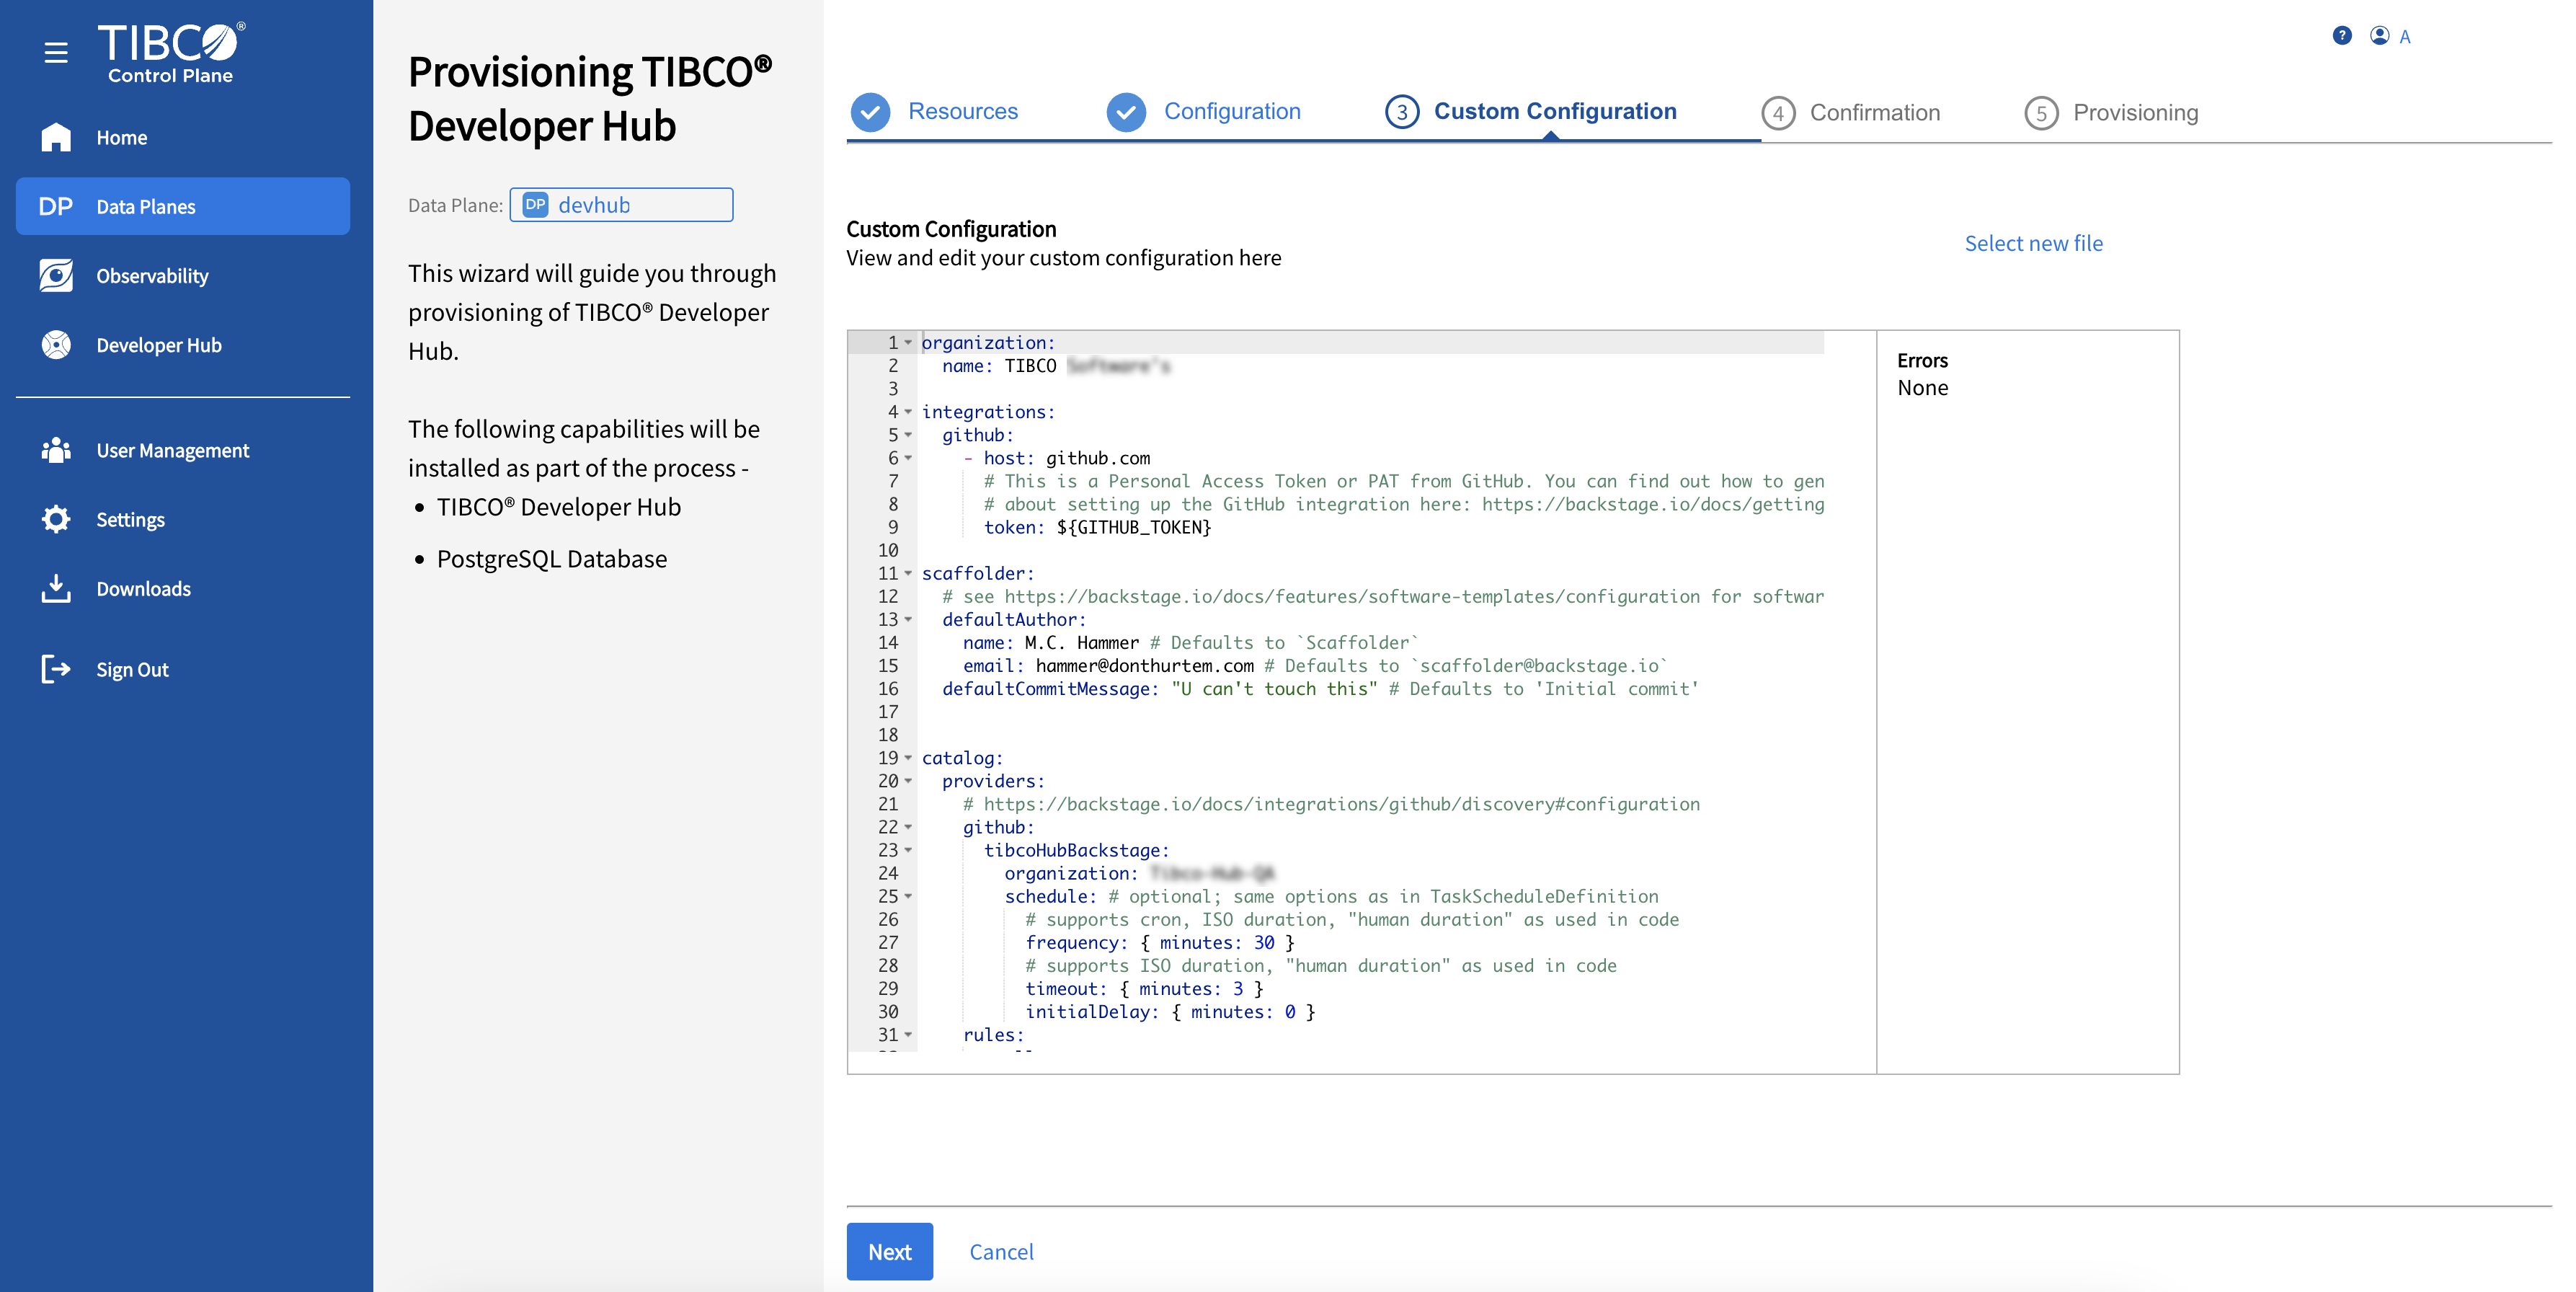
On the Custom Configuration tab, you can upload the custom config file (YAML file) if any. To add a new custom config file without leaving the provisioning process, click Select New File. Use the YAML editor to make any changes, and click Next.
-
On the Confirmation tab, review all the information.
-
On the Provisioning tab, click Next to start the provisioning process. Wait for a few minutes until the provisioning process completes. To view the provisioned instance, click Go to Developer Hub. To view the provisioned TIBCO Developer Hub in data plane, click Go back to Data Plane.
You can also view the provisioned developer hub instance from its data plane. Go to Data Planes. Click Go to the Data Plane of a data plane where you have provisioned the TIBCO Developer Hub capability.
In Capabilities, click the provisioned developer hub instance to see the details like developer hub name, version, and host name. To edit the provisioned developer hub configurations, click Update Configuration. On the Edit or Update Configuration, you can edit the configuration information. You can also edit the Kubernates Secret Object if required. Click Update Configuration to begin the provisioning in the Provisioning tab.
app.baseurl and backend.baseurl in the Update Configuration. Also, be careful when are modifying the application config file as it can break the working functionality.To sign in directly to the provisioned instance, click the hostname URL. You can also copy the URL and log in to your developer hub instance through the TIBCO sign-in credentials. After signing in, see Home Dashboard Overview.
