Managing Namespaces
Namespaces are now managed as data plane-level resources on the Data Plane Configuration > Resources page.
Previously, the backend automatically managed namespaces. It auto-created them when user deployed an application into a new namespace. It auto-removed them when user deleted the last application. Auto-discovery of applications also created namespaces implicitly. This automatic behavior is removed. User must now explicitly register namespaces as resources.
Adding a Namespace
- User must have Data Plane Manager permission in the TIBCO Control Plane. For more information, see Permissions.
- Procedure
-
In TIBCO Control Plane UI, go to Data Plane Configuration> Resources and click Namespace in the left pane.
-
Click Add new namespace. Specify nameapce name.
-
The UI displays kubectl and helm commands that you must run on the data plane Kubernetes cluster to prepare the namespace (create Kubernetes namespace with dataplane-id label, run dp-configure-namespace helm chart). You must run these commands on the cluster before or after registering the namespace in the Control Plane.
If the namespace is registered in the Control Plane but the kubectl/helm commands have not been run on the cluster, the namespace will appear in the list but user cannot deploy applications to it.
Namespaces are scoped to a single data plane. A namespace cannot be shared across data planes. However, two different data planes can have namespaces with the same name if they are in different clusters.
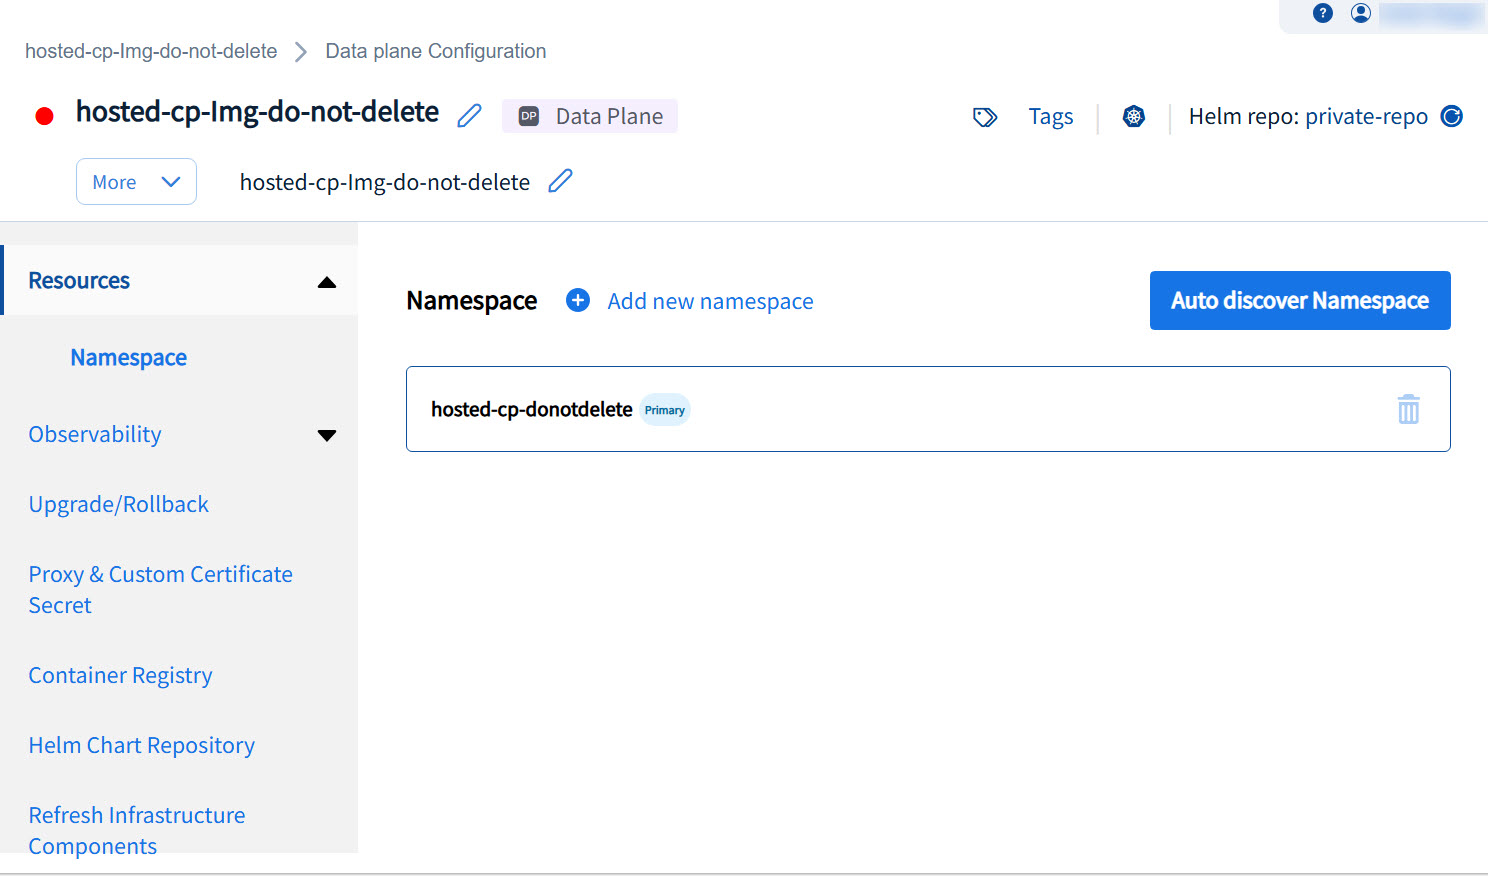
Alternatively, An Auto discovery Namespace option is available that lists namespaces discovered from the Kubernetes cluster that are associated with the data plane.
This allows the Data plane Manager to review and register discovered namespaces without manually entering names.
Removing a Namespace
- User must have Data Plane Manager permission in the TIBCO Control Plane. For more information, see Permissions.
Procedure
Click the delete icon next to the namespace to remove the namespace.