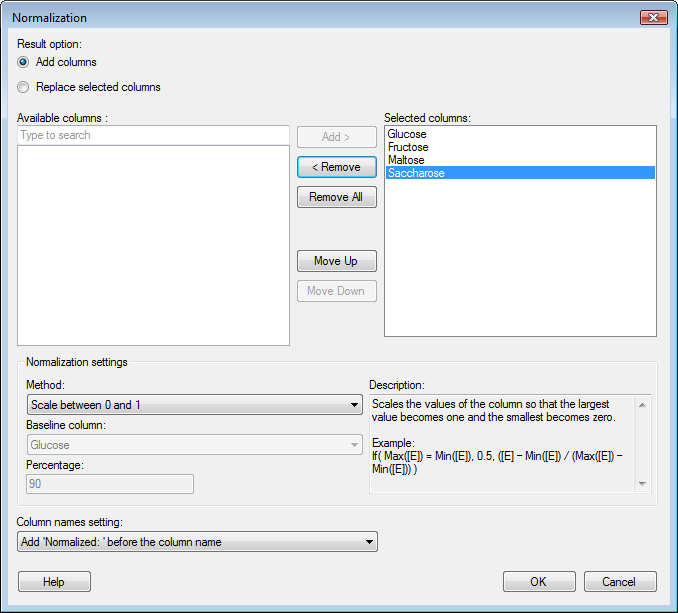
This dialog is used to transform a data table by normalizing
the data in one or more of its columns.
To add a Normalization transformation to data that
is already loaded into Spotfire:
Option |
Description |
Result
option
|
|
Add
columns
|
Click this
radio button to add new normalized columns to the resulting data
table. The old columns will also be kept. |
Replace
selected columns
|
Click this
radio button to replace the old columns with the new, normalized
ones. |
Available
columns
|
Lists the
columns available in the selected data source. |
Add
>
|
Moves the
columns selected in the Available columns list to the Selected
columns list. |
<
Remove
|
Removes
the selected columns from the Selected columns list. |
Remove
All
|
Removes
all columns form the Selected columns list. |
Move
Up
|
Moves the
selected column in the Selected columns list up one step. |
Move
Down
|
Moves the
selected column in the Selected columns list down one step. |
Selected
columns
|
Lists the
columns that are selected to be normalized. |
Method
|
Specifies
the normalization method to use. See Normalizing
Columns and the theory section for each method for further
information about the various methods. |
Baseline
column
|
Specifies
the baseline column to use (in some normalization methods only). |
Percentage
|
Specifies
the percentage value (P) to use when normalizing by percentile
or by trimmed mean. |
Description
|
Shows a
brief description of the currently selected normalization method. |
Column
names setting
|
Specifies
how the naming of the normalized columns should be handled. You
can either add the word "Normalized:" to the column
name of the original columns or use the expression (normalization
equation) as a column name.
If you have selected to replace columns you
will also get a third option where you can keep the current column
names. |