Option |
Description |
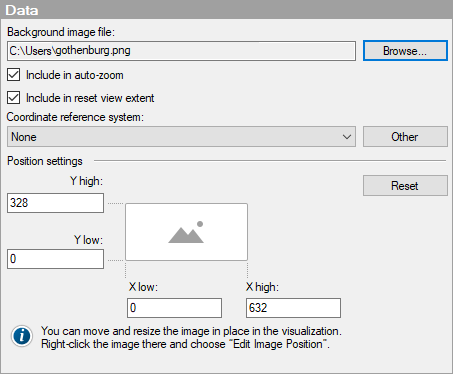
Background
image file |
Lists the file name and path of the selected image file. |
Browse |
Allows you to browse for the image to use in the image layer. |
Include
in auto-zoom |
Select this check box to always see the entire extent of the image, even if filtering of a data layer hides data points on a part of the image. Clear the check box to ignore this layer in the auto-zoom operations. |
Include
in reset view extent |
Select this check box to make sure that the entire image in this layer is visible when you select reset navigation in the map chart. For more information, see Zooming and Interacting in the Map Chart. |
Coordinate
reference system |
Allows you to specify the coordinate reference system for the Image Layer. For more information, see What are Coordinate Reference Systems?. Note: If you are going to use an image as a background, then the coordinate reference system must be 'None' in all parts of the map chart visualization. This includes all layers in the map chart where a coordinate reference system can be specified, as well as the map chart itself. |
Other |
Opens the Coordinate Reference Systems dialog that allows you to select a coordinate reference system not available in the drop-down list. |
Position settings |
Specifies the extent of the image by providing values for Y high, Y low, X low and X high. That is, the extent determines the position of the image relative to the data. Tip: To help defining the extent of the image, you can filter the data which should be placed on the image before you add the image. For example, if you have a feature layer showing shapes you can filter out all shapes except for Africa and then add the image. This will automatically add the image behind (or over) the Africa shapes. |
Reset |
Resets the position settings to the original. |
Positioning Markers on an Image Background