A domain is a logical grouping of a collection of Service Performance Manager servers in a fault tolerant mode and a collection of dashboard servers in a load-balanced mode. It is recommended that you create one domain per product. The changes made here affect the
TIBCO_CONFIG_HOME/tibco/cfgmgmt/spmteagent/config/deploymentConfig.xml
Prerequisites
Before using this procedure, ensure that the SPM server, SPM Dashboard server, EMS server, the TIBCO Enterprise Administrator server, and the Admin agent are running.
Procedure
-
Login to the TIBCO Enterprise Administrator. The default user name and password is
admin.
-
Under Products, click the Service Performance Manager card.
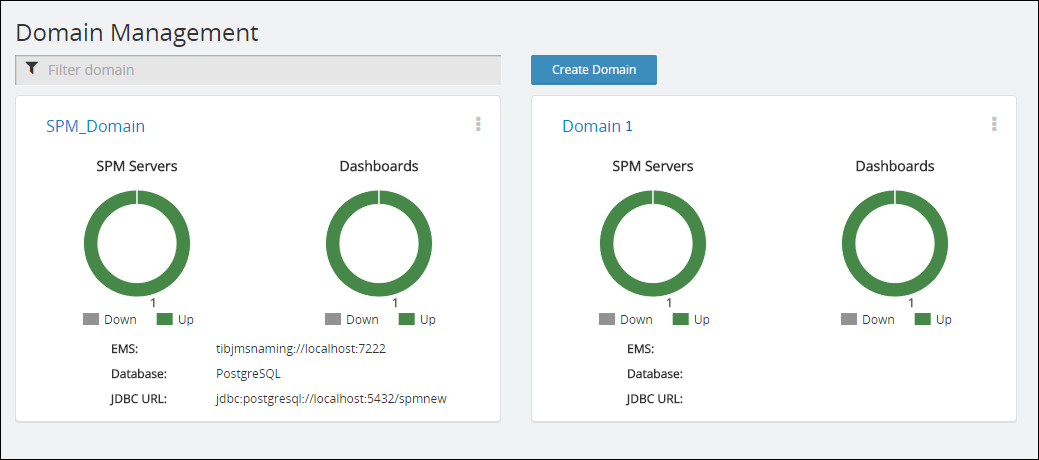
The Domain Management pane is displayed. If there is a domain defined in
TIBCO_CONFIG_HOME/tibco/cfgmgmt/spmteagent/config/deploymentConfig.xml, it is displayed in the Domain Management pane. The health of the SPM Servers and Dashboards in the domain are displayed here.
Domain Management
-
From the Domain Management pane, click
Create Domain.
-
In the
Domain Name field, specify the domain name. The domain name should not have spaces or special characters such as @,#,*, & , and so on.
-
In the Dashboard Access URL, specify the Dashboard Access URL. The default dashboard access URL is obtained from the TIBCO_CONFIG_HOME/tibco/cfgmgmt/spmteagent/config/deploymentConfig.xml file. The dashboard access URL specified here is the load balancer URL.
Caution: If there is only one dashboard access URL, ensure that you make that as the load balancer URL.
-
Click
Engines.
-
For a particular machine, provide the following details:.
-
Provide
IP Address.
-
Provide the
SPM Instance and the SPM Instance URL.The URL of the SPM instance is obtained from TIBCO_CONFIG_HOME/tibco/cfgmgmt/spmteagent/config/deploymentConfig.xml.You can add multiple SPM Instances, but ensure that those instances are installed and available. When you are specifying the SPM Instance URL, ensure that they are JMX enabled and reachable.
-
If you have more machines with SPM server instances, click Add Machine. Repeat the process of adding machines and SPM instances.
-
Click
Dashboards.
-
Provide
IP Address.
-
Provide the name of
Dashboard Instance,
JMX Connection URL, and the
HTTP Access URL. You can find URL of the SPM Dashboard instance in
TIBCO_CONFIG_HOME/tibco/cfgmgmt/spmteagent/config/deploymentConfig.xml. You can add multiple SPM Dashboard Instances, but ensure that those instances are installed and available.
-
If you have more machines with SPM server instances, click Add Machine. Repeat the process of adding machines and SPM instances.
-
Click
Save.
The changes made here are reflected in
TIBCO_CONFIG_HOME/tibco/cfgmgmt/spmteagent/config/deploymentConfig.xml.
Note: If you are directly modifying the
deploymentConfig.xml file, ensure that you restart the Admin agent. It is recommended that you do not directly modify the
deploymentConfig.xml file.
Copyright © Cloud Software Group, Inc. All Rights Reserved.