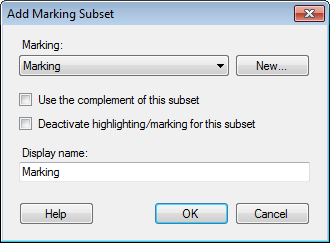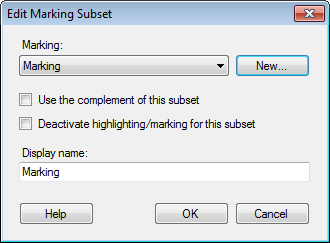
These dialogs are used when adding a new subset, or changing settings for an existing subset, based on a marking.
How to reach the Add/Edit Marking Subset dialogs:
In the Visualization Properties dialog, go to the Subsets page.
Select Add > Marking... to add a new subset. To edit an existing subset based on marking, select the subset of interest in the Select subsets to compare list, and then click on the Edit... button.


Option |
Description |
Marking |
Specifies the marking that should be used to define the content of the subset. This means that whenever you mark items in a visualization that uses the specified marking, then the marked items will become the content of this subset. |
New |
Opens the
New Marking dialog, where you can specify a new marking. |
Use
the complement of this subset |
Select this check box if you want the subset to rather show what is not in the selected marking, that is, the complement of the marking. Note: If you have not changed the display name that is automatically created when you add a new subset, then the name will automatically change to say 'Not in Marking' when you select this check box. If you have specified a name other than the default name for the subset, make sure you update it to describe the new behavior once you select this check box. |
Deactivate
highlighting/marking for this subset |
Select this check box if you do not want the items in this subset to be interactive. This means that if you click on items in this subset, they will not become marked, and they will not become highlighted if you hover with the mouse pointer over them. |
Display
name |
Allows you to change the display name for the subset. Make sure the display name is descriptive, since it is used to identify the subset in the visualization. For example, depending on how the visualization is configured, the display name can be shown in the legend, or in trellis panels. |
See also: