
Option |
Description |
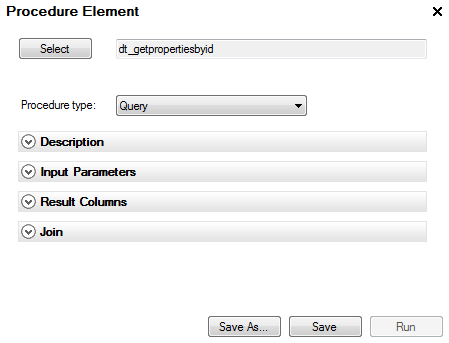
Select |
Select a database procedure from the Data Sources tree, and then click this button to include it. |
Procedure type |
Information Designer defines three kinds of procedures: Pre-update procedure - this procedure does not return any data, it only performs an operation on one or more databases. All pre-update procedures in an information link will always be executed before any query procedure. Query procedure - just like a database table this procedure returns data. Post-update procedure - this procedure does not return any data, it only performs an operation on one or more databases. All post-update procedures in an information link will always be executed after any query procedure. |
Save As... |
Click Save As to create a copy of a procedure. |
Save |
Click Save to save or update the procedure. |
Run |
Runs the procedure. |
Option |
Description |
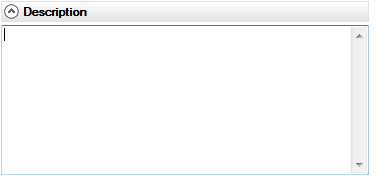
Description |
A short description of the purpose of the procedure. |
Option |
Description |
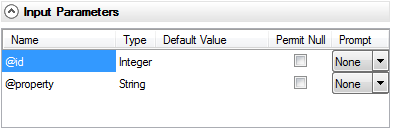
Name |
States the name of the input parameters detected in the database procedure. |
Type |
States the type of the input parameters detected in the database procedure. |
Default Value |
If the input parameter should receive a default value, type a value (of the appropriate type) in the input field. If not, leave the field blank. Type ?param_name to use a parameter as the default value, where param_name is the name to identify the parameter by. Note: If you use a parameter for the default value, you must choose Prompt: None. |
Permit Null |
Select this check box if you want to allow the input parameter to be Null. |
Prompt |
Select whether you want the end user to be prompted for a single value, multiple values or not at all, from the Prompt drop-down list box. Comment: If you select multiple values, the end user will be allowed to enter several values. The procedure will run once for each of these values in an iterative loop. For more information, see Multiple Value Procedure Prompts. |
Option |
Description |
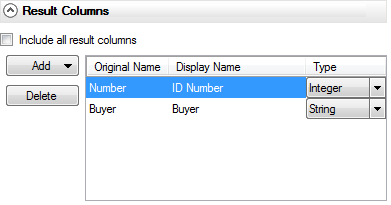
Include all result
columns |
Select this check box to include all columns from the procedure. Clear the check box if you like to specify the result columns yourself. |
Add |
This button becomes available when the Include all result columns check box is cleared. Click on the button to add a new row in the result columns list on the right. A dialog is opened where you can enter the Original name and Display name of the result column, as well as specify its data type. |
Delete |
Deletes the selected result column. |
Original Name |
In the Original Name field, the exact name of a column the database procedure returns should be entered. This name is specified in the actual database procedure, so you have to know this before adding the result column. |
Display Name |
Enter a descriptive Display Name for the resulting column. This is the name the end user will see when columns have been imported to TIBCO Spotfire. |
Type |
Select the Type the resulting column should have. |
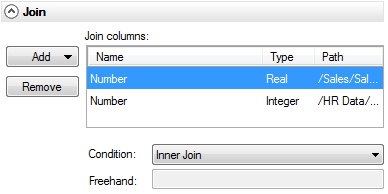
Option |
Description |
Add |
Displays a drop-down list containing columns from three different sources: * From Data Sources Tree.
This option is similar to selecting join columns at the creation
of join elements. Click on a column in the Data Sources tree (or
click on the column under its data source in the Elements tree)
and then select the From Data Sources Tree option in the Add drop-down
list. |
Remove |
Removes a column from the Join columns list. |
Join columns |
Lists the name of the columns you wish to join. This may be one of the columns specified in the Result Columns section, but can also be another procedure column as long as it is available from the database procedure result (for example an ID column). It also lists the columns you have added from the Data Sources tree. |
Condition |
Select one of the alternatives to specify which type of join to use. An inner join will return rows for which only the matching fields in both tables are equal. An outer join will return all the rows (including NULL values) from one table, and only the matching rows from the other table. |
Freehand |
You can also specify your own join definition by typing directly in the freehand field. See Freehand Joins for more information. |
See also:
Creating a Pre- or Post-update Procedure