Adding a map layer

A map layer gives a geographical context to your data by rendering a worldwide map background under your data layers. You can add multiple map layers in one map chart.

Procedure

  1. Right-click the map chart visualization, and from the menu, click Properties.
    The Properties popover is displayed, with the Map chart popover showing the current layers, in their layer order, top to bottom.
  2. Click Add new layer at the bottom of the Map chart list.
    A list of the layer options is displayed.
  3. From the list, click Map layer.
    The map layer is added to the Map chart layer list, the Properties list for the layer is displayed, and the layer with its default settings is added to the map chart
  4. Optional: Optionally, drag and drop the layer to a new position on the list.
  5. Review and set the map chart properties of interest to refine the display.
    Tip: You can reuse the settings of an already existing layer. Select Duplicate layer in the Properties popover to duplicate either the selected layer in the same map chart, or to add a copy of a layer from another map chart in the analysis. See Duplicating a layer for detailed instructions.

Map layer example

This example shows a map chart with multiple map layers. The transparency value in the Appearance settings has been modified on the Labels and Rich map layers, to enhance the roads on the map.


Image showing map layer

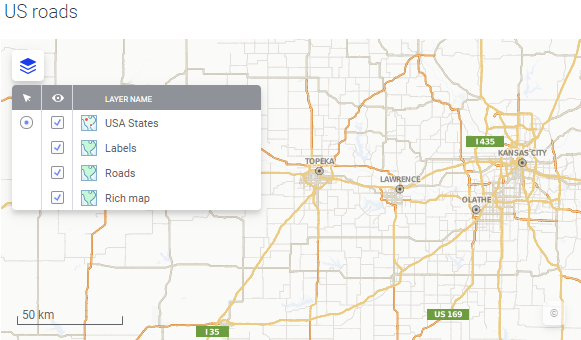
Tip: You can use several map types together, along with transparency settings, for effective layering. For example, you might add four map layers on top of each other, where the bottom layer is a rich map (which does not include any borders, roads, or labels), and the other three are borders, roads, and labels respectively. You can then fine-tune the appearance of the map chart by changing transparency, map style, or simply hiding the layers separately.