An EventFlow fragment is one part of a StreamBase Runtime application, which can ultimately be distributed among many nodes and machines. To run an EventFlow fragment at the command line outside of Studio, you must create a separate Studio project for a StreamBase Application. Then, add your EventFlow fragment's archive as a component part of the StreamBase Application.
Follow these steps:
-
In Studio, invoke >>.
-
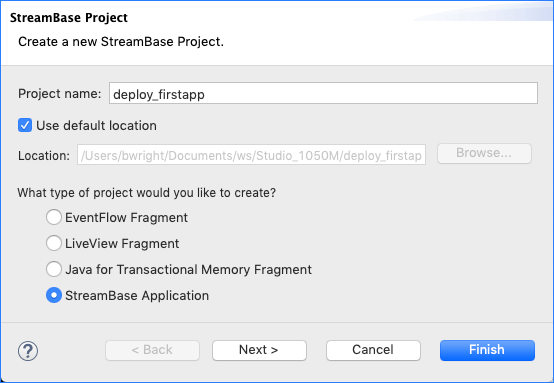
In the dialog's first panel, enter a name for the project, and select StreamBase Application as the project type. It is a best practice to choose a name for this project that starts with "deploy" to distinguish it from EventFlow and LiveView fragment projects.
-
Click .
-
In the Configure Maven Artifact panel, change the value of the Group ID to
com.example.deptnameto match the Group ID of the fragment you created on Create a New Studio Project.You are not required to use the same Group ID for a StreamBase Application project as for its dependent fragment projects, but doing this brings clarity to the process.
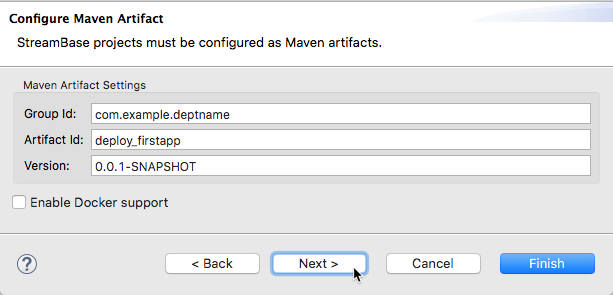
(The Enable Docker Support option is explained in Cloud.
-
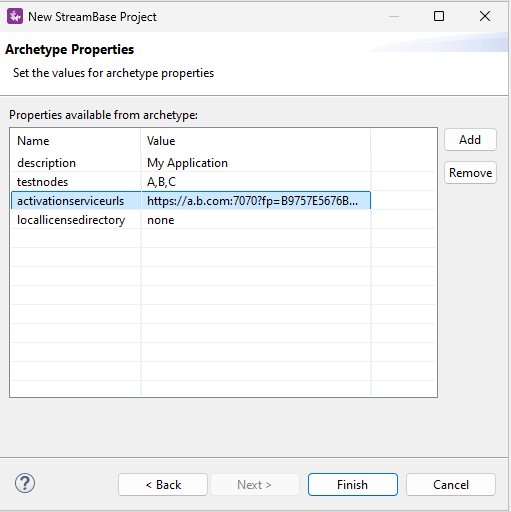
Optional. In the third panel, Archetype Properties, to cut down on the number of test instances created and run, edit the
testnodesline from its default A,B,C to just A.You may optionally provide a description for this application project, which will be included in the
descriptionelement of the project'spom.xmlfile.Additionally, you can specify the
activationserviceurlsorlocallicensedirectoryproperties for the application project.When the
activationserviceurlsproperty is set as an archetype property in this window, the correspondingactivation.service.urlsvalue in the project'spom.xmlis updated accordingly.When the
locallicensedirectoryproperty is defined, theskip.require.activation.service.urlsproperty in thepom.xmlis updated, and thelocalLicenseDirectoryentry in thelicense.conffile is set to the specified value.For more information about activation, see Activation in TIBCO Streaming and Model Management Server.
-
Click .