Creating and Using a Launch Configuration
Launch Configurations need not be explicitly saved. They persist even after you exit TIBCO Cloud Integration - Flogo (PAYG) and log back in later.
Creating your first Launch Configuration
- On the flow details page, click
Test
 .
.
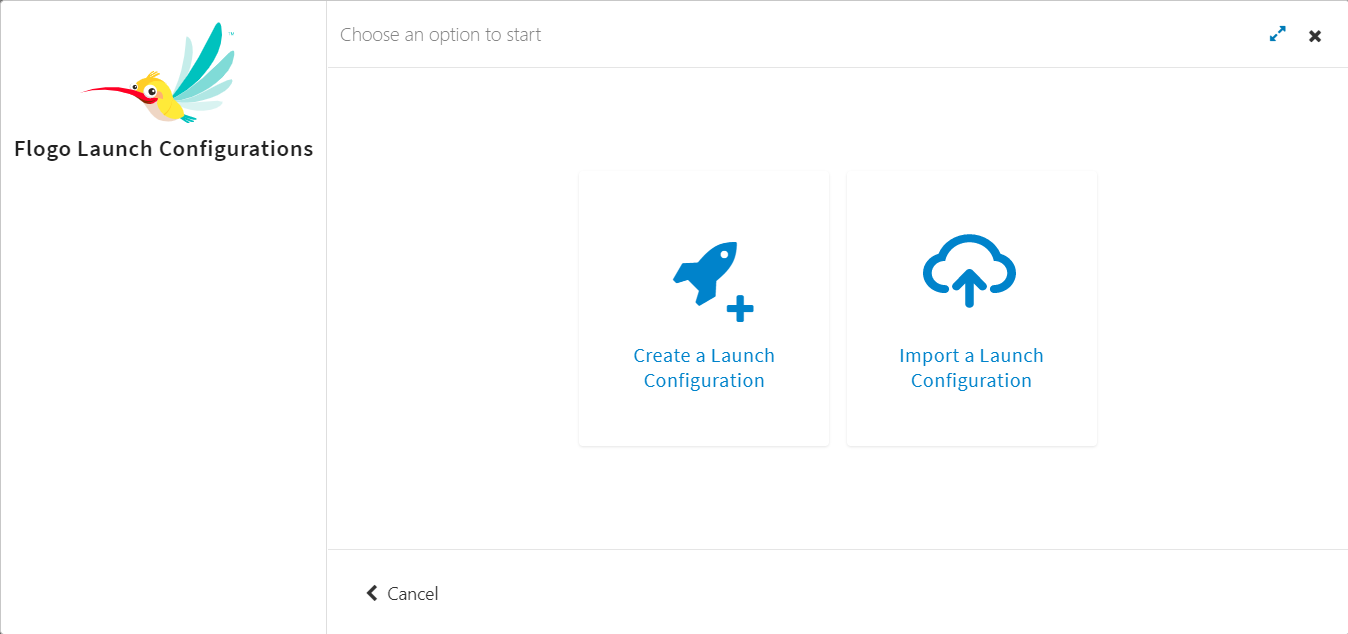
You can either start a new Launch Configuration by clicking Create a Launch Configuration or use an existing Launch Configuration that you had exported from another flow by clicking Import a Launch Configuration.
- Click
Create a Launch Configuration.
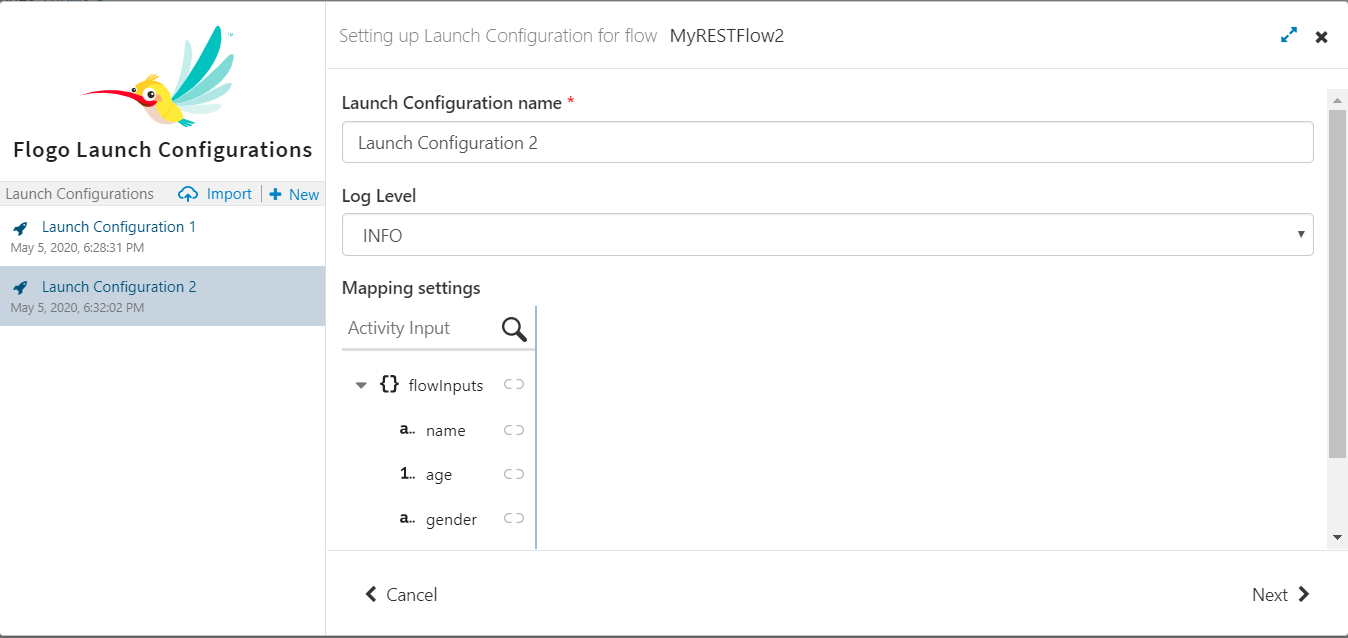
The Flow Tester opens with the left pane displaying the Launch Configuration name. By default, a new Launch Configuration is named "Launch Configuration x" where x stands for a number. For example, since this is the first Launch Configuration that you are creating, the name of the Launch Configuration displays as Launch Configuration 1. The next Launch Configuration you create will be named Launch Configuration 2. You can edit the name in the right pane. The right pane opens the mapper which displays the flow input tree.
- Optionally, enter a meaningful string to replace the default name in the Launch Configuration name text box.
- Select the log level from the Log Level drop down menu.
- Enter the values for the elements in the input tree. Refer to Configuring a Launch Configuration for details on entering values.
- Click
Next.
The input values you entered are displayed and validated. If no errors are found you get the message, Input settings are alright.
- Click
Run to execute the flow with the input data you provided in the step above.
All the activities in the flow are executed. For details, see What can you do using the Flow Tester?.
- Click Stop Testing.