Switching Between Display Views on the App Page
When you click an app name on the Apps page, the app details page opens. The flows in the app are listed on the app details page. You have the option to view this page in the Trigger View or Flow View. By default, it opens in the Trigger View. Click Trigger View and select Flow View from the drop-down menu to switch to the flow view. When you are in the flow view, click Flow View and select Trigger View from the drop-down menu to go back to the trigger view.
In this view, the flows are displayed attached to the trigger(s) that they use. If a flow is attached to multiple triggers, it is attached to each trigger separately. So, you can see it multiple times on the page but attached to different triggers. Flows that are not attached to any trigger display No trigger in place of the trigger name.
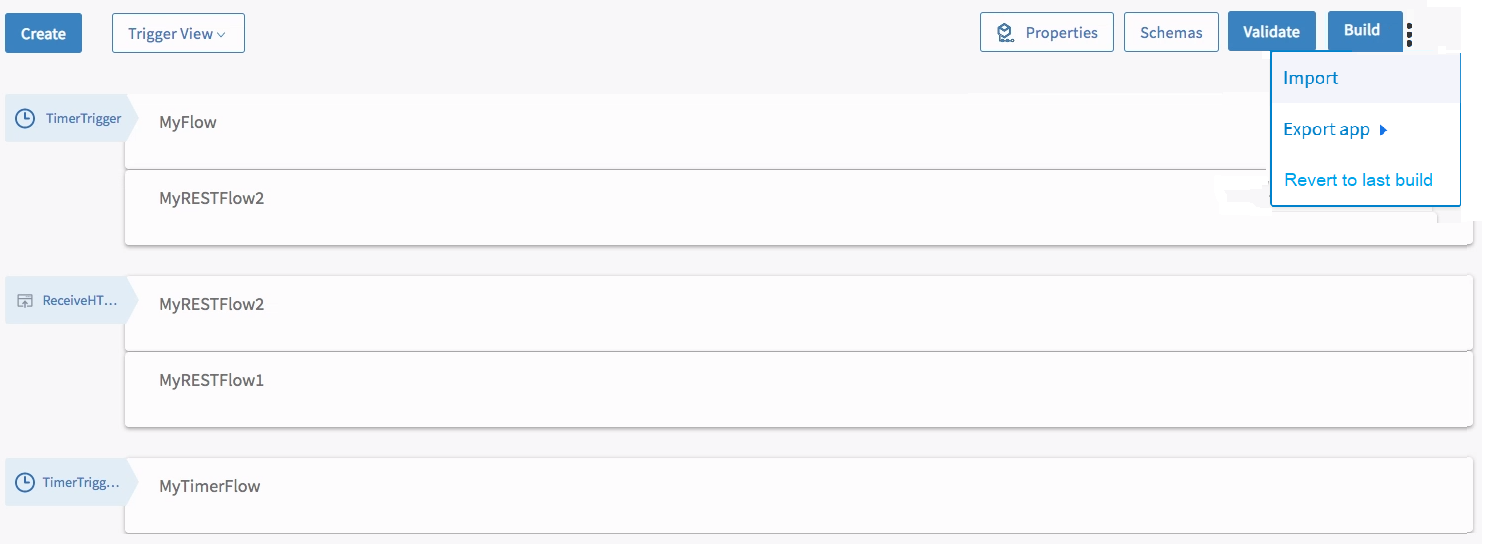
In the image above, MyRESTFlow2 is attached to both TimerTrigger and ReceiveHTTPMessage trigger as shown, hence it appears twice. The MyTimerTrigger flow was created with a new Timer trigger, hence it is not attached to the top Timer trigger which has two flows attached to it and TimerTrigger appears twice on the page.
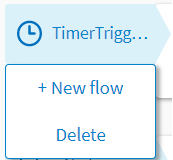
Hovering on a trigger displays the New flow option. Click the New flow option to create a new flow to attach the newly created flow to that trigger.
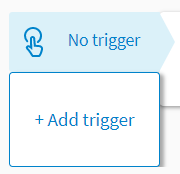
Hovering over No trigger displays the Add trigger option which takes you to the triggers catalog.
Flow View
In this view, each flow is shown separately and the trigger that it is attached to is shown on the extreme left of the flow. Shown below is a Flow View representation of the Trigger View image above:
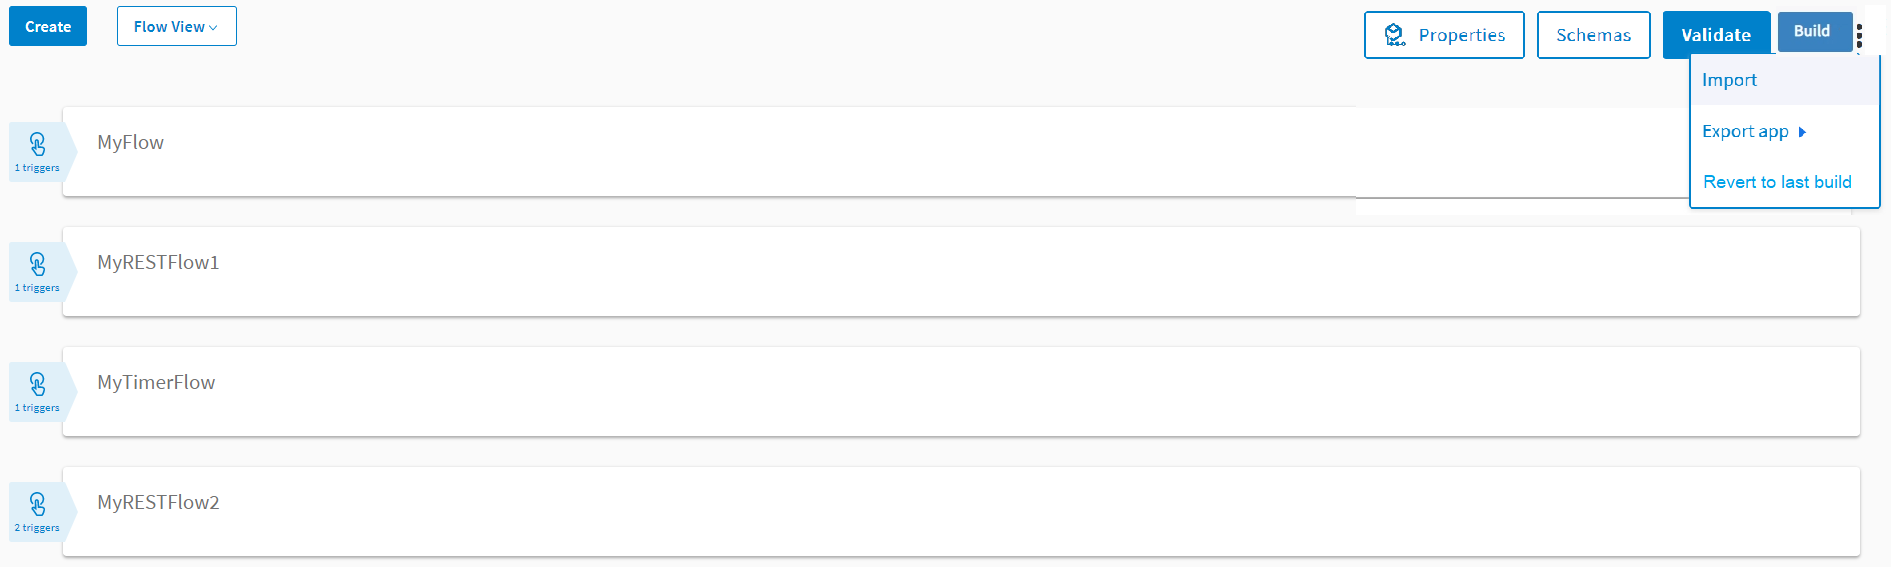
Notice that MyRESTFlow2 shows two triggers. That is because this flow is attached to two triggers as you can see in the Trigger View. A blank flow shows 0 triggers against it as it is not attached to any triggers.