Creating a Style Object
You can use a Style Object to permanently link report styling to a field or sort object. The same Style Object can be linked to multiple fields or sort objects.
When you run a TABLE or GRAPH request using an output format that respects styles, such as HTML or PDF, and the field or sort object is referenced in the request, then styles from the Style Object associated with this field or sort object are automatically added to the request.
The Style Object has two sub-components:
- Data Appearance. Using Data Appearance, you can set the font, color, borders, and so on, and apply it to the data and title, with an option to make it conditional using the WHEN attribute.
- Data Drill-Down. Using Data Drill-Down, you can create a menu linking a report to other resources, with an option to make it conditional using the WHEN attribute.
Related Information
For more information on:
- Report formatting Data Appearance properties, see Formatting Report Data in ibi™ WebFOCUS® Creating Reports With ibi™ WebFOCUS® Language manual.
- Conditional styling (WHEN property in Data Appearance and Data Drill-Down), see Controlling Report Formatting in ibi™ WebFOCUS® Creating Reports With ibi™ WebFOCUS® Language manual.
- Data Drill-Down and menu items, see Linking a Report to Other Resources in ibi™ WebFOCUS® Creating Reports With ibi™ WebFOCUS® Language manual.
Enable the Use of a Style Object
- Procedure
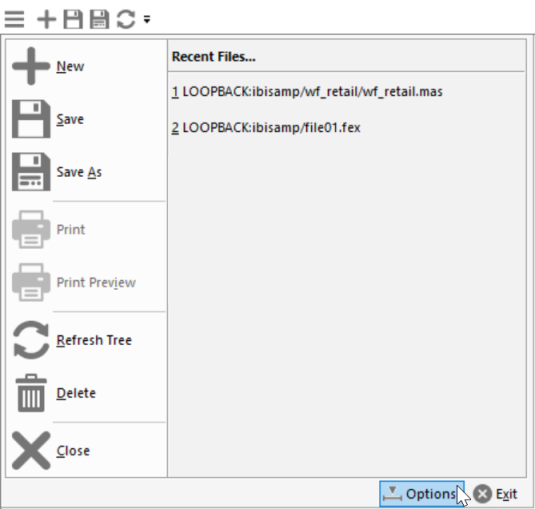
- From the ibi Data Migrator desktop interface Menu, click Options, as shown in the following image.
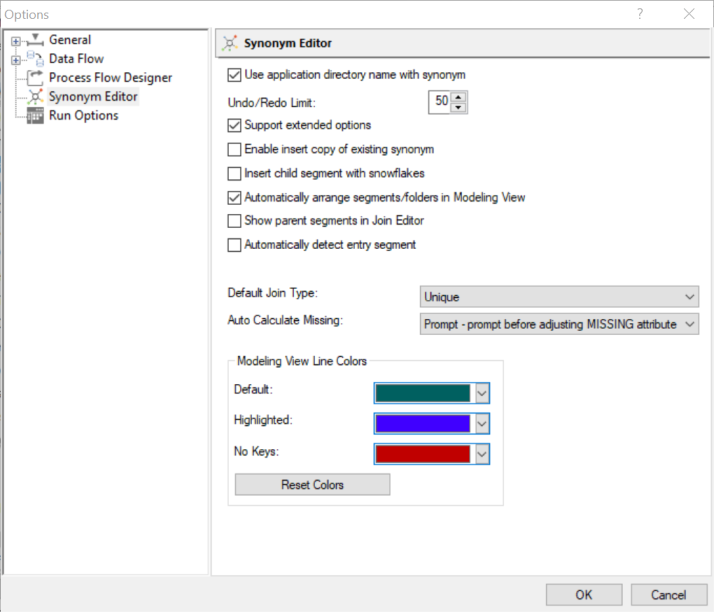
- On the Options dialog, select Synonym Editor, and then select Support extended options, as shown in the following image.
- Click OK.
How to Create a Style Object
- Procedure
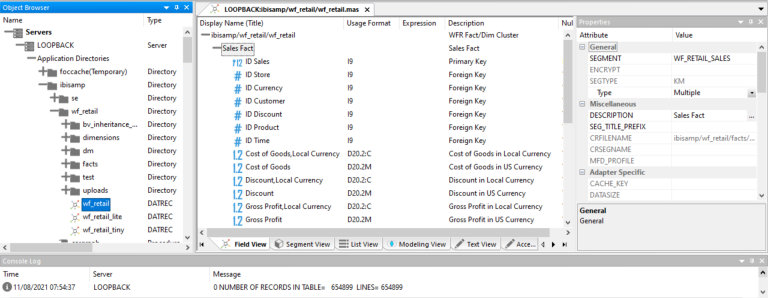
- Open a Master File in the Synonym Editor. For example, double-click the ibisamp/wf_retail.mas Master File in the Object Browser tree, as shown in the following image.
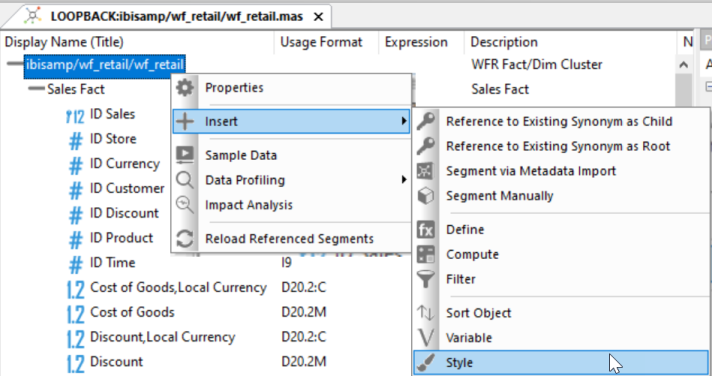
- To create a Style Object, right-click the Master File, select Insert, and then select Style, as shown in the following image.
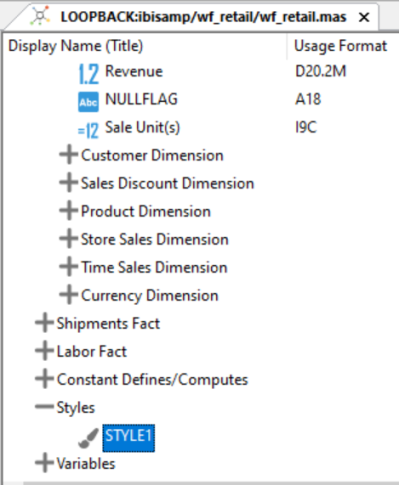
A default, STYLE1, is created in the Styles folder, as shown in the following image.
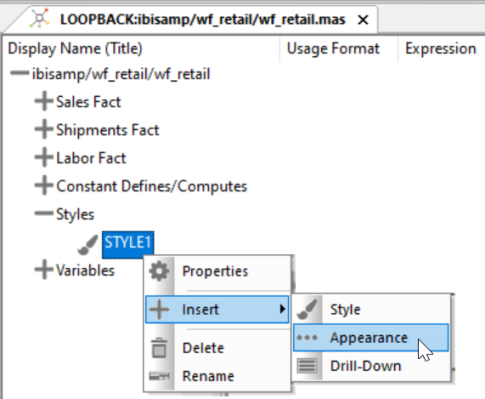
- Right-click STYLE1 and select Appearance to create a Data Appearance for the style, as shown in the following image.
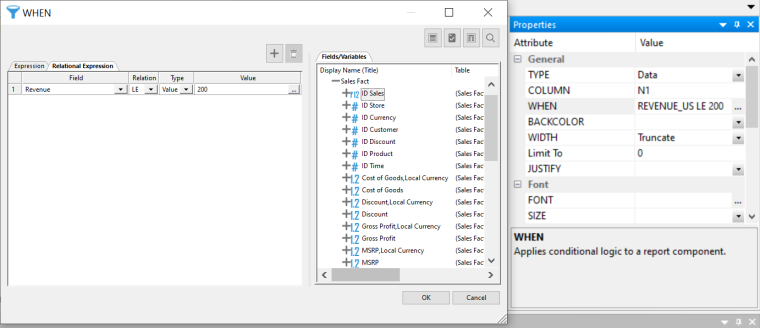
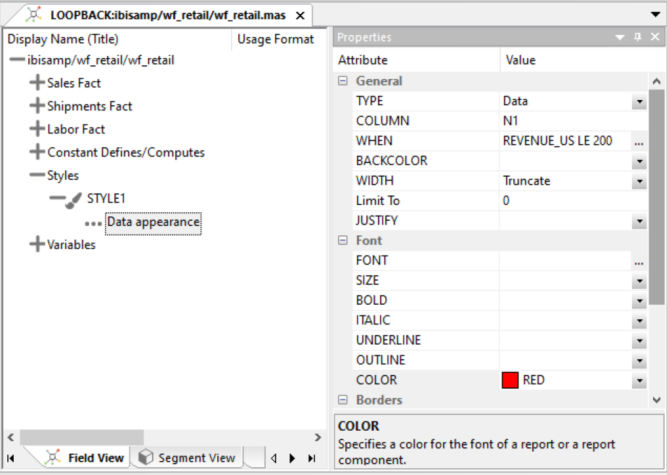
- To set a condition on the Revenue field, set the WHEN attribute to Revenue LE 200, as shown in the following image.
- Set the Font color to red, as shown in the following image.
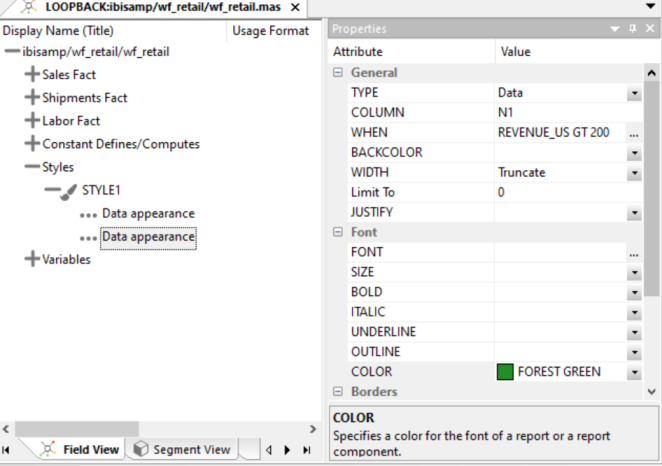
- Create a second Data Appearance on the Revenue field with the WHEN attribute set to Revenue GT 200 and the Font color set to Forest Green, as shown in the following image.
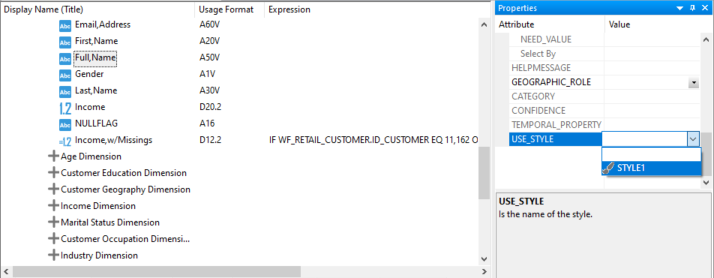
- To assign the STYLE1 Object to the ID Product field, select the field, and under Miscellaneous properties, set the USE_STYLE attribute to STYLE1, as shown in the following image.

- Under Miscellaneous properties, assign the STYLE1 Object to another field, for example the Full Name field, as shown in the following image.
- On the Options dialog, under Run Options, set the Test reports default format option to HTML, as shown in the following image.
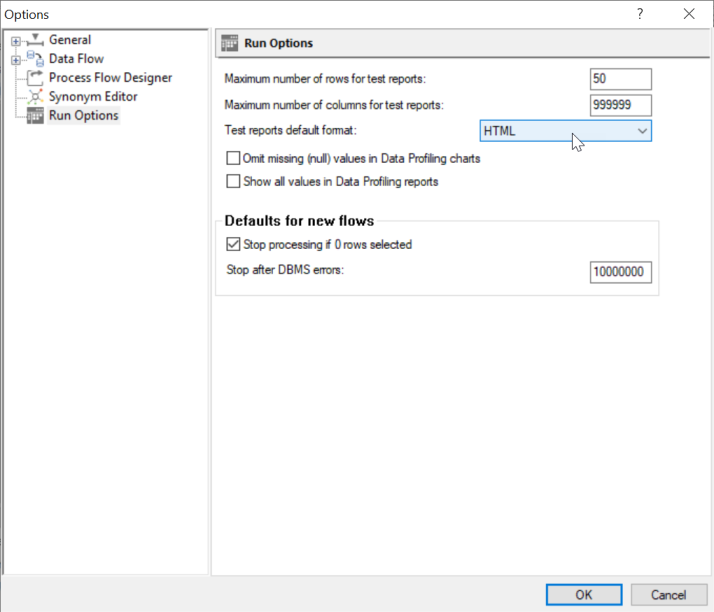
- Click OK.
- Click Save.
- Create a procedure, for example, file01:
TABLE FILE WF_RETAIL

PRINT REVENUE_US COGS_US

BY ID_PRODUCT BY FULLNAME

IF RECORDLIMIT EQ 15

END
- Run the procedure.
The first 15 records are shown in the output. If revenue is less than or equal to $200, the ID Product and Full Name values are shown in red. If Revenue is greater than $200, the ID Product and Full Name values are shown in forest green.

Create a Data Drill-Down Style Object
- Procedure
- Create a drill-down target procedure, file02, including the ID_PRODUCT field and a filter that filters on the ID_PRODUCT field, for example:
TABLE FILE WF_RETAIL

SUM REVENUE_US

BY ID_PRODUCT BY PRODUCT_NAME

IF ID_PRODUCT EQ '&parm_name'

IF RECORDLIMIT EQ 15

END
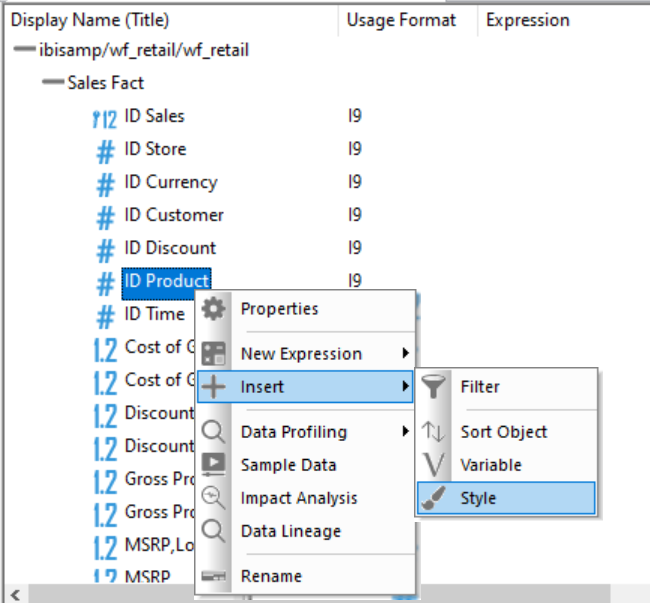
- To create a Data Drill-Down Style Object, right-click the field you want to drill down on, for example, ID Product, select Insert, and then select Style, as shown in the following image.
A default ID_PRODUCT1 style is created in the Styles folder.
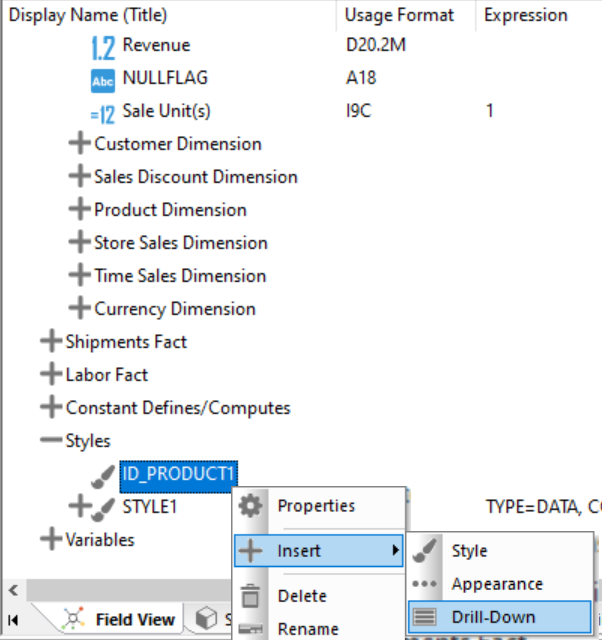
- To create a drill-down on the ID Product field, right-click ID_PRODUCT1 under the Styles folder, select Insert, and then select Drill-Down, as shown in the following image.
A data drill entry is created under ID_PRODUCT1.
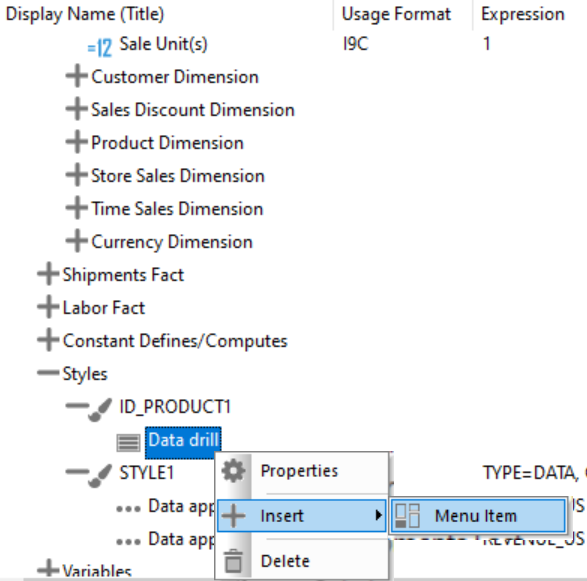
- Right-click Data drill, select Insert, and then select Menu Item, as shown in the following image.
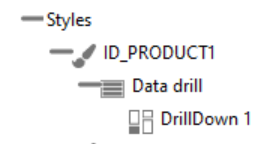
A DrillDown 1 menu item is created under ID_PRODUCT1, as shown in the following image.
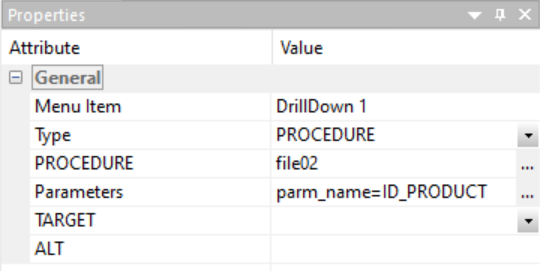
- For the DrillDown 1 menu item properties, select PROCEDURE from the Type dropdown list, browse to or type the name of the drill-down procedure in the PROCEDURE field, and then supply the parameter name and value for the Parameters attribute, as shown in the following image.
- To assign the ID_PRODUCT1 style to the ID Product field, select the field, and under Miscellaneous properties, set the USE_STYLE attribute to ID_PRODUCT1, as shown in the following image.

- Run the file01 procedure. The ID Product values appear as drill-down links, as shown in the following image.
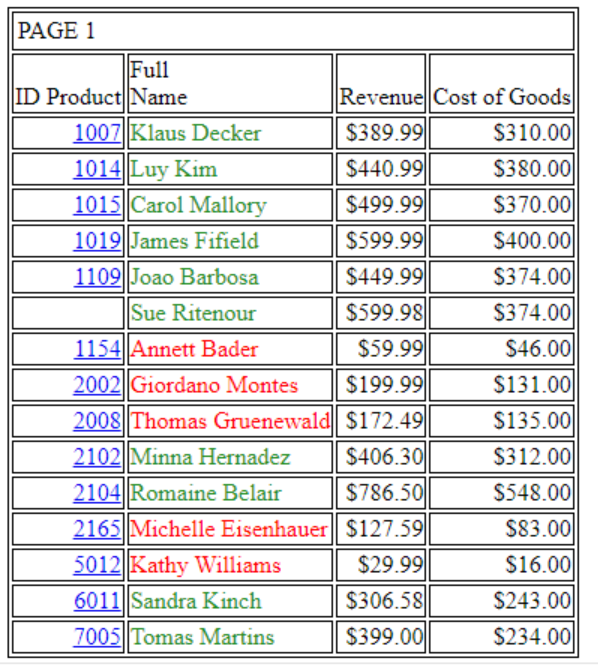
- Click an ID Product link, and then click DrillDown 1. This runs the file02 drill-down target procedure. The product name and revenue for the ID Product value that you selected displays in the output, as shown in the following image.

Directly Create a Style Object Expression
For any field-level style keywords, not listed in the Appearance object properties, you can edit the Style Object expression directly in the text editor.
- Procedure
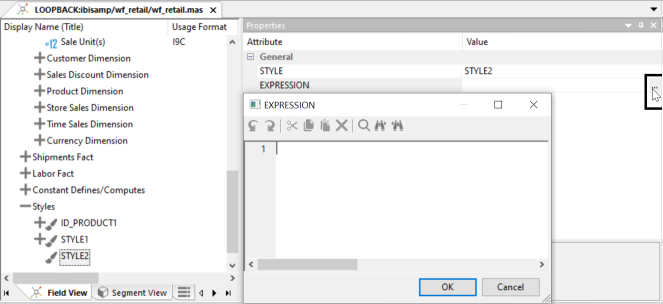
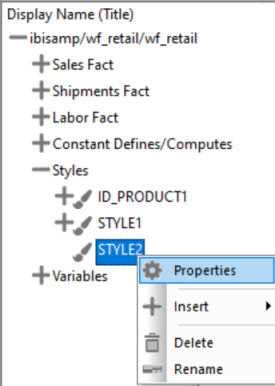
- Create a style, for example, STYLE2, right-click STYLE2, and select Properties, as shown in the following image.
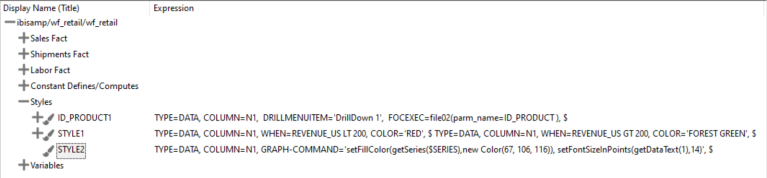
- Type an expression in the Expression Value field, for example, as shown in the following image.

The expression is added to the STYLE2 style, as shown in the following image.
 Note: You can also use the Style Expression editor to type the expression. Click the ellipses button for the EXPRESSION property value to display the EXPRESSION dialog, as shown in the following image.