Creating a Google Sheets Project
A Google project must be available before you can configure the Adapter for Google Sheets.
Create a Google Project
- Procedure
- Enter the following URL in a web browser:
https://console.developers.google.com/project
If you are not already signed into a Google account, a Sign in dialog opens to Sign into the Google Developers Console.
- Enter your Google credentials to sign in.
The Google Developers Console screen opens, as shown in the following image.
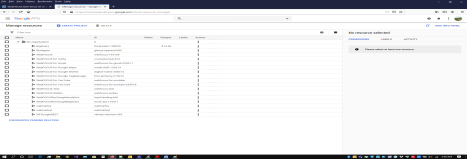
- Click CREATE PROJECT.
The New Project screen opens, as shown in the following image.
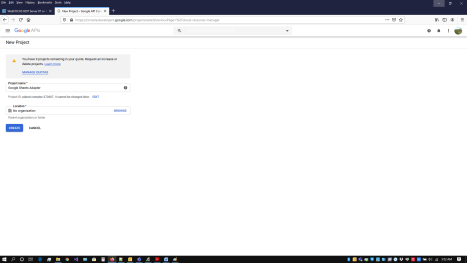
- Enter a project name and then click Create.
The page indicating that the project was created opens, as shown in the following image.
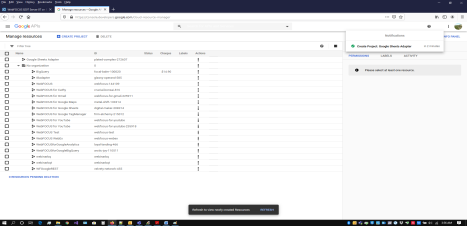
- Click REFRESH at the bottom of the screen.
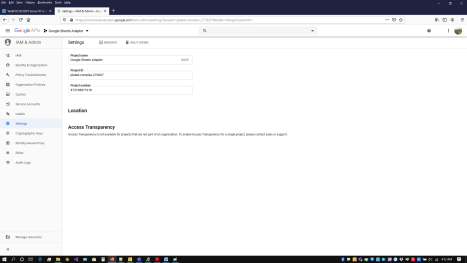
- Click the three vertical dots under Actions for the newly created project, and select Settings, as shown in the following image.
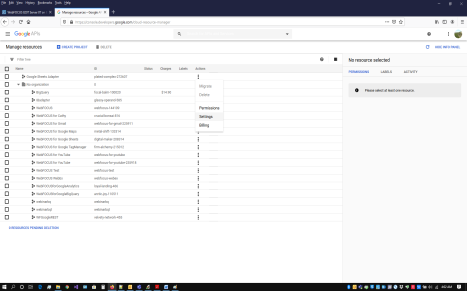
The Google project Settings page opens, as shown in the following image.
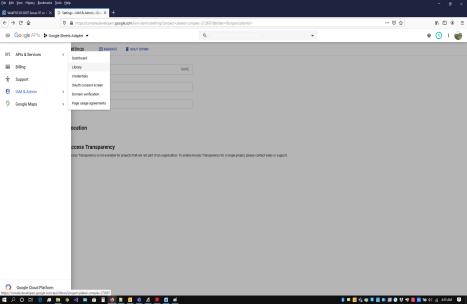
- Click the three horizontal bars indicating the Navigation menu at the top left of the screen and select APIs & Services/Library, as shown in the following image.
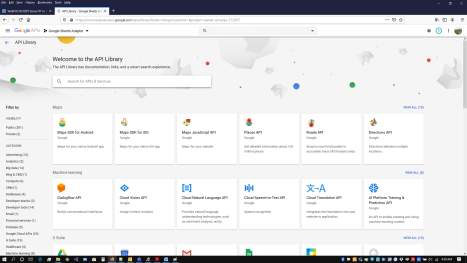
The API Library screen opens, as shown in the following image.
- In the Search box, enter Google Sheets API and select it from the search results, as shown in the following image.
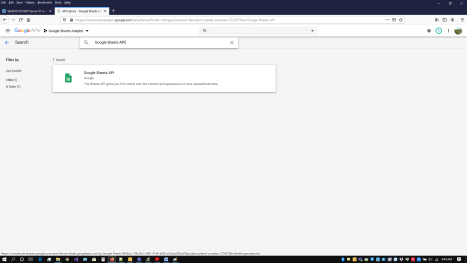
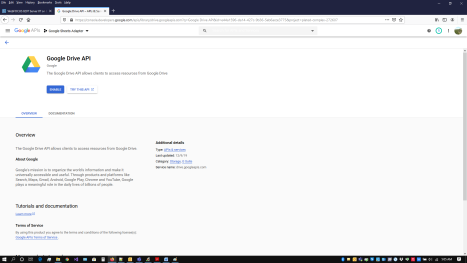
The Google Sheets API page opens, as shown in the following image.
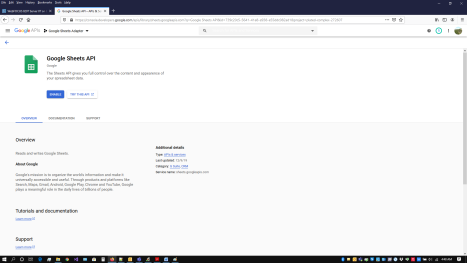
- Click Enable.
The Google Sheets API page opens showing Usage information, as shown in the following image.
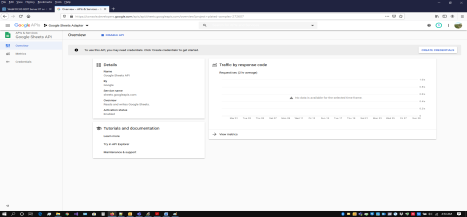
- Click the three horizontal bars indicating the Navigation menu at the top left of the screen and select APIs & Services/Library, as shown in the following image.
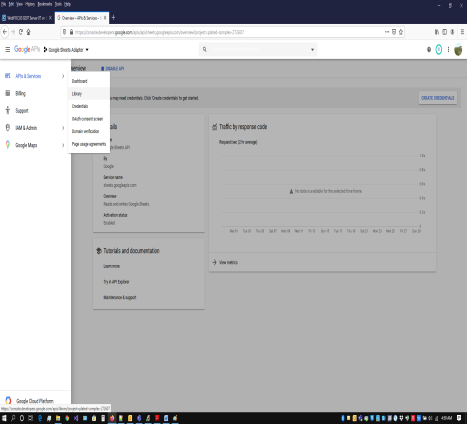
The API Library page opens, as shown in the following image.
- In the Search box, enter Google Drive API and select it from the search results, as shown in the following image.
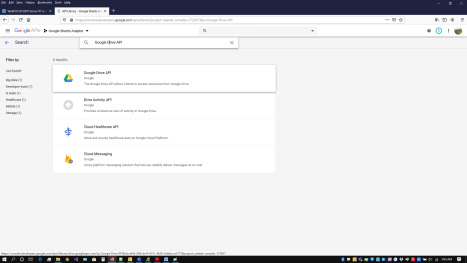
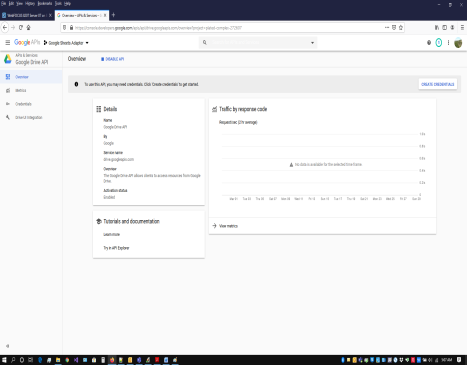
The Google Drive API page opens, as shown in the following image.
- Click Enable.
The Google Drive API page opens showing Usage information, as shown in the following image.
- Click the three horizontal bars indicating the Navigation menu at the top left of the screen and select APIs & Services/OAuth consent screen, as shown in the following image.
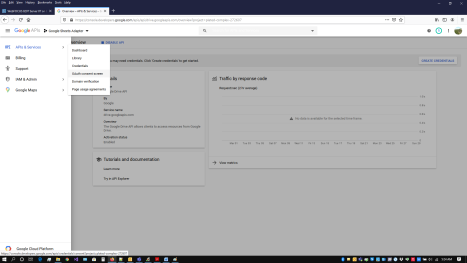
The OAuth Consent screen page opens, as shown in the following image.
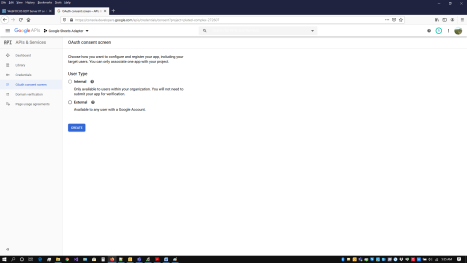
- Select either Internal or External and click CREATE.
Note: Only G Suite users can select Internal.
The OAuth Consent screen configuration page opens, as shown in the following image.
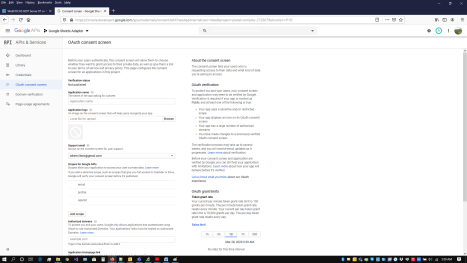
- Enter an Application name, enter the Domain used by the WebFOCUS Server under Authorized domains, and click Save at the bottom of the page
The OAuth consent screen page opens, as shown in the following image.
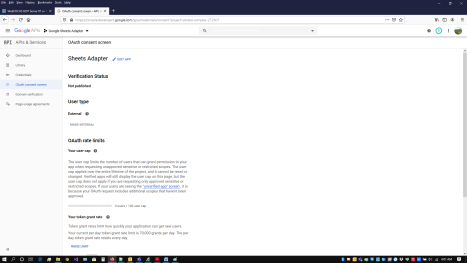
- Click Credentials in the left pane.
The Credentials page opens, as shown in the following image.
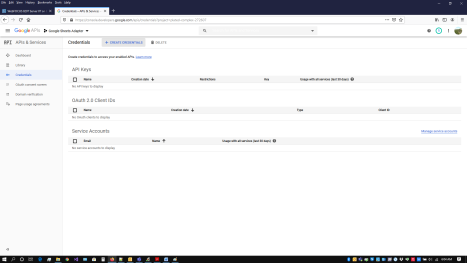
- Click CREATE CREDENTIALS and select OAuth client ID, as shown in the following image.

The Create OAuth client ID page opens, as shown in the following image.
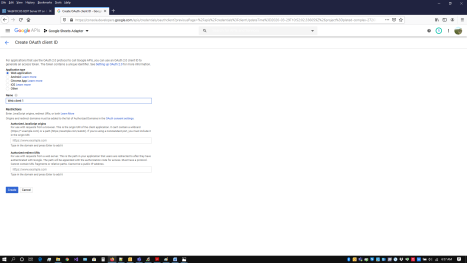
- Perform the following steps:
- Select Web application from the list of application types.
- Enter the host name and port used to access the WebFOCUS Reporting Server browser interface in the AUTHORIZED JAVASCRIPT ORIGINS field.
The Google project requires HTTPS.
For example:
https://host.ibi.com:8121
- Enter the host name and port used to access the WebFOCUS Reporting Server browser interface with oauth20.exe in the AUTHORIZED REDIRECT URI field.
The Google project requires HTTPS.
For example:
https://host.ibi.com:8121/oauth20.exe
- Click Create.
The OAuth client screen containing the Client ID and Client Secret opens, as shown in the following image.
 Note: The Client ID and Client secret values are required to configure the Google Sheets Adapter.
 - Click OK.