You can configure
adapters and connect to data sources that you can use to build
reports, charts, and visualizations using WebFOCUS. You can also create a synonym for one or more data objects, or create
cluster synonyms for select objects assigned as facts or dimensions.
You can connect to data in the following
ways:
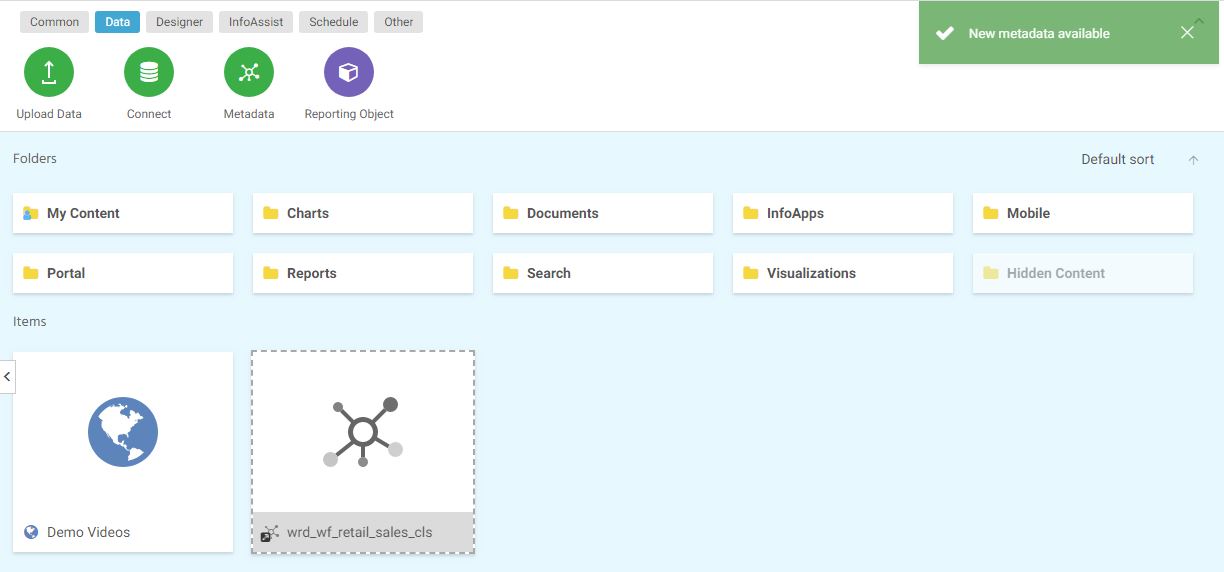
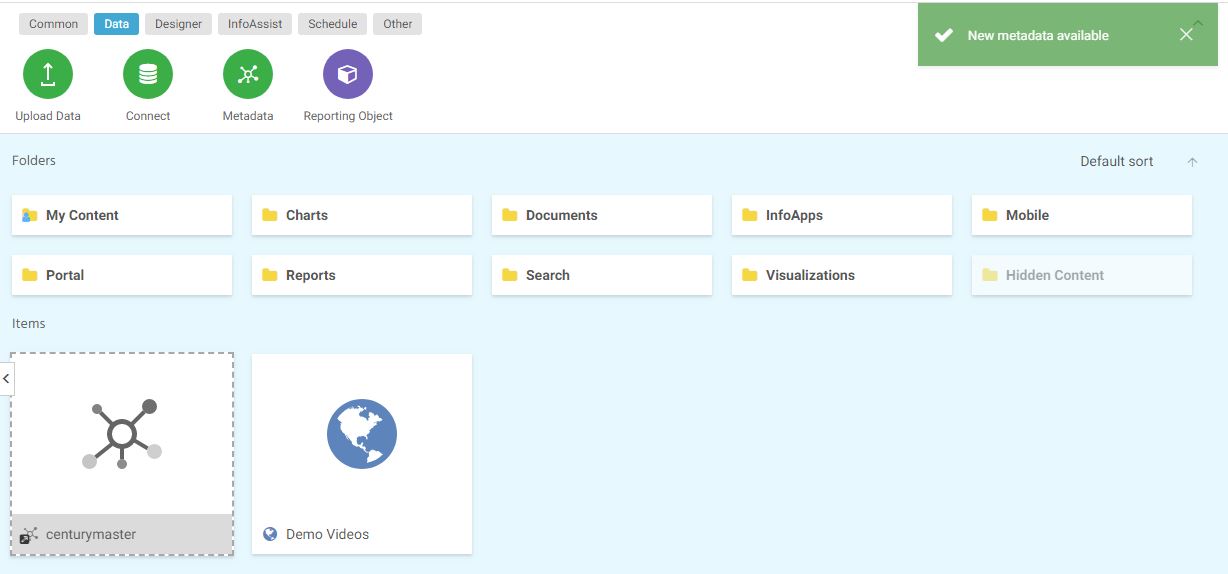
- From the WebFOCUS Home Page, click the Data tab on the Action Bar, and then click the Connect button
 .
.
- From the WebFOCUS Home Page, click the Designer tab on the Action Bar, then click the Workbook or Chart button, and then click Connect in the Open dialog box.
- From the WebFOCUS Home Page, click the InfoAssist tab on the Action Bar, then click the Chart, Visualization, Report, or Document button, and then click Connect to Data in the Open dialog box.
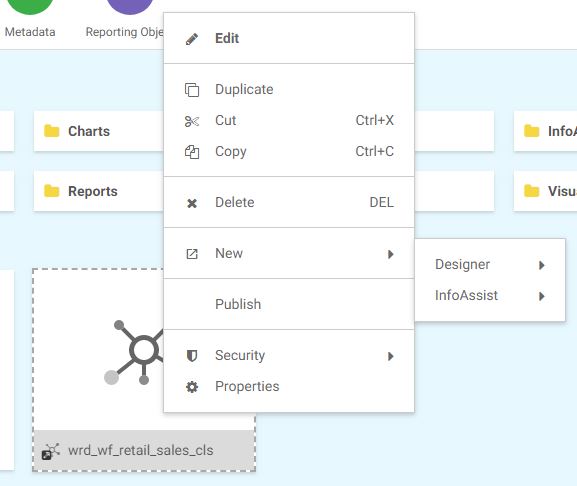
- From the Legacy home page, in the Resources tree, right-click a domain
or folder, point to Metadata, and then click Connect
to Data.
Note: The Report button appears in the Designer category if you have enabled the Technical Preview feature.
Configuring Adapters
Connect to Data creates a connection to your data, which will allow you to modify your data for use in WebFOCUS. You can configure
a new adapter or connection, add a connection to an existing adapter, or change adapter connections.
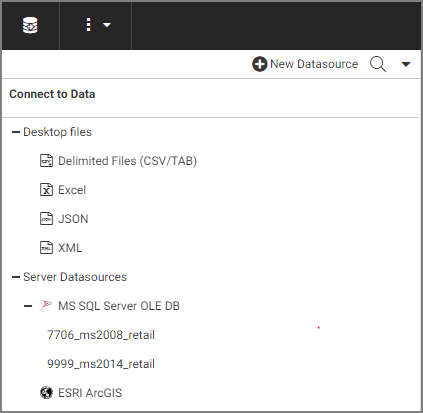
The initial Connect to Data screen displays a panel for selecting or configuring adapters, and also for uploading data,
as shown in the following image.
- Desktop files. You can upload, append, or merge delimited, Excel, JSON, or XML files to a target environment from this area of the Connect
to Data workflow.
- New Datasource. Displays all available adapters. If a connection has already been configured for an adapter, a check mark is displayed next
to the adapter name. If the adapter has multiple versions, you can select which version to configure when you right-click
the adapter name or click its drop-down arrow. You can select a category of adapter to display from a categorical drop-down
list. A search option is also available.
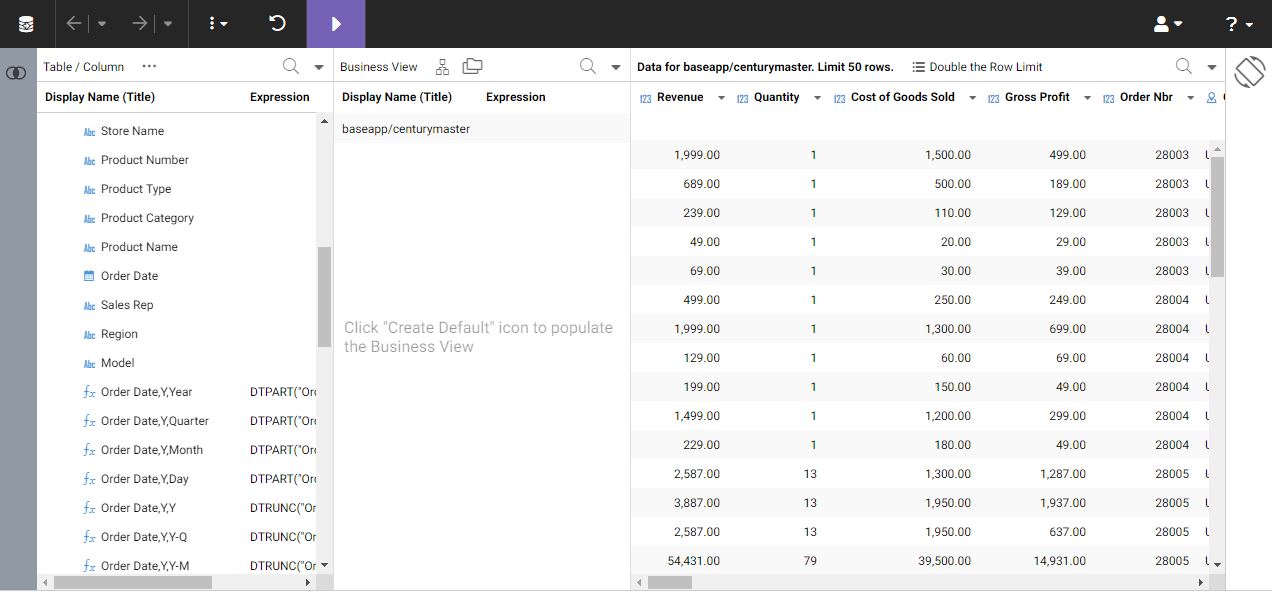
- Server Datasources. Displays all adapters and connections that have been configured. You can create synonyms and cluster business views from
this panel, add new or duplicate connections, remove connections, and view and edit properties.
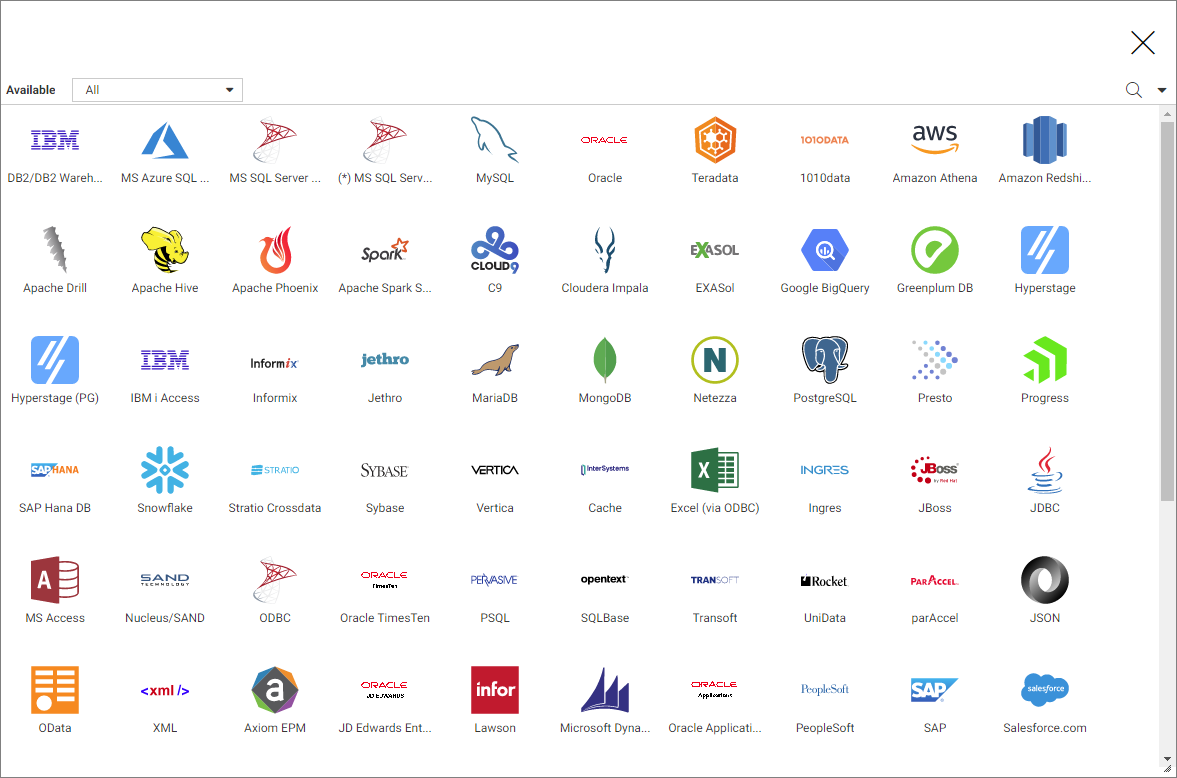
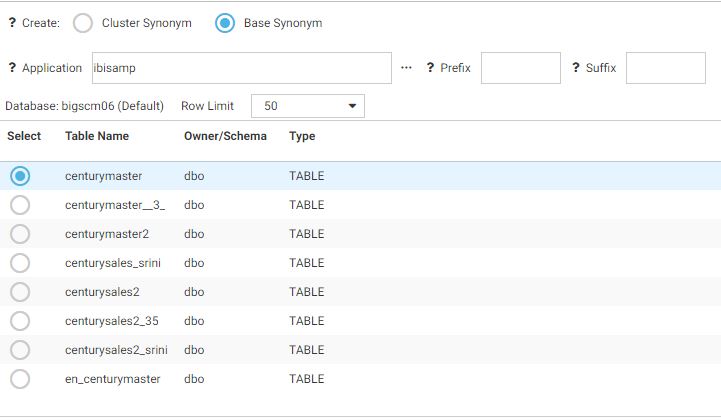
Procedure: How to Configure a New Adapter/Connection
- In the Connect to Data panel, click New Datasource.
The Available adapter dialog box opens, as shown in the following image.
- Right-click an adapter name and click Configure.
Note: If the adapter has multiple versions, right-click the adapter name and select which version to configure.
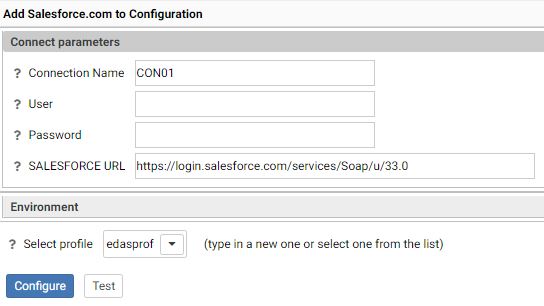
The Configuration dialog box opens,
as shown in the following image.
- Enter the parameters for the specific adapter in the dialog box.
- Click Test, if available, to test your configuration.
- Click Configure.
Note: Once configured, the adapter appears beneath Server Datasources in the Connect to Data panel.
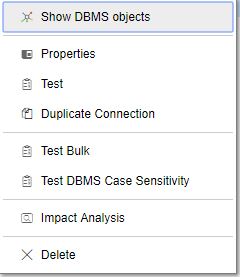
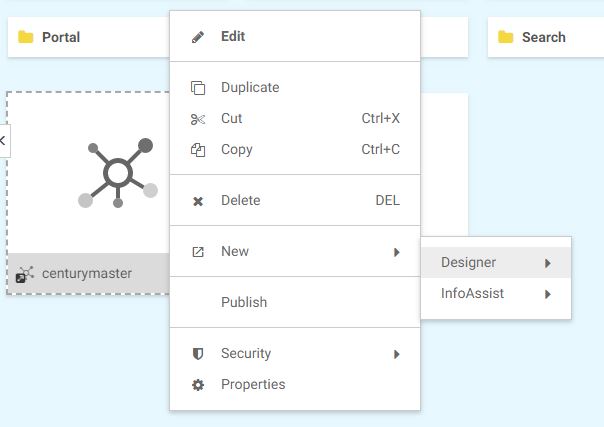
Procedure: How to Add a Connection
- In the Connect to Data panel, under Server Datasources, right-click a configured adapter.
A shortcut menu opens, as shown in the following image.
Note: These menu options are for a SQL adapter. Options may differ for different categories of adapters.
- Click Add Connection.
- Enter the parameters for the specific adapter in the dialog box.
- Click Test, if available, to test your configuration.
- Click Configure.
Procedure: How to Change a Connection
- In the Connect to Data panel, under Server Datasources, right-click a configured adapter.
- Click Properties.
- Change the parameters for the specific connection in the dialog box and
click Configure.