Procedure: How to Add a Workspace to Source Control
- Sign-in to WebFOCUS as a developer or administrator.
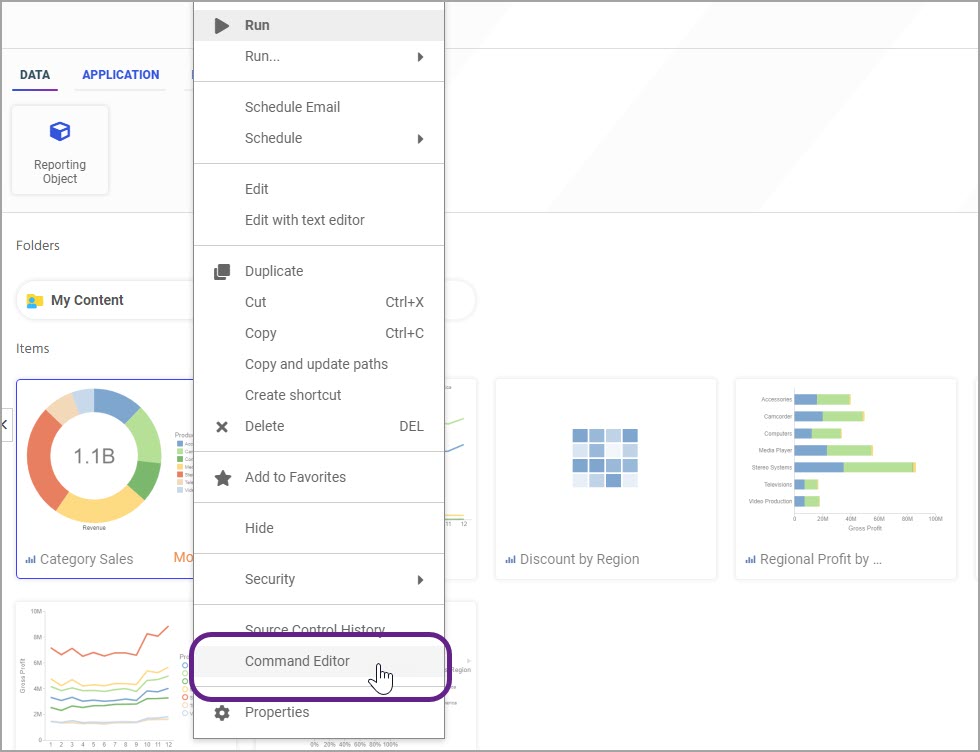
- Right-click a workspace that you want to add to Source Control,
point to Git / Source Control, and then click Place under Source
Management.
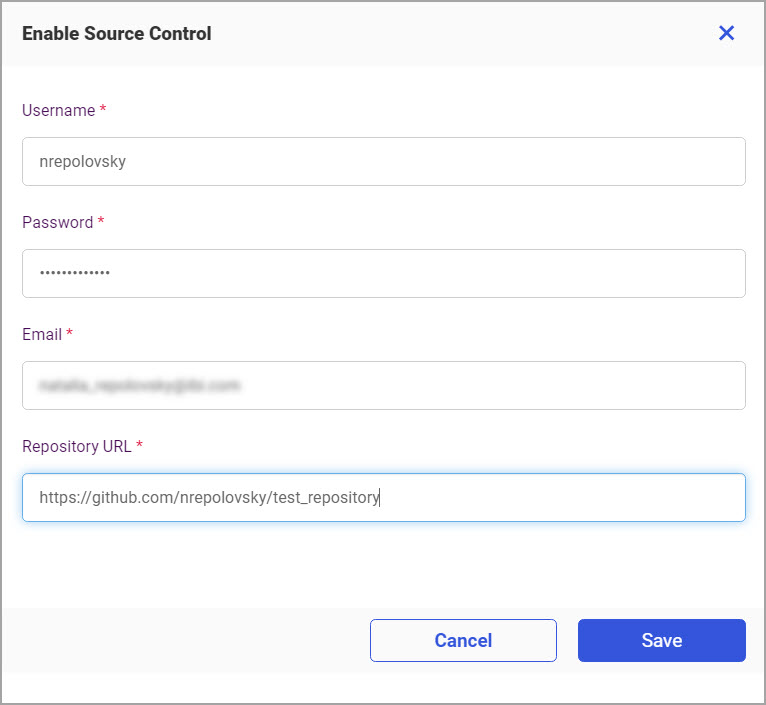
The Enable Source Control dialog box opens.
- Fill the login information for your external git source control
repository and provide a repository URL.
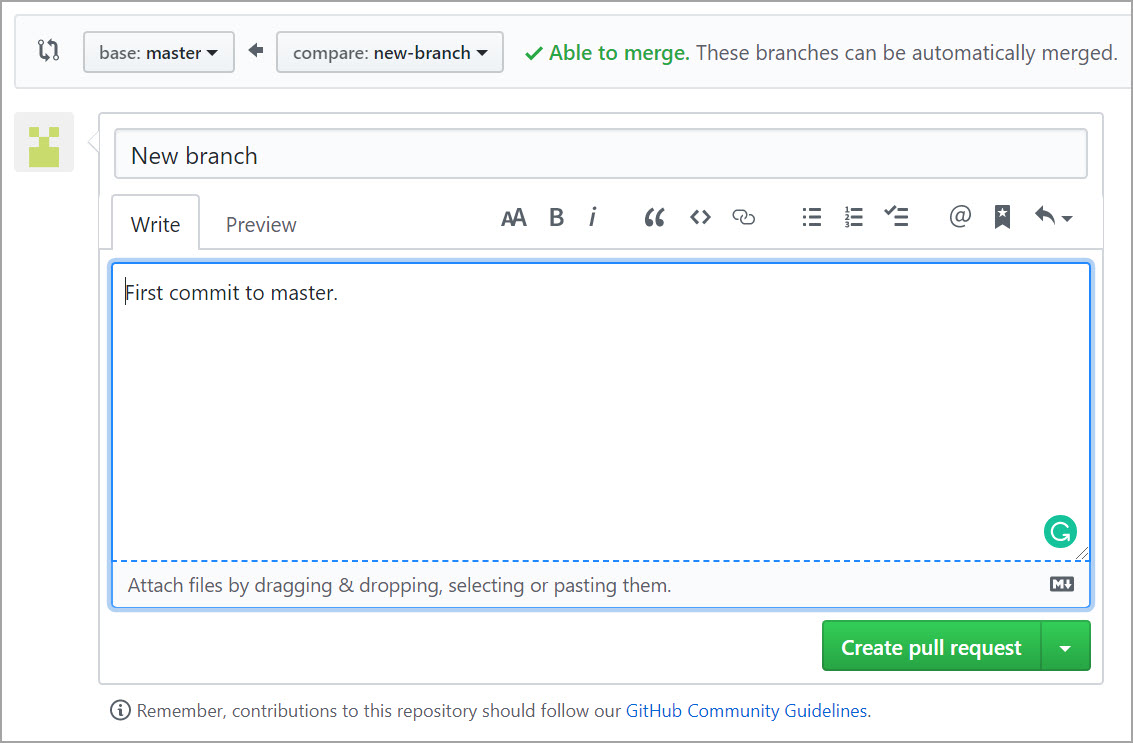
The following image shows an example of the Enable Source Control dialog box populated with the GitHub repository information.
- Click Save.
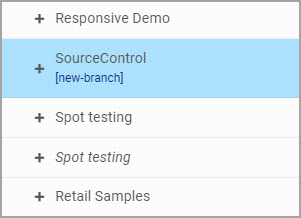
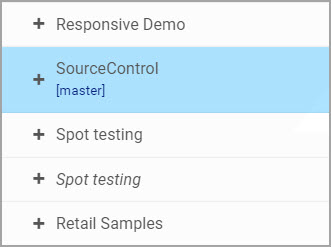
The workspace title in the Resources tree changes to show the branch that is currently enabled in the remote repository, as shown in the following image.
The items in the workspace show the Un-tracked label, as shown in the following image, indicating that the source control management is enabled but the content is not yet synchronized with the remote repository.

- To remove the workspace from Source Control,
right-click it, point to Git / Source Control, and then click Remove From Source Management.
All subsequent changes to this workspace can no longer be committed to the remote repository.