Connecting to Data Files

How to:

You can connect to various data sources and create synonyms, configure new adapters, add connections to existing adapters, or change adapter connections. Then use your connected data for content creation or analysis.

Procedure: How to Connect to Data Files

  1. On the WebFOCUS Hub, click the plus menu, and then click Get Data, or, on the WebFOCUS Home Page, click the Get Data button .

    The Get Data dialog box opens, as shown in the following image.
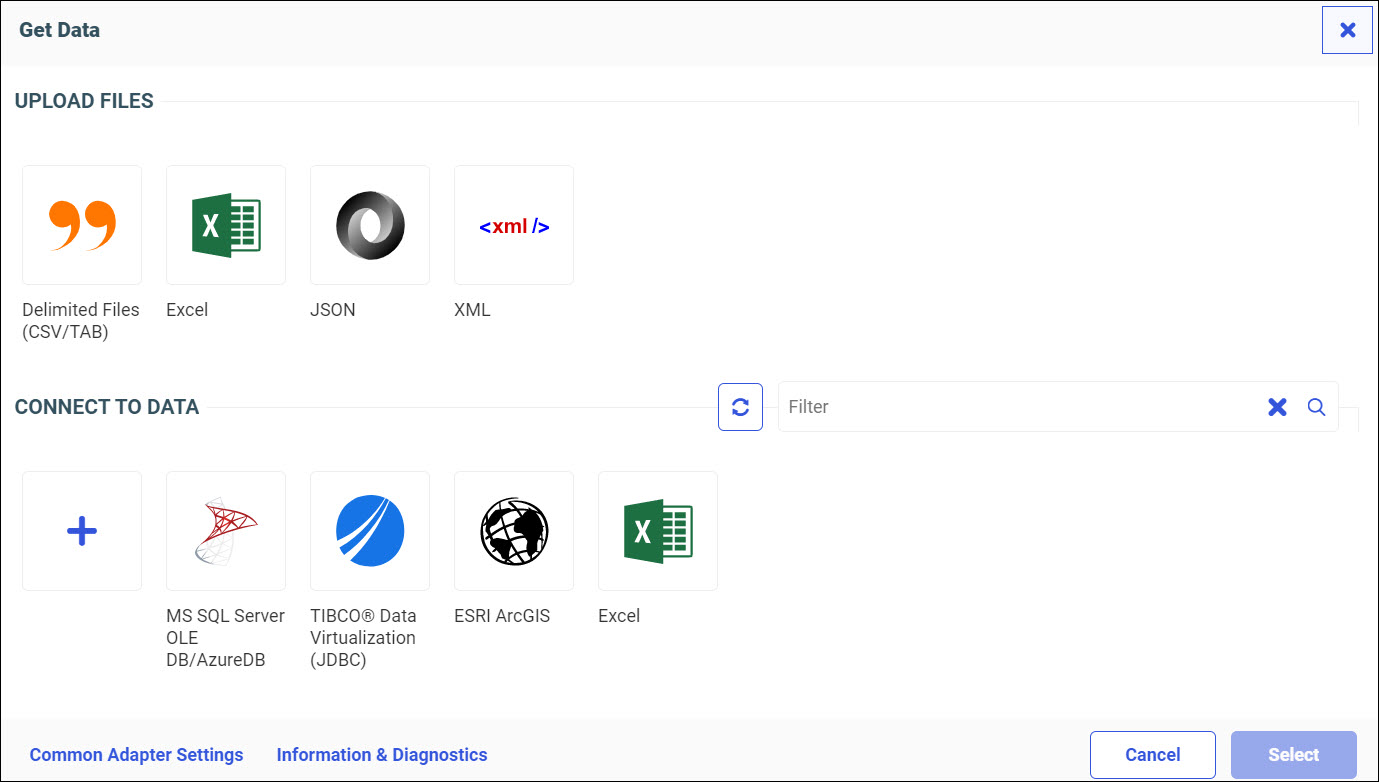
  2. Under CONNECT TO DATA, click a configured adapter.

    The Configure Connections dialog opens, as shown in the following image.

  3. Double-click an available connection.

    The Create Synonym dialog box opens, as shown in the following image.

  4. Select a data source for synonym creation.
  5. Click the Add button.

    Your synonym opens in WebFOCUS Designer, where you can create content. Click the DATA tab to view your synonym, as shown in the following image.
Procedure: How to Configure a New Adapter

  1. Open the Get Data dialog box.

    Depending on your version of WebFOCUS and your permissions, you may have the option to configure a new adapter.

  2. Under CONNECT TO DATA, click the New Connection icon .

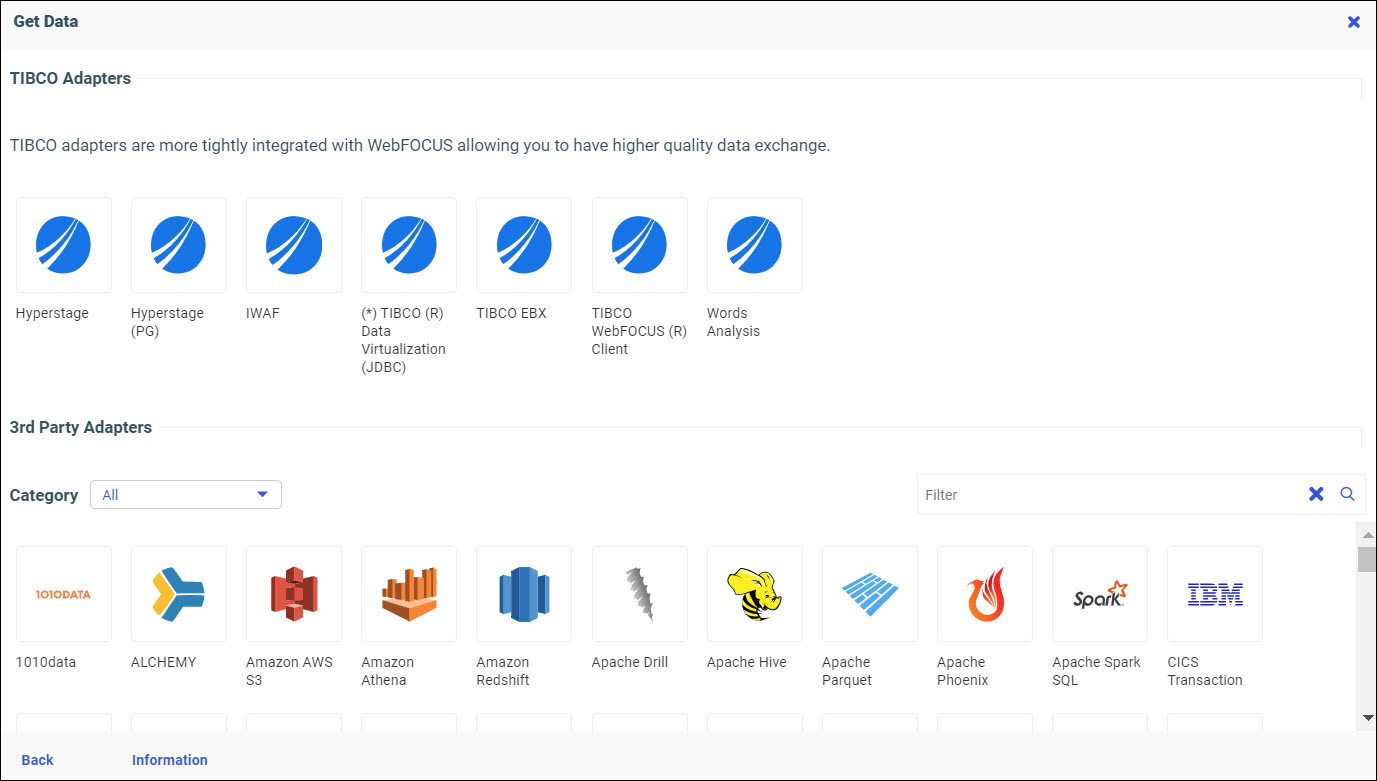
    The Available adapter dialog box opens, as shown in the following image.

  3. Right-click an adapter and click Configure.

    A parameters panel opens, as shown in the following image.

  4. Enter your parameters in the panel.

    See the information specific for your adapter in the Adapter Administration technical content.

  5. Click Test, if available, to test your configuration.
  6. Click Configure.

    Your configured adapter will display in the Get Data dialog box.

Procedure: How to Add a Connection

  1. From the Get Data dialog box, under CONNECT TO DATA, click a configured adapter.

    The Configure Connections dialog box opens, as shown in the following image.

  2. Click the New Connection icon .

    A parameters panel opens.

  3. Enter your connection parameters.

    See the information specific for your adapter in the Adapter Administration technical content.

  4. Click Test, if available, to test your connection.
  5. Click Configure.

    Your configured connection will display in the Configure Connections dialog box.

Procedure: How to Change a Connection

  1. From the Get Data dialog box, under CONNECT TO DATA, click a configured adapter.

    The Configure Connections dialog box opens, as shown in the following image.

  2. Right-click a connection.
  3. Select Properties from the shortcut menu.

    A parameters panel opens.

  4. Change your connection parameters.

    See the information specific for your adapter in the Adapter Administration technical content.

  5. Click Test, if available, to test your connection.
  6. Click Configure.

    Your changed connection will display in the Configure Connections dialog box.