|
How to: |
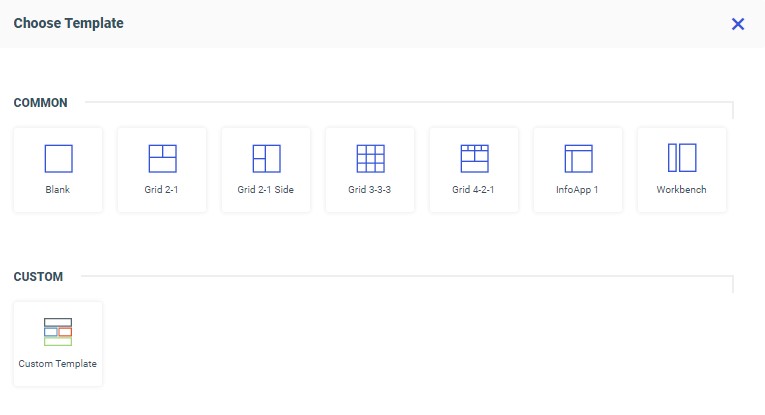
When you assemble a page from existing content in WebFOCUS Designer, the first step is to select a page template. WebFOCUS Designer provides a selection of preset templates, as shown in the following image.

Select the Blank template to start with a blank canvas to which you can add, reposition, and resize containers on your own. The Grid 2-1, Grid 2-1 Side, Grid 3-3-3, and Grid 4-2-1 templates provide a set of containers that are prearranged on the page. The InfoApp 1 template provides a collapsible filter panel and movable filter grid to which you can add filter controls, which are generated when you add parameterized content to the page. The Workbench template provides a resource tree that you can use to navigate to content items in your repository, which you can then run in the target container on the right.
In addition to the default templates that WebFOCUS Designer offers, you can create custom templates that reflect your unique layout. They are a great way to add structural variation or highly customized layouts to your page. Custom templates are also useful for organizations that have a set style for all of their pages. You must have administrator access to WebFOCUS to deploy custom templates.