Search Content & Data Area

In this section:

The Search Content & Data area of the Hub provides access to the search utility. This robust and intuitive functionality allows you to quickly bring in search results from the entire TIBCO WebFOCUS environment. You can search for analytical content, master files, individual data files, databases, and more, viewing all your results at once or divided between content and data.

With the WebFOCUS search feature, you can:

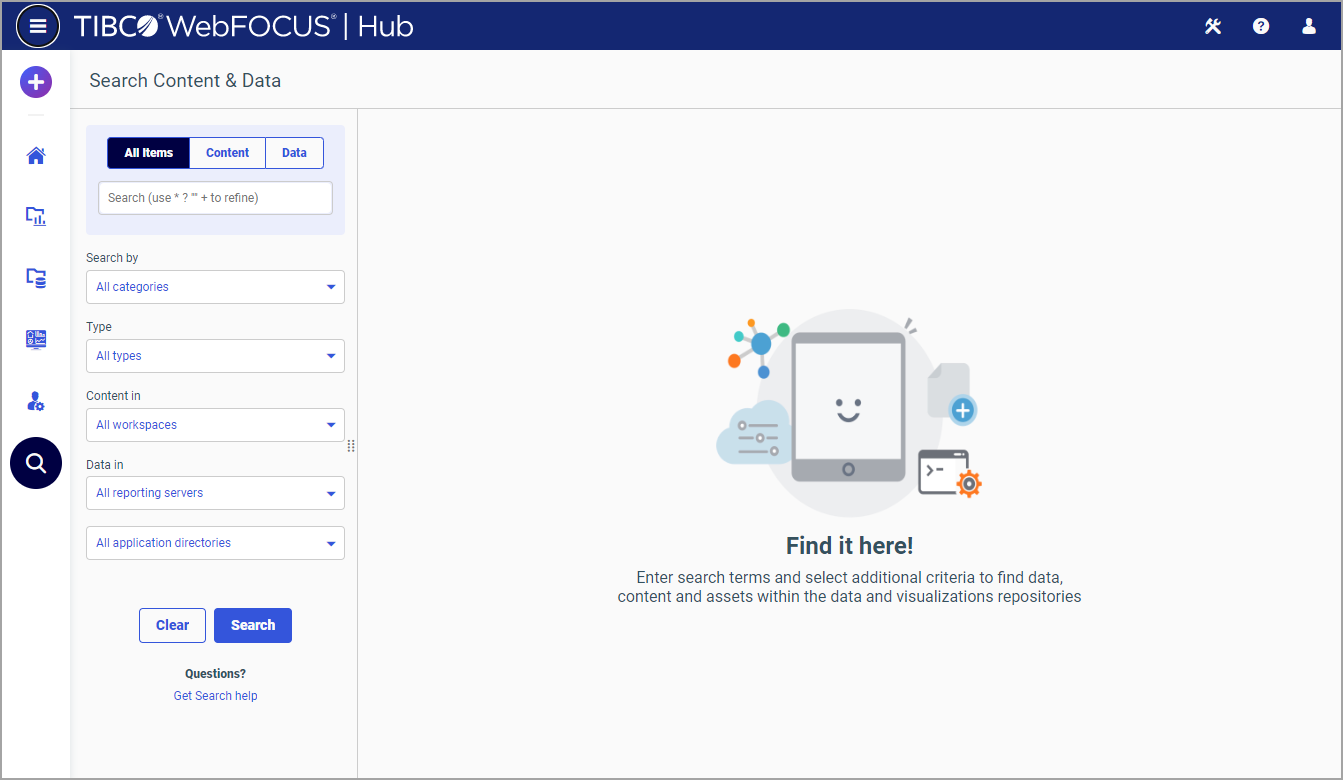
The Search Content & Data area is shown in the following image.

The Search Content & Data area consists of the following sections:

Text Input Bar

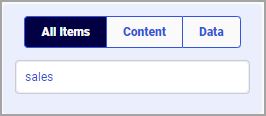
The Text Input Bar is where most of your search-related activity happens. Here you can enter a search term to quickly display all content and/or data items that match that term. Above the input bar, there are three buttons: All Items, Content, and Data. You can use these buttons to toggle between only content and only data results, as well as the option to see all results in the same search event. An example of the Text Input Bar is shown in the following image.

In addition to searching for a single term, you can refine your search directly within your input bar by using syntax. The table below lists the syntax symbols that you can use and explains how they affect the results of your search.

Symbol Meaning Usage Example

*

Multiple unspecified characters.

Input: sa*

Result: sale, sales, safe, safety

Will not find: Items that do not start with sa.

?

Single unspecified character.

Input: sa?es

Result: sales, saves

Will not find: samples

" "

Search the exact wording inside the quotation marks, including special characters.

Input: "sale?"

Result: sale?

Will not find: sales

+

Marks a term as required for results.

Input: +sales category

Result: Items that include sales and both sales and category.

Will not find: Items that only include category.

Using these symbols, you can make your search as precise or as wide as you like. To search for several optional terms, simply type them inside the input bar separated by a blank space. You can even combine several required and several optional search terms in one string. For example:

Input: +sales +category product retail

Result: Items that include sales and category; and, optionally, product and/or retail.

Will not find: Items that only include product or retail or both.

Keep in mind, that you do not need to put and or or into the search syntax to create Boolean operators. Use the above system to specify required and optional terms. If you do put and or or into the syntax, the tool treats these words as additional search terms. For example:

Input: sales and category

Result: Items that contain sales, and, and category, or combinations of the three terms.

Will not find: Exclusively items that include both sales and category.

Once you are happy with your keyword or search query syntax, click Search or simply press Enter on your keyboard. Otherwise, click Clear to remove your query from the Text Input Bar.
Search Filters

It is the best practice to opt for the search filters when searching for items in large or hierarchically complex repositories. By narrowing the search query, you can significantly improve the response time of your search event and make your search results more precise.

You can use the following filters to narrow your search:

Once you have made your selections, click Search to see your results display in the Results section. Otherwise, click Clear to bring your search options to their default state.

Results Toolbar

The Results Toolbar is located above the Results section. Similar to the Page Toolbar in the Workspaces area, the Results Toolbar allows you to customize how you view the items that currently display in the Results section. An example of the Results Toolbar is shown in the following image.

The Results Toolbar features the following elements and controls:

Results Section

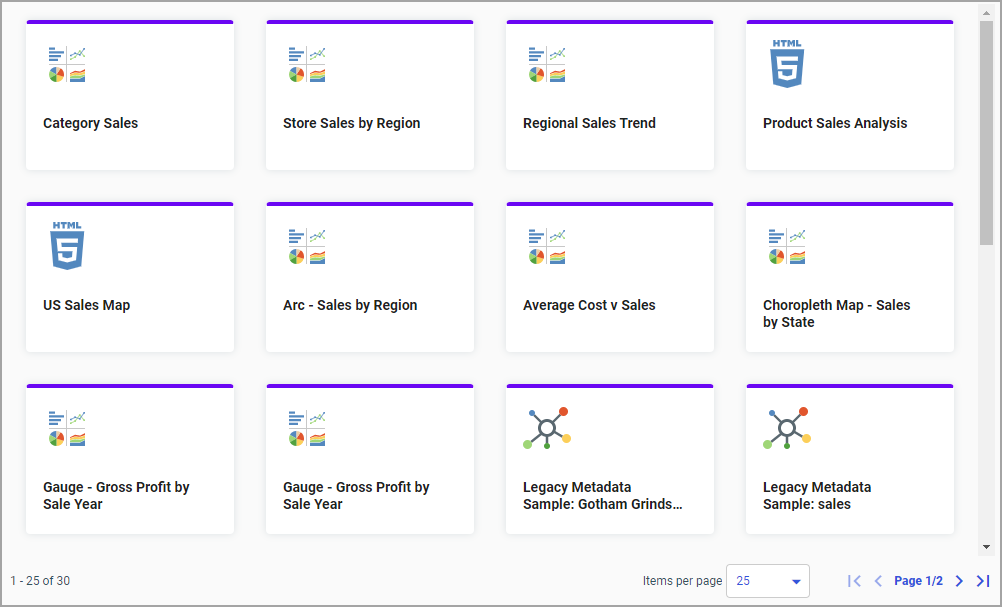
The Results section displays the items that match your search query. An example of the Results section is shown in the following image.

You can right-click any item to access its shortcut menu options. The following shortcut menu options are available in the Results section.

Run

Runs the item in the new browser window. This option is only available for the types of items that can be run.

Edit

Edits an item with the tool that was used to create it. This option is only available for the types of items that can be edited.

Edit with text editor

Edits an item in the Text Editor.

Locate Item

Opens the directory where the item resides and selects the item.

You can also toggle the view of your search results between the tile and list views by clicking the View as tiles and View as list buttons on the Results Toolbar. By default, the items display in the tile view.

The tile view allows you to see the thumbnails of your items. You can sort the items in the tile view by using the Sort by dropdown list in the Results Toolbar. Additionally, you can use the Sort items in ascending or descending order button to reverse the sort order. When you hover over an item that contains summary, the summary displays as a tooltip in both tile and list views.

The list view is useful when you need to see a large number of items at a glance. In this view, you can sort your items by clicking any column title. Each column features a two-step toggle sorting: ascending and descending. You can also specify which columns display in the list view by clicking the Select Display Columns button, and selecting the columns you want to view from the list.

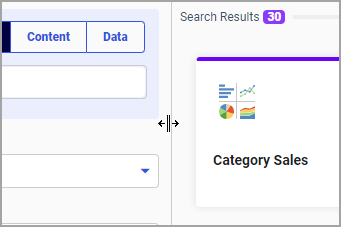
You can customize the width of the search results section by placing your cursor on top of the right edge of the section, as shown in the following image, then clicking and dragging it to achieve the desired width. Your new width is remembered, and displays the next time you sign in to WebFOCUS.

You can navigate between the pages of your search results using the pagination bar on the bottom of the Results section. These options make it easy to view large amounts of data quickly, without scrolling. An example of the pagination bar is shown in the following image.

The pagination bar contains two components: a record count that dynamically changes as you move between pages and a set of controls that you can use to advance pages, return to pages, or enter specific page numbers. You can use the Items per page dropdown list to increase or decrease the number of items displayed on a single page. The First Page, Previous Page, Next Page, and Last Page buttons allow you to navigate between pages. The page number in the middle indicates the current number of the page you are viewing. You can click this number, and enter a new number to jump to a different page.

Indexing Content and Data

How to:

On occasion, you might need to index the content and data in your environment to ensure they appear correctly in your search results. Indexing in WebFOCUS is a quick and simple process. Once your content and data are indexed, all subsequent changes to the repository content and data directories are indexed automatically by WebFOCUS.

Procedure: How to Index Content and Data

  1. Sign in to WebFOCUS as a developer or administrator.
  2. In the WebFOCUS Hub, in Application Directories area, from the Servers dropdown list, select the server that you want to index.

    Note: For more information on how to configure multiple Reporting Servers, see the TIBCO WebFOCUS Security and Administration technical content.

  3. Right-click the Applications node, and then click Properties.

    The Properties panel opens. The following search index options are available:

    Files:

    Files from all application directories

    Indexes files in the WebFOCUS Reporting Server and the files that belong to the mapped directories, as configured in the properties under the Location group below.

    Files only from application directories in defined application path

    Indexes only the files that appear in the application directories in defined application paths.

    Location:

    All regular directories & marked mapped directories.
    Indexes application directories under the APPROOT and the application directories with the Include in search index option enabled.
    All mapped directories.

    Indexes every mapped directory regardless of whether it has the Include in search index option enabled.

  4. Select an indexing option and click Save.

    Your Reporting Server data is now indexed.

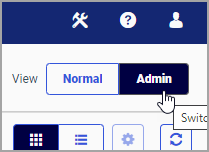
  5. Navigate to the Workspaces area and switch to the Admin view, as shown in the following image.

    Note: You must be signed in as an administrator to switch between Normal and Admin views.

  6. In the Resources tree, right-click the Workspaces node, and then click Properties.

    The Properties panel opens.

  7. Click Refresh Search Index.

    Your WebFOCUS Client content is now indexed.