Procedure: How to Use Personal Pages
- Run the portal in which personal pages are enabled.
- Click My Pages, and then click the + icon to add a new page.
Note: Depending on your navigation layout, the My Pages area can display as a tab or as a banner link.
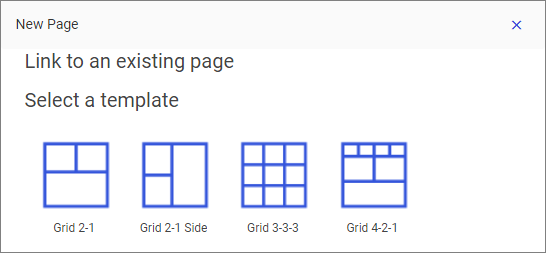
The New Page dialog box opens, as shown in the following image, where you can select a template and link to an existing standalone page in the repository.

- Click a template of your choice.
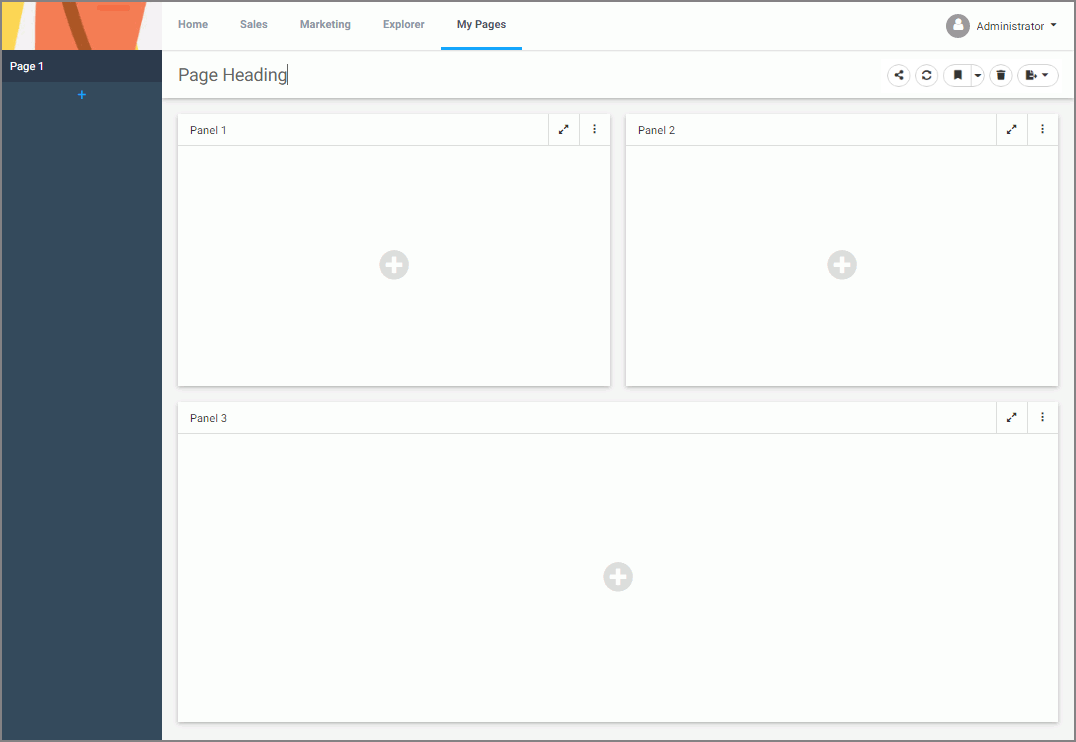
The page displays a series of interactive panels, as shown in the following image.

- Add content to the panels.
- If parameterized content is added to a page, optionally, click the Show filters button
 to display available filters.
The Selections dialog box opens where you can apply filters to your content.
Note: You can save your content and filter selections by using the bookmark button.
- Double-click the Page Heading and type a new title for your personal page.
- Optionally, double-click the page title in the sidebar and type a new title.
- To share the page with other users, click the Share button
 .
.The Share with Others dialog box opens.
- Type the names of users and groups with which you want to share your personal page and click OK.
The page is now available to the specified users and the Share button changes color to blue.
- To revoke access to the page, click the Share button
 again.
The Share with Others dialog box opens where you can remove users or groups from the sharing list.
Note: If your sharing privilege does not allow you to open the Share with Others dialog box, you can share or unshare your personal page simply by clicking the Share button. In this case, the page is shared with every user that has access to the workspace in which the portal resides.
- To delete the page, click the Delete button
 .
.