Working With Comments

In this section:

How to:

In a collaborative portal, you can use comments to interact with your peers in a multi-user environment. Access to the comments feature is configured in the Security Center, by an administrator.

There are four user privileges that can be set to enable commenting in a portal:

Once the comments feature is configured, developers and administrators enable comments in the Portal Designer or Page Designer. You can enable comments on portal pages, containers, and individual content items.

Procedure: How to Configure Comments Privileges

  1. Sign in to WebFOCUS as an administrator.
  2. Launch the Security Center.
  3. Click the Roles tab.
  4. Click the New Role button to add a new role or select an existing role from the list and click Edit Role.
  5. Select the check box next to the privilege that you want to grant to your role, as shown in the following image, and click OK.
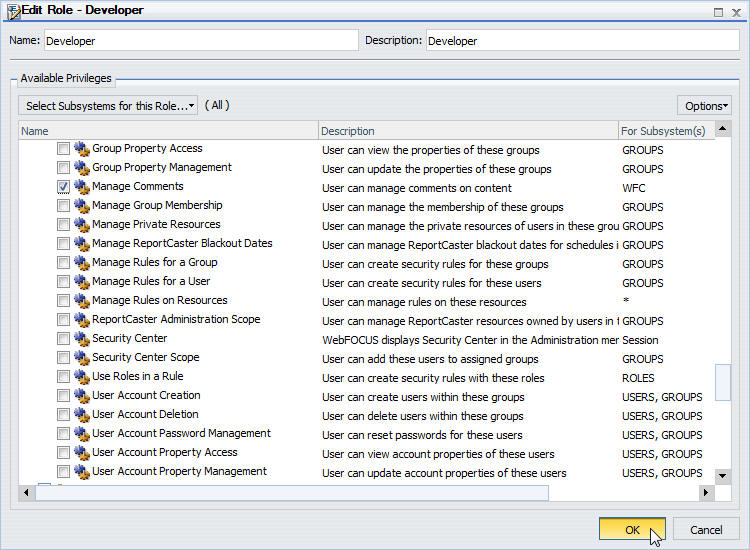
    Edit Role dialog box
  6. Click the Users & Groups tab.
  7. Right-click a user or a group, point to Security, and then click Rules.
  8. Select a user or a group from the list.
  9. Locate the role that you have created or modified, click the Access column, select Permitted from the drop-down list, and then click Apply.
  10. Click OK and close the Security Center.
Procedure: How to Enable Comments for a Portal Page

  1. Sign in to WebFOCUS as a developer or an administrator.
  2. Create a new collaborative portal or edit an existing collaborative portal.
  3. In the Portal Designer, in the Properties panel, click the Comments drop-down menu and update the style of your comments to reflect any standards.
  4. Save the portal and close the Portal Designer.

    If you are enabling comments on a stand-alone portal page, open the Page Designer by creating a new portal page or editing an existing portal page, and then repeat Step 3.

Procedure: How to Enable Comments on a Container

  1. Sign in to WebFOCUS as a developer or an administrator.
  2. Create a new collaborative portal or edit an existing collaborative portal.
  3. In the Portal Designer, on the Insert tab, in the Containers group, click any container button.

    The container is placed on the page canvas.

  4. In the Properties panel, select Show Comments.

    When enabled, this option allows you to show and hide comments on a container or item at run time.

  5. Save the portal and close the Portal Designer.

    If you are enabling comments in a container, on a stand-alone portal page, open the Page Designer by creating a new portal page or editing an existing portal page, then repeat steps 3 and 4.

Using Comments at Run Time

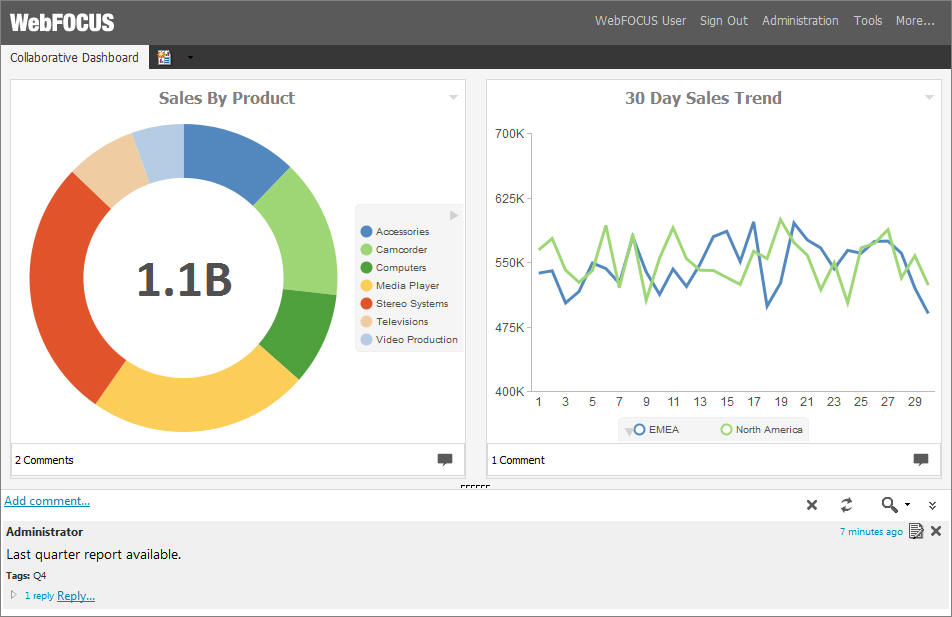
When enabled, comments display at run time, as shown in the following image.

Comments at run time

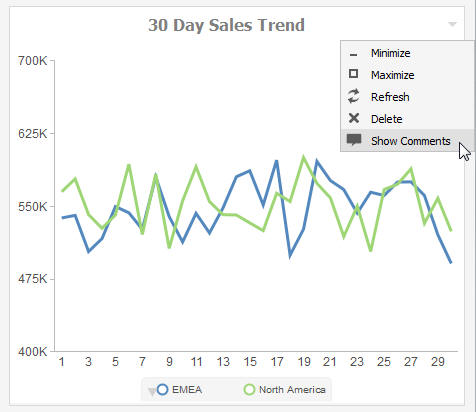
To enable comments on an item at run time, click the arrow in the upper-right corner of the container panel, and then click Show Comments, as shown in the following image.

Show comments option

Note: The Show Comments menu option is only available if comments were enabled on a container at design time.

Additionally, you can use the following controls to interact with comments:

  • Click the Minimize button Minimize button in the upper-right corner of the comment area, to minimize comments, as shown in the following image.
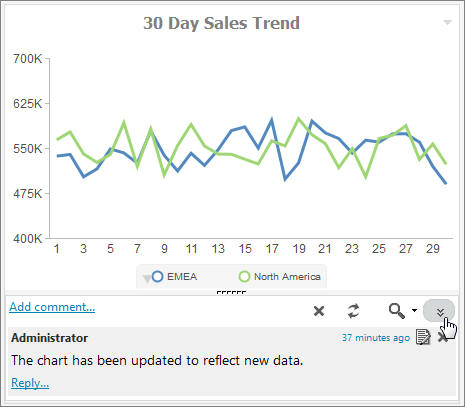
    Disable comments option

    Click the Restore button Restore button in the lower-right corner of the container, to restore the comments area.
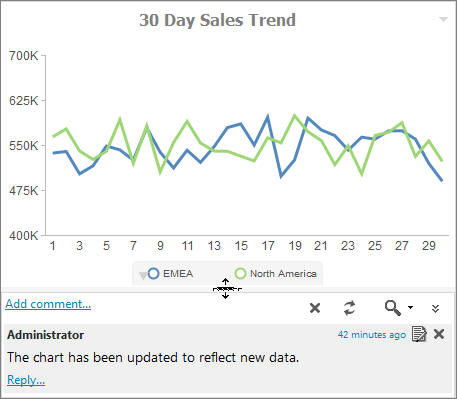
  • Customize the height of the comments area by dragging the height indicator to achieve a desirable size, as shown in the following image.
  • Click the Refresh button Refresh button in the comments menu, to refresh comments.
  • Click the Search button Search comments button in the comments menu, and type a key word or words in the search field, to search through comments. You can specify the search criteria by clicking the arrow next to the Search button and selecting search criteria, such as user name, content, or meta tags.
  • Click the Remove All button Remove All button to remove all comments from all users. The Remove All option is only available to users with the Manage Comments privilege.