External CSS Theme Support

How to:

External CSS Theme support is an advanced feature that enables you to customize a portal by applying or modifying external CSS files. It also allows you to edit any HTML element of your portal by adding CSS classes to it and specifying CSS properties, and see the visual impact of your changes in real time.

The CSS Theme feature consists of two parts:

In the Portal Theme Files browser, you can configure CSS files. The CSS Editor is designed to edit specific components of the existing CSS theme.

You must be signed in as a developer or administrator to use this feature in the Portal Designer.

Procedure: How to Configure CSS Files

  1. Sign in to WebFOCUS as a developer or an administrator.
  2. Create a new Enterprise Workspace with a basic portal.
  3. On the Legacy Home Page, expand the new workspace folder, right-click the Hidden Content folder, point to New, and then click Text Editor.

    The new Text Editor window opens. Here you can enter CSS classes and enter CSS properties for your portal. In this example, we are modifying container border color and selected tab color.

  4. Enter the following syntax in your Text Editor window:
    .bip-container 
    {
    	border: 1px solid rgb(87, 168, 250);
    	 border-radius: 0px;
    	 
    }
    .bip-tab-button-checked 
    {
    	color: rgb(87, 168, 250);
    	 font-weight: 700;
    	 border-bottom-width: 1px;
    	 border-bottom-style: solid;
    	 border-bottom-color: rgb(87, 168, 250);
    	 background-color: white;
    	 
    }
  5. Click the Save button.

    The Save As dialog box opens.

  6. Populate the title field, select the Cascading Style Sheet format from the drop-down list, and then click Save.
  7. Close the Text Editor window.
  8. On the Legacy Home Page, in the Resources tree, right-click your new portal, and then click Edit.

    The Portal Designer opens.

  9. On the Layout tab, click Theme.

    The Portal Theme Files dialog box opens. The Neutral theme is selected as a Base theme by default.

  10. Under Custom CSS Theme, click Browse.
  11. Navigate to your new CSS file and click Open.
  12. Click Apply and close the Portal Theme Files dialog box.

    The color of container borders and selected tabs change to blue, as shown in the following image.
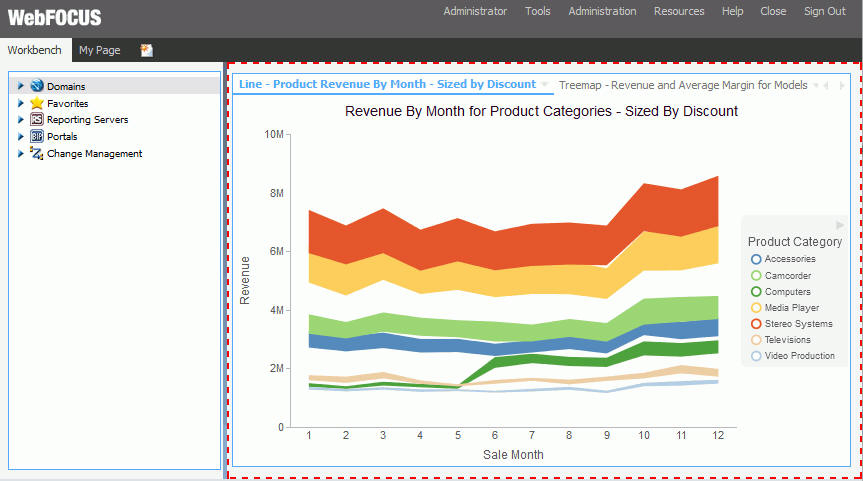
    Custom CSS file applied
  13. Click the Save button and close the Portal Designer.

Procedure: How to Customize CSS Properties in the CSS Editor

  1. Launch the Portal Designer.
  2. On the Layout tab, in the Portal group, click the Theme button splitter, then click Launch CSS Editor.

    The Styling dialog box opens.

  3. On the toolbar, click the Show the Element Inspector button Show the Element Inspector button, and then click the Inspect elements style information button .

    Your cursor changes to a crosshair. You can also click the Highlight inspected element button Highlight inspected element button to pinpoint the element that you want to style more easily.
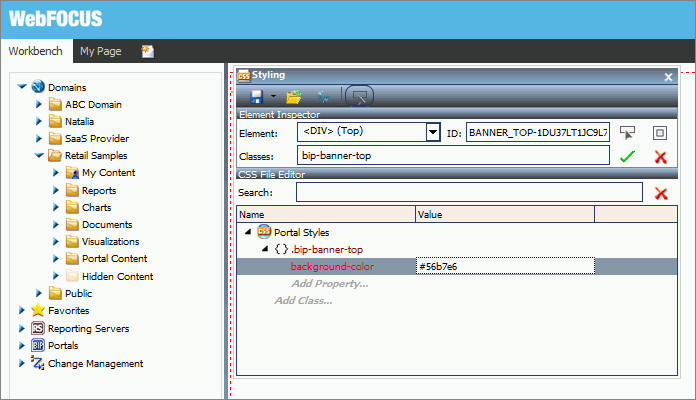
  4. Click a portal element that you want to style, in this example, the top banner.

    The Classes field is automatically populated with the correct CSS class name for the selected element, in our example bip-banner-top.

    Note: You can also select elements from the Elements drop-down list, or, if you know the CSS class name of the element, you can type it in the Classes field. You can also use the Search field to search for a CSS class using key words.

  5. In the CSS File Editor, click the Add Class text, type your CSS class, preceded by a dot, and then press Enter.
  6. Click the Add property text below the .bip-banner-top class and type background-color:#56b7e6, and then press Enter.

    The banner instantly changes color to the specified hue, as shown in the following image.

    Styling top banner.

    Note: If you have entered an invalid CSS class or attribute, the browser rejects it and the change is not reflected in the portal appearance.

  7. Click the Save button in the Styling dialog box.

    If a custom CSS file is already applied to this portal, your changes will be saved in that file. If the changes are new, the Save As dialog box opens.

  8. Navigate to the Hidden Content folder of your workspace, name your new CSS file, and then click Save.
  9. Close the Styling dialog box.
  10. Click the Save button and close the Portal Designer.