Accessing Library Access Lists

In this section:

How to:

Sharing your private Library Access Lists allows you to permit groups and users to see its content and use it in schedules while you retain ownership. Authorized users can share their private Library Access Lists with groups and users with whom they are permitted to share. The Library Access List can be accessed by users authorized to access the folder in which the shared Library Access Lists are located.

Authorized users can publish and unpublish Library Access Lists to make them available to users authorized to access the folder in which they are located. Publishing requires the folder the item is located in to be published. If the folder is subsequently unpublished, all items in that folder are unpublished. See the TIBCO WebFOCUS® Security and Administration manual for additional information on publishing and sharing folders and items.

Procedure: How to Share a Library Access List

From Workspaces area of the Hub or the WebFOCUS Home Page, if you are authorized to share your private content saved in a My Content folder, you can share a Library Access List with users authorized to access the folder in which the Library Access List is located by right-clicking the folder or Library Access List and clicking Share.

If you are authorized for advanced sharing, you can share your private content saved in a My Content folder with specific groups and users with whom you are authorized to share by performing the following steps.

  1. Right-click the Library Access List that you want to share and click Share With.

    The Share with others dialog box displays, as shown in the following image.
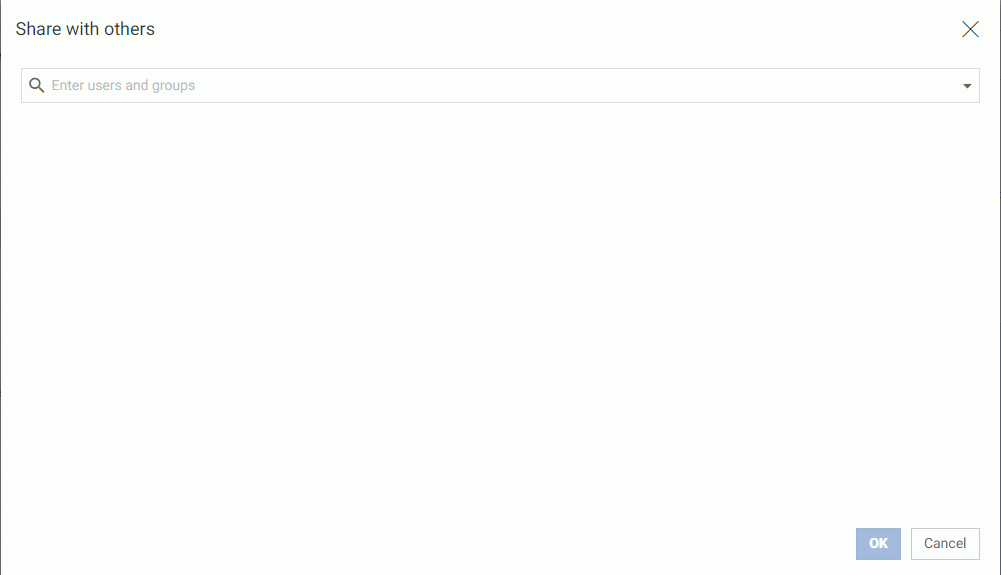
    Share With Others dialog box
  2. Click the drop-down arrow on the search box to display the filters for the users or groups that you want the option to select. You can filter your search results by Users or by Groups.
  3. After you select a filter, begin typing in the search box to display the users or groups that are available for selection. Click a user or group to add it to the list of users or groups that can view the Library Access List. Optionally, click the X on a User or Group tile to remove it from the list.
  4. When you are finished selecting users or groups to share your Library Access List with, click OK.
Publishing Library Access Lists

A domain must be published in order to publish items within the domain, including Library Access Lists. Published items or folders display in color, while unpublished items or folders display in black and white.

From the Workspaces area of the Hub or the WebFOCUS Home Page, right click the domain that contains the Library Access List that you want to publish and click Publish. To unpublish the domain, and in effect the Library Access List, click Unpublish.

Procedure: How to Set Security Rules on a Library Access List

Authorized users can set security for unpublished Library Access Lists, allowing other groups or individual users to access and manage the lists. For more information, see the TIBCO WebFOCUS® Security and Administration technical content.

Note: Authorized users can review the Security Policy by right-clicking the Library Access List, selecting Security, and then selecting Effective Policy.

  1. Select the workspacecontaining the Library Access List, or the unpublished Library Access List itself for which you want to set security.
  2. Right-click and point to Security and then click Rules.

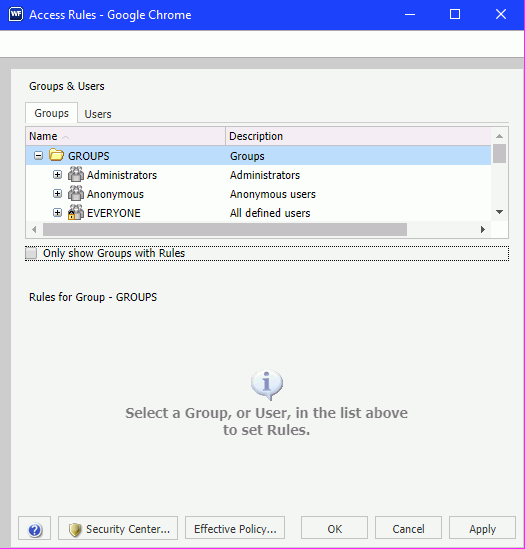
    The Access Rules dialog box displays, as shown in the following image.

    Access Rules dialog box
  3. In the Groups tab, click the group or individual users to whom you would like to grant access to the Library Access List. Optionally, click the Only show Groups with Rules check box to only display groups that have rules that have already been set.

    The Roles for a selected group appear in the Rules for Group section.

  4. Optionally, in the Rules for Group section, click the Roles: drop-down list to only display specific Roles.
  5. Optionally, click the Only show Rules that have been set check box to filter the list of available roles even further.
  6. Select the Role that defines the functional capabilities for which to set the access level.
  7. Choose the access level in the Access drop-down list.

    Options include:

    • Not Set. Access is not specifically set. Access is determined by inherited rules.
    • Permitted. Allows the functionality of the selected role as specified in the Apply To drop-down list. You can select Folder and Children, Folder Only, or Children Only.
    • Denied. Denies the functionality of the selected role at the level specified in the Apply To drop-down list. You can select Folder and Children, Folder Only, or Children Only.
    • Over Permitted. Overrides a Denied access level to allow the functionality of the selected Role at the level as specified in the Apply To drop-down list. You can select Folder and Children, Folder Only, or Children Only.
    • Clear Inheritance. Erases all previously defined rules for the selected Role at the level specified in the Apply To drop-down list. You can select Folder and Children, Folder Only, or Children Only.
  8. Click the Users tab to display the list of individual users to whom you would like to grant access to the Library List. Optionally, click the Only show Users with Rules check box to only display users that have rules that have already been set.

    The Roles for a selected user appear in the Rules for User section.

  9. Optionally, in the Rules for User section, click the Roles: drop-down list to only display specific roles.
  10. Optionally, click the Only show Rules that have been set check box to filter the list of available roles even further.
  11. Select the Role that defines the functional capabilities for which to set the access level.
  12. Choose the access level in the Access drop-down list, as described in Step 7.
  13. Click Apply.
  14. Click OK.

    Your security setting updates are now saved for your Library Access List.