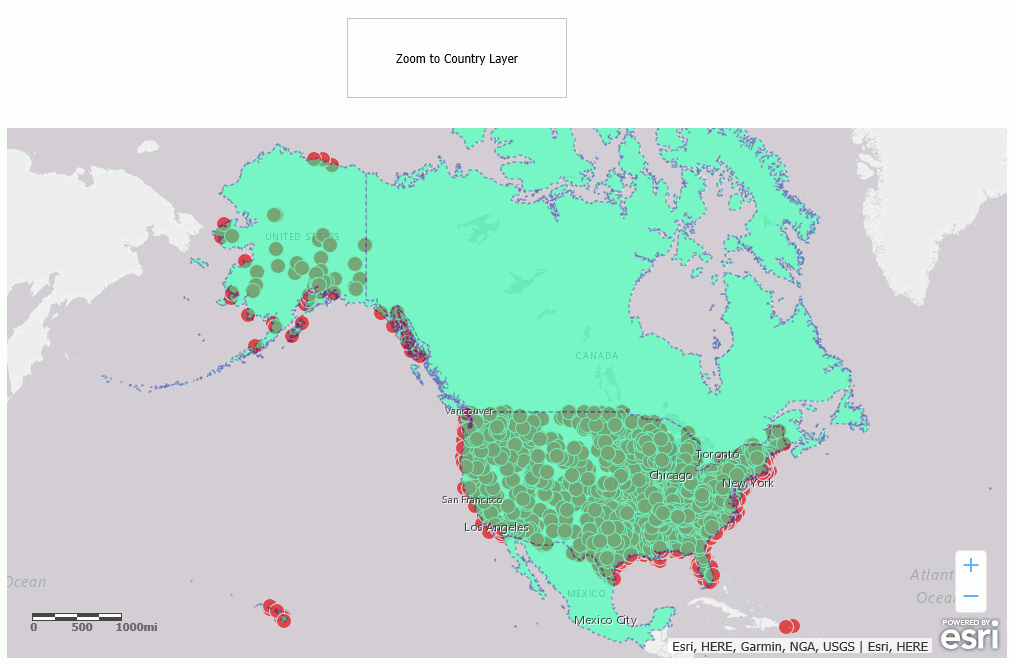
Example: Toggling Cluster Visibility
The following request, customer_locations, is used to generate a data layer on an Esri map.
TABLE FILE WF_RETAIL_LITE
PRINT
     ID_CUSTOMER
     COGS_US
	 QUANTITY_SOLD
     COMPUTE LONGITUDE/D12.2 = CUSTOMER_LONGITUDE;
     COMPUTE LATITUDE/D12.2 = CUSTOMER_LATITUDE;
BY  STATE_PROV_NAME
BY  ID_CUSTOMER NOPRINT
WHERE COUNTRY_NAME EQ 'United States';
ON TABLE NOTOTAL
ON TABLE PCHOLD FORMAT XML
END
Create a new HTML page, add an Esri map component, and add the external WebFOCUS request, customer_locations, in the Requests
& Data Sources panel.
In the Settings panel, configure the layer (by default, named Layer1) to use this request, with the Point of Interest geographic
role, and the unique ID field ID_CUSTOMER.
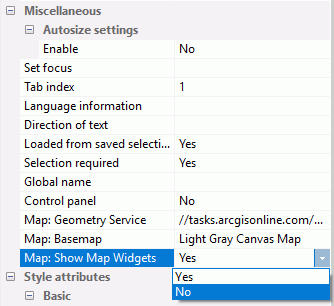
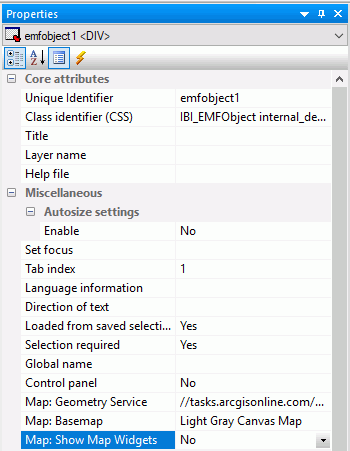
On the Properties panel for the Esri map component, set Show Map Widgets to No, as shown in the following image.
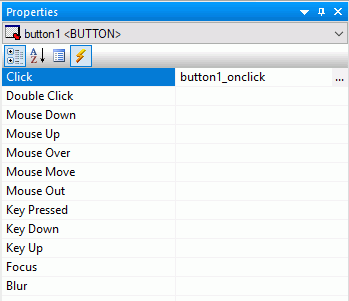
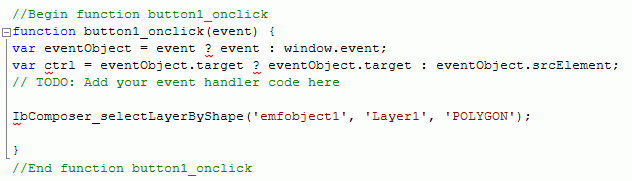
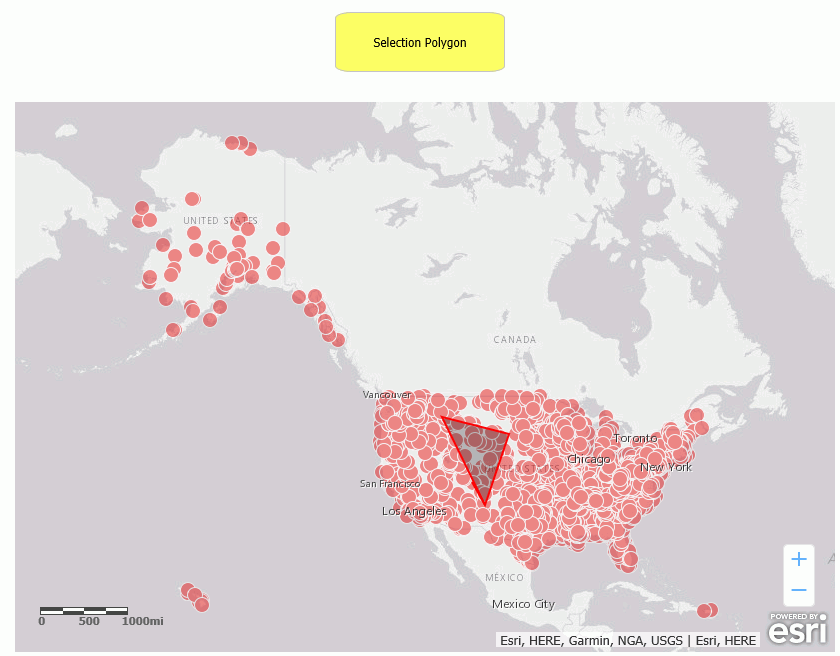
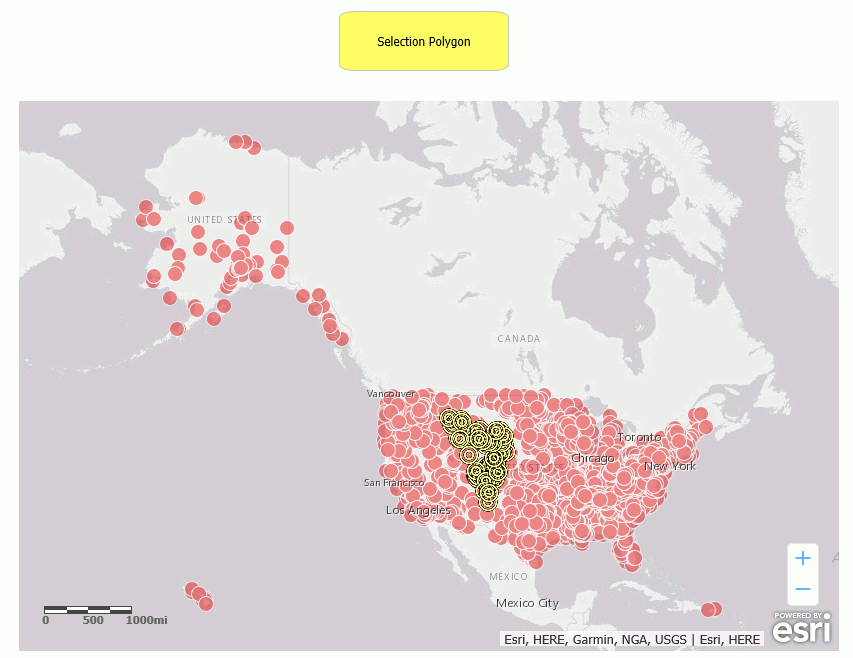
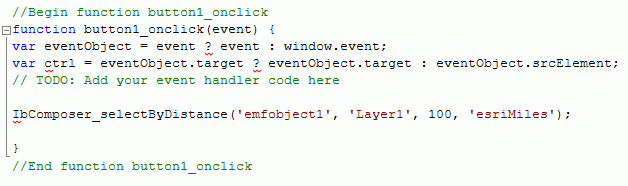
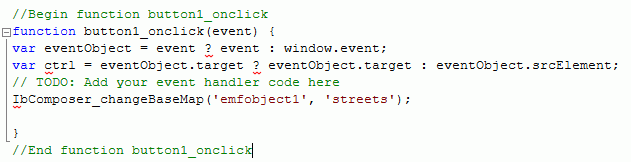
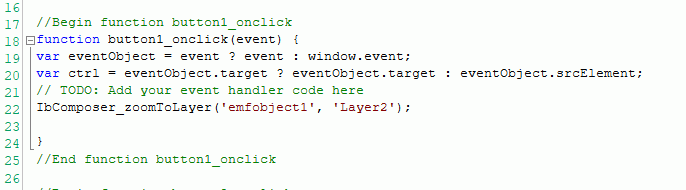
Add a button to the HTML page, and add the Click event in the Properties panel for the button, as shown in the following image.
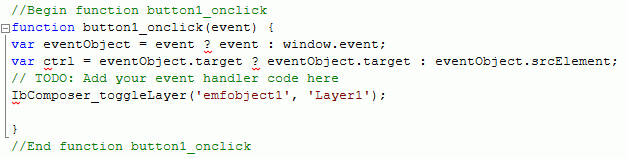
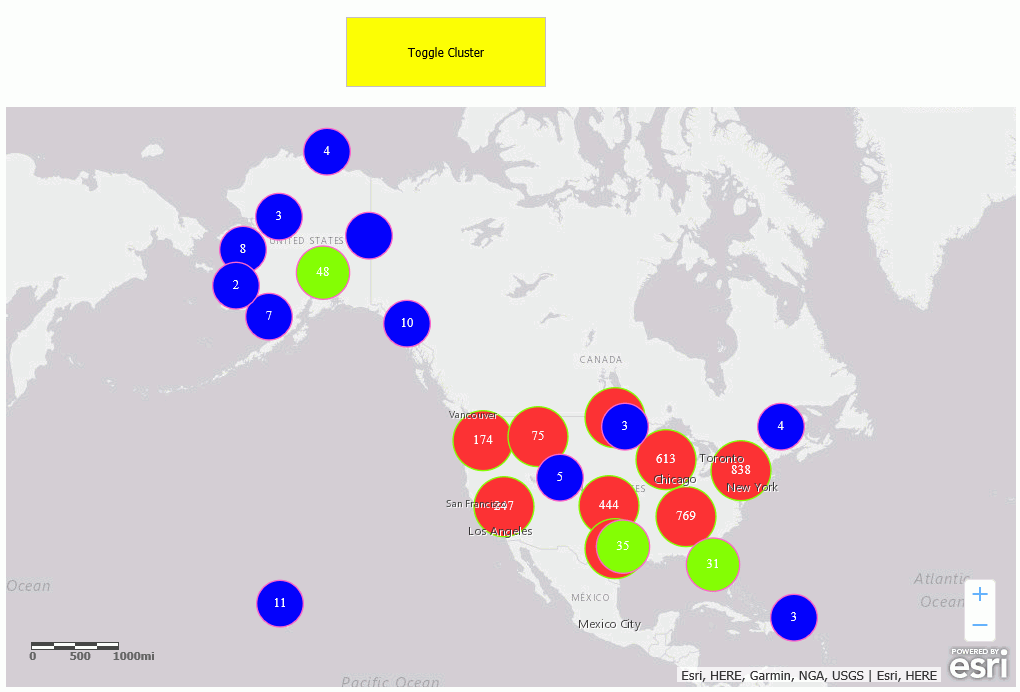
Click the Embedded JavaScript tab at the bottom of the window and add the following IbComposer_toggleCluster syntax to the button1_onclick function.
IbComposer_toggleCluster('emfobject1', 'Layer1', [
{min: 1, max: 30, size: 35, color: [0, 0, 255],
outline: {color: [255, 100, 200], thickness: 10}},
{min: 31, max: 50, size: 40, color: [128, 255, 0],
outline: {color: [255, 100, 200], thickness: 10}},
{min: 51, max: 1000, size: 45, color: [255, 51, 51],
outline: {color: [128, 255, 0], thickness: 5}}]
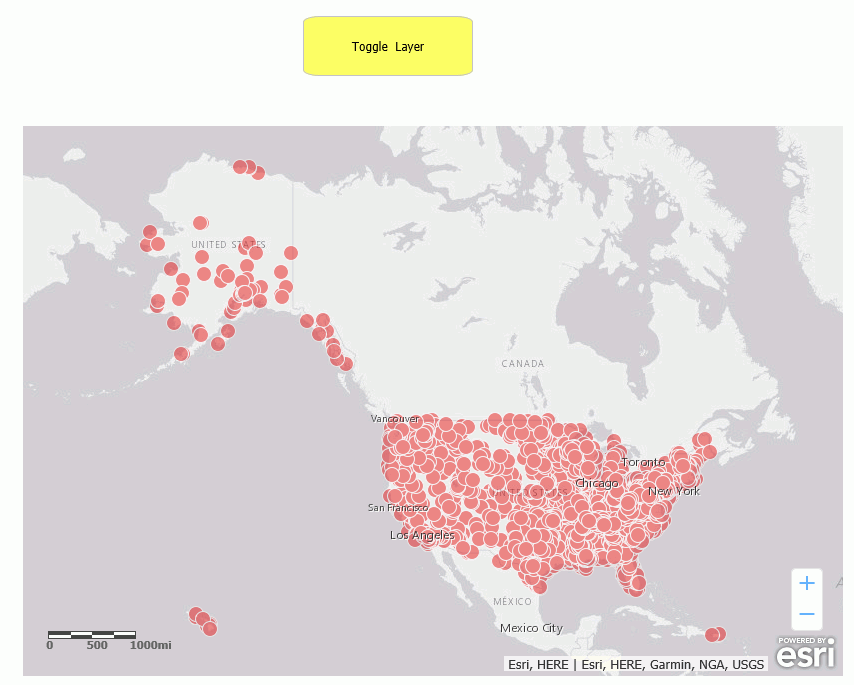
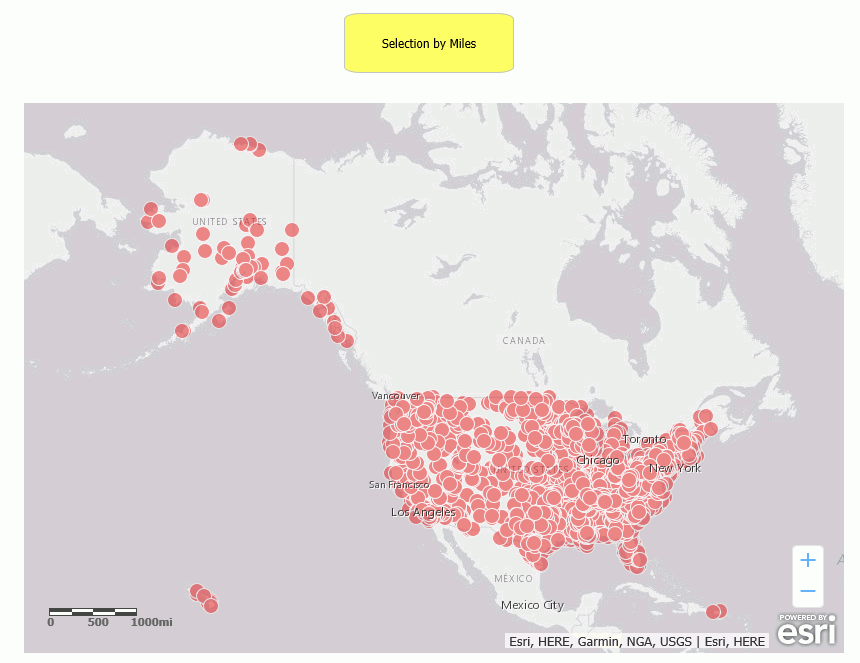
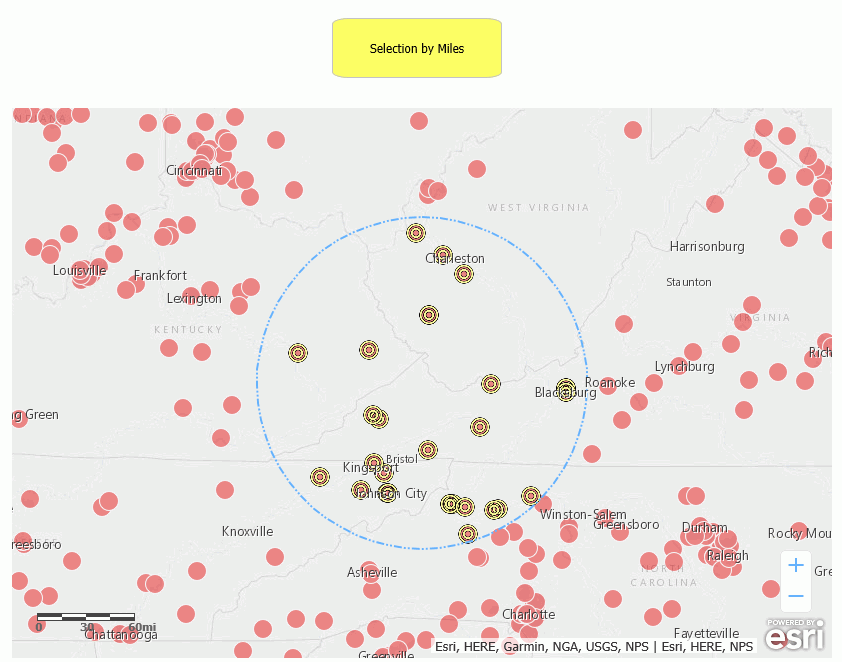
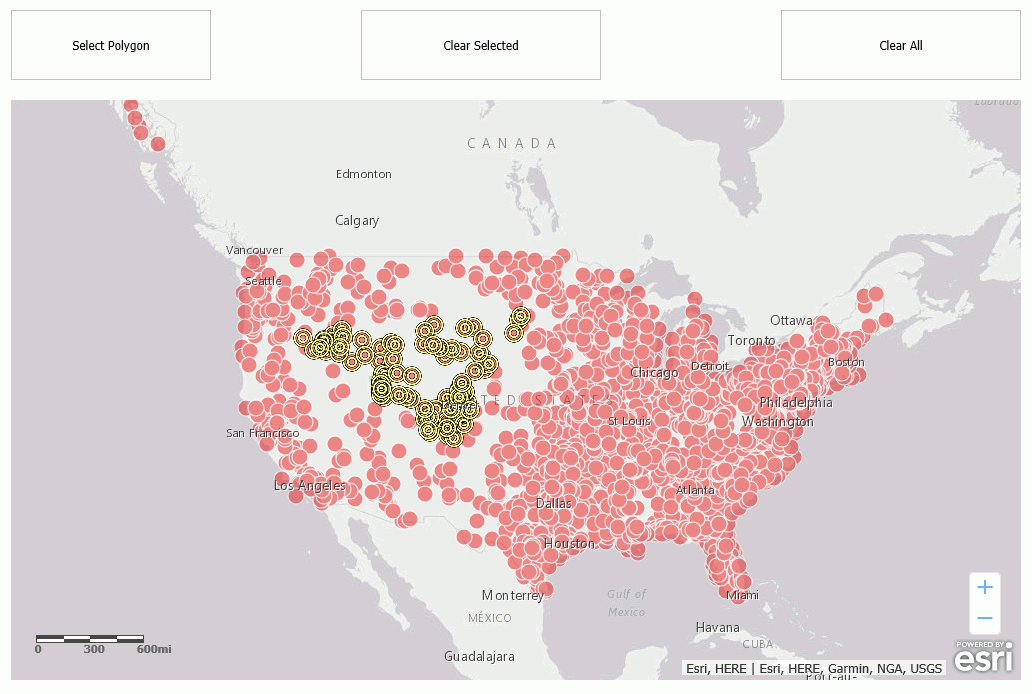
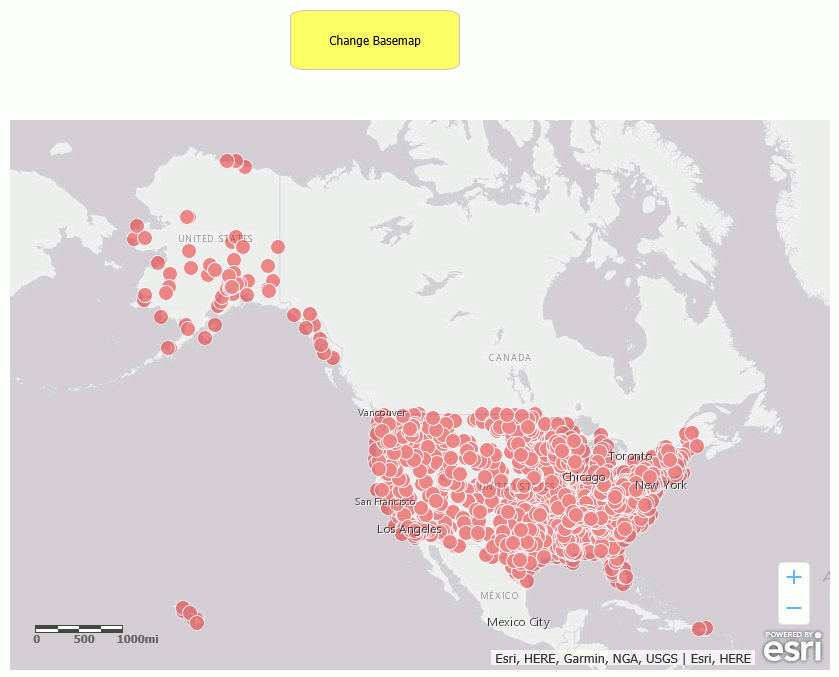
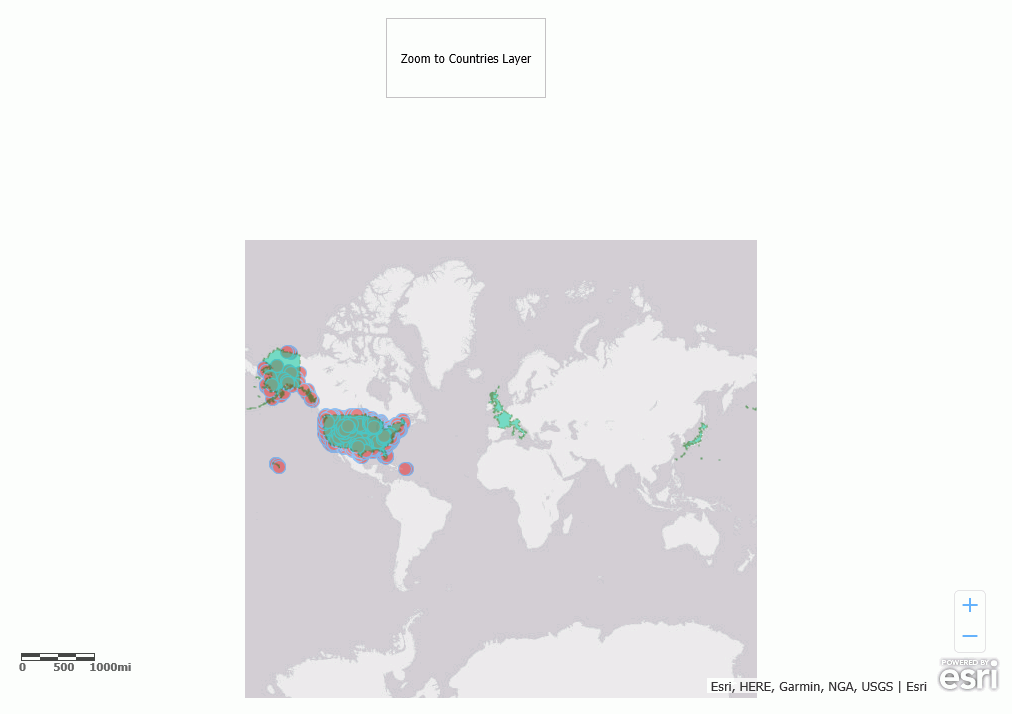
);Run the HTML page. The output is shown in the following image.
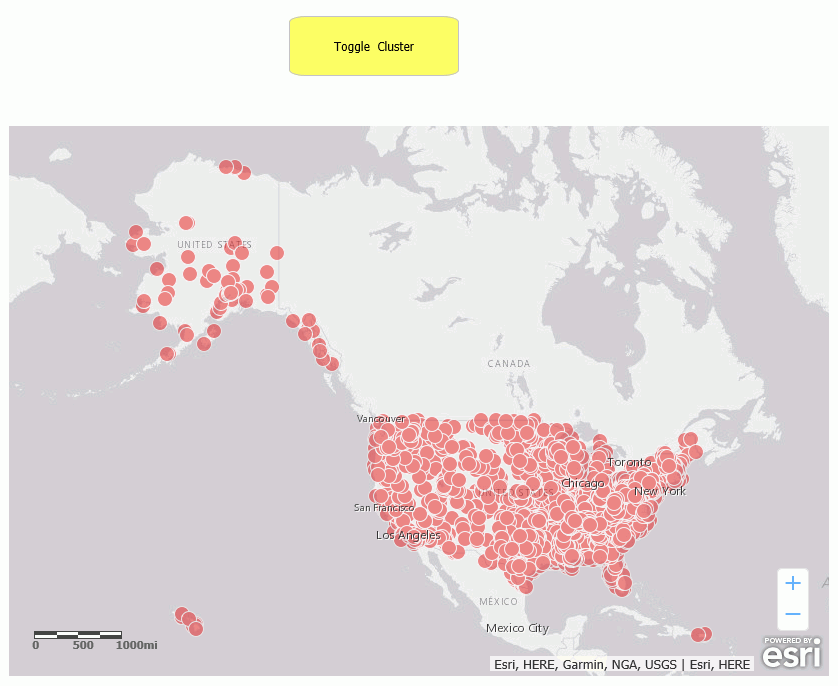
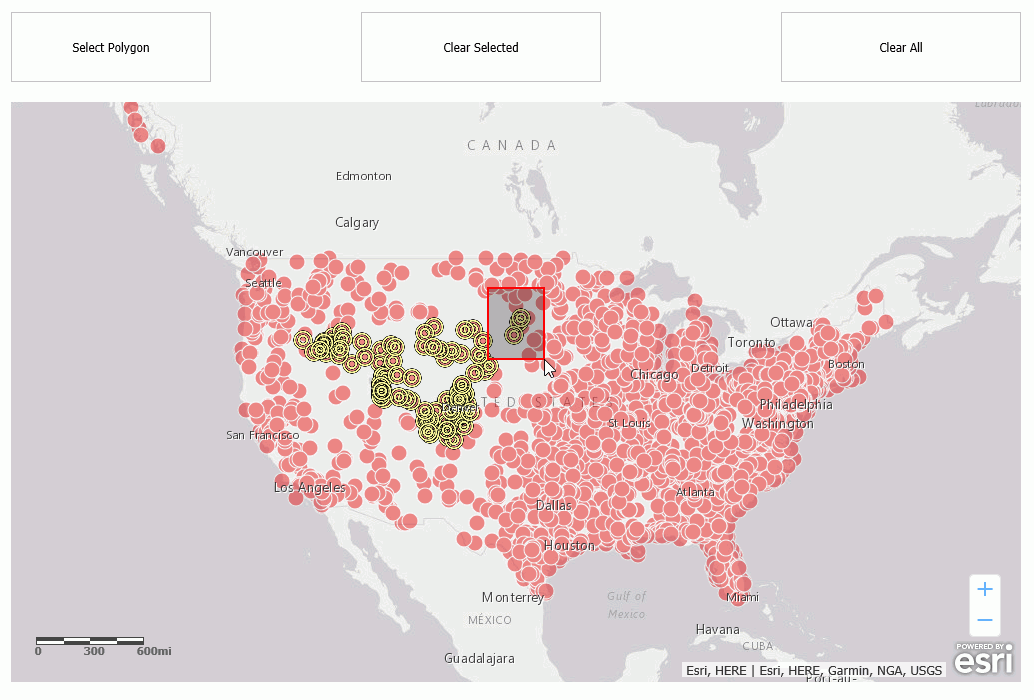
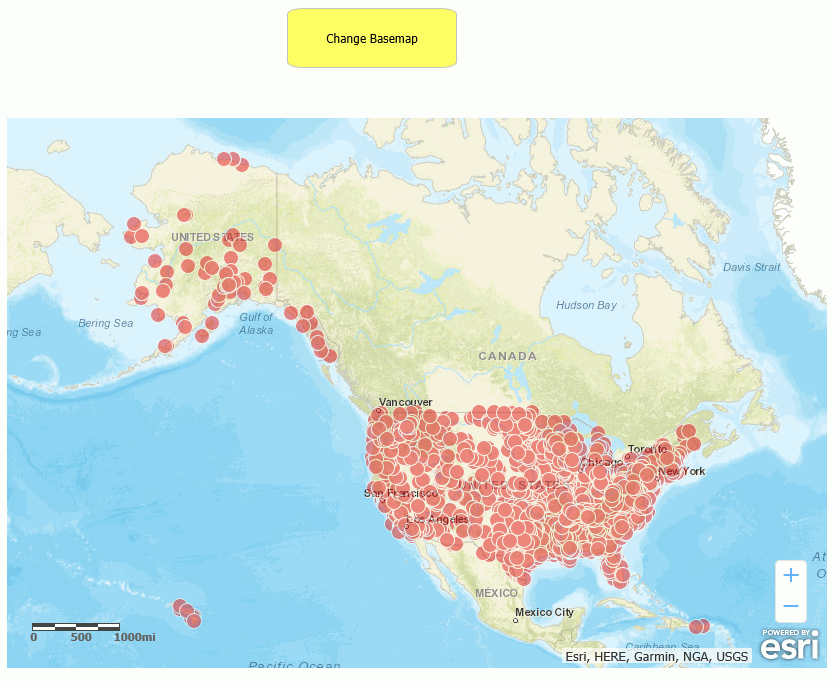
Click the button. The clusters are now visible, as shown in the following image.
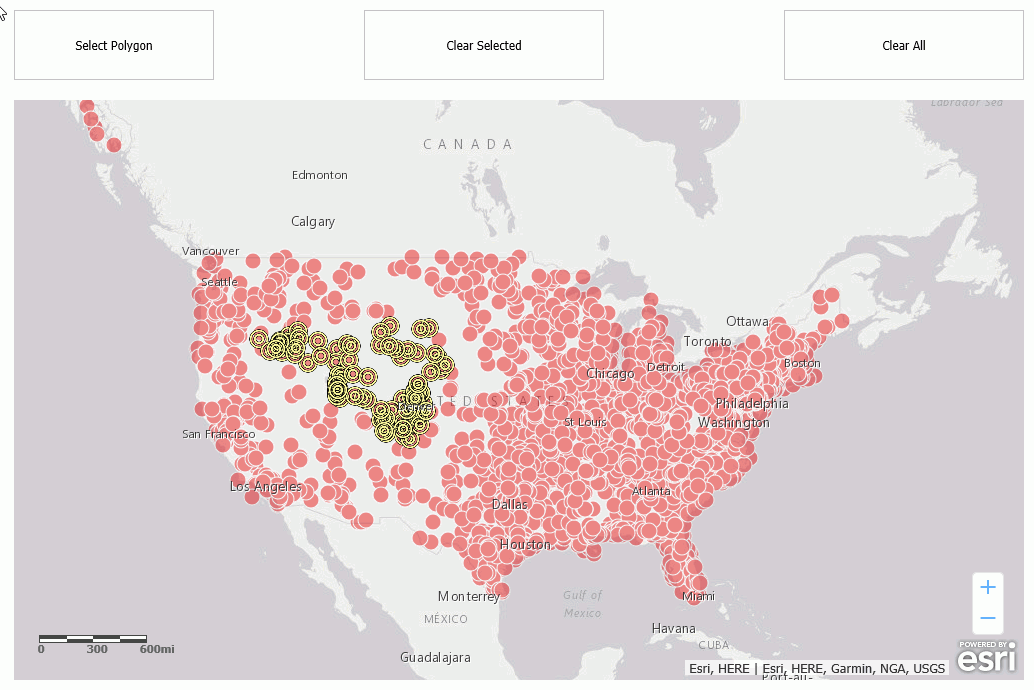
Clicking the button again will make the clusters not visible again.