Note: Whenever you run the
build.xml file, the log files
error.log and
report.log are generated, in the same folder as
build.xml.
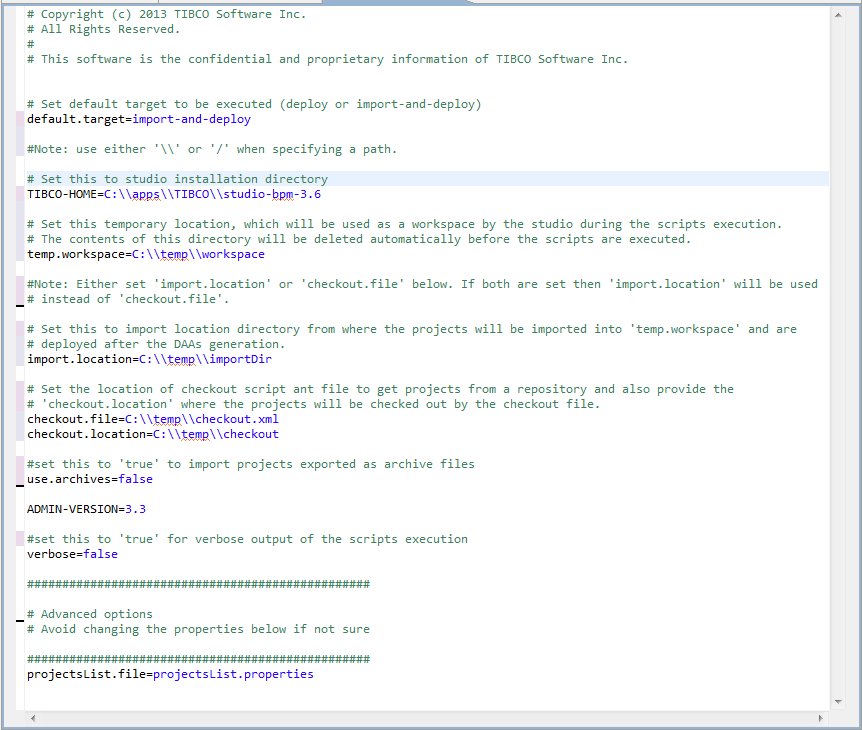
The
import-and-deploy
command imports the projects, rebuilds them, regenerates the DAAs and the relevant scripts, and deploys the projects to the test deployment server. The command also imports the deployment project itself to temp.workspace and the DAAs and scripts are generated there. Note that the
temp.workspace
directory is cleared before importing the projects.