Allocating Work Items to the World
This function allows you to allocate one or more work items to any available user. You can only select this function when work items have a state of ALLOCATED or PENDED.
Procedure
-
Click
 from the Work Views gadget. The
Allocate Work Item to world dialog is displayed.
from the Work Views gadget. The
Allocate Work Item to world dialog is displayed.
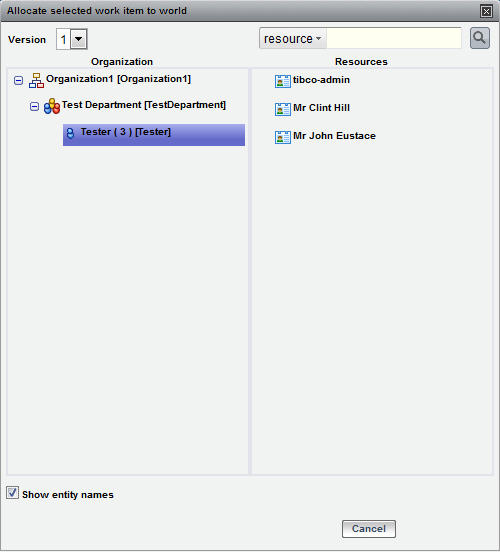
This dialog allows you to choose the user to whom you would like to allocate the work items.
Note: You may not be able to see all resources mapped to a particular position because there may be resources mapped to a position that were created in an LDAP container for which you don’t have visibility, (because of an organization relationship). In these cases, you will not see that resource when viewing the position. (This applies only to positions, not to groups.)Note, however, the counts shown to the right of the position name in the left pane is the total count for the resources in the position. From this count, you can determine if there are resources mapped to the position that you cannot see.
For more information, see the "Container Organization Relationships" section in the TIBCO Organization Browser User’s Guide.
Also, if a resource has been mapped to a position or group with a start date that has not yet occurred or an end date that has passed, that resource will not appear in the resource list. However, the total count of resources shown to the right of the group or position name in the left pane also reflects those resources that are not yet “effective” because their start date has not occurred.
-
Click on an organizational entity in the left to which the user has been mapped.
The users that are mapped to the selected entity are listed in the resource list in the right pane. Optionally, you can use the Search button (
 ) to help locate the resource, see
Find a Resource.
) to help locate the resource, see
Find a Resource.