Adding a Gadget
Openspace uses personas to determine what layouts, themes and gadgets are displayed when you log in.
An Openspace administrator can create different personas that display different combinations of layouts, themes and gadgets according to the requirements of their users. This is useful because it means that users do not have to define these themselves when they first log in.
As supplied, Openspace provides two personas:
- Standard. The Standard persona is initially blank. You can use the Standard persona to configure which layouts, themes and gadgets are displayed when users log in, depending on your requirements.
- Default. If no Standard persona has been defined, the first time you log in to Openspace, the Default persona is used. The Default persona displays a selection of tabs and gadgets that users are most likely to find useful.
Procedure
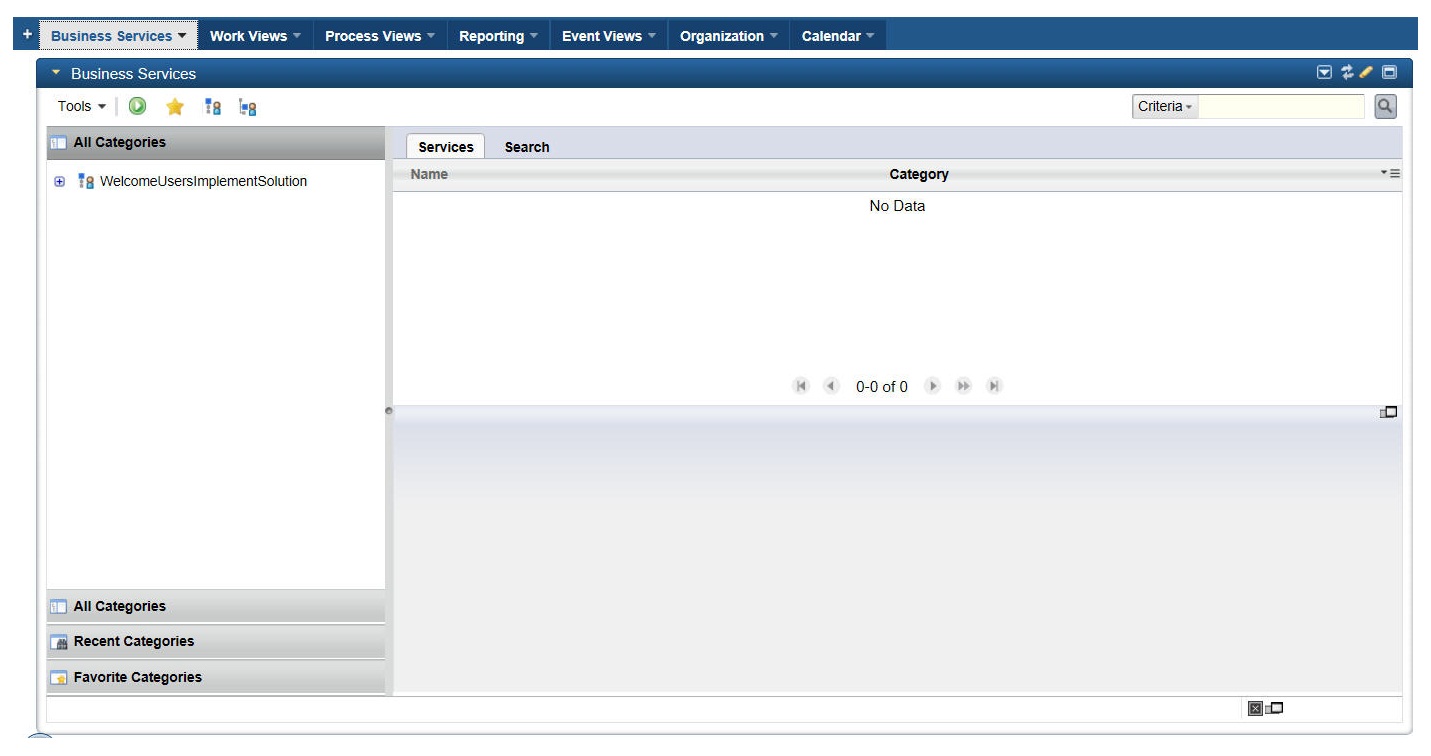
- On logging in as Clint Hill the opening tab of the Default persona is displayed,.
- Click the tab name to display the User Preferences area.
-
Click
 next to
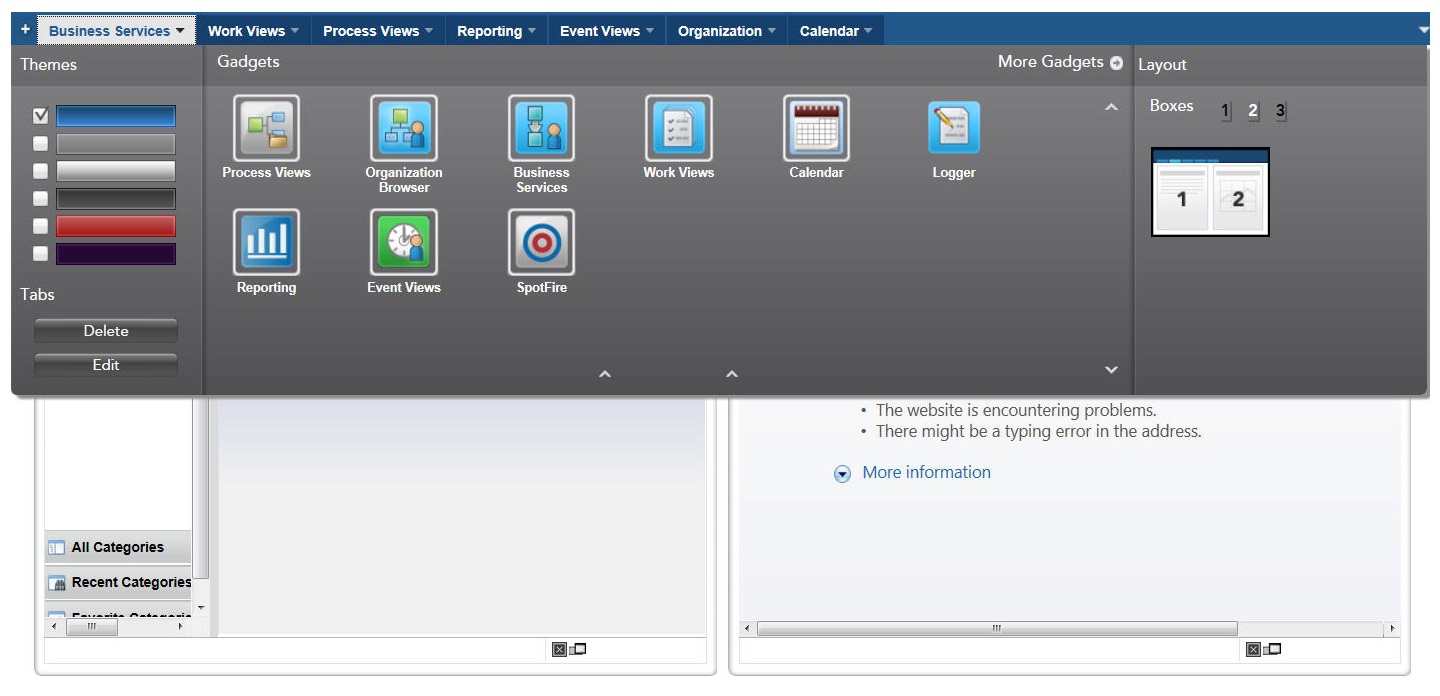
More Gadgets. The Openspace Gadget Store is displayed. It shows all the gadgets that are available to be added to Openspace.
next to
More Gadgets. The Openspace Gadget Store is displayed. It shows all the gadgets that are available to be added to Openspace.
-
Click
 beside the
Spotfire gadget. This gadget is added to the User Preferences area of the selected tab.
beside the
Spotfire gadget. This gadget is added to the User Preferences area of the selected tab.
-
Click
 to close the Openspace Gadget Store.
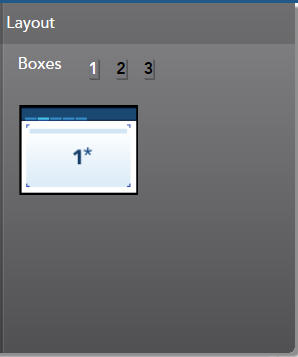
- From the Layout pane of the User Preferences area, select box 2. The selected box changes color and an illustration of the two-column layout is displayed..
- The Spotfire gadget is added below the Work Views gadget and you need to drag it into position next to the business services gadget.


Copyright © Cloud Software Group, Inc. All rights reserved.