Configuring LDAP and SAML with Local Edition

The following section provides details to configure LDAP and SAML with TIBCO Cloud™ API Management - Local Edition.

Configuring LDAP with API Management - Local Edition

Procedure

  1. Launch Configuration Manager.
    https://<ip_of_cm_service>:8443/admin
  2. Navigate to Members and create a new user name LDAP
  3. In the Portal Access Group tab input the Administrator role to the LDAP user.
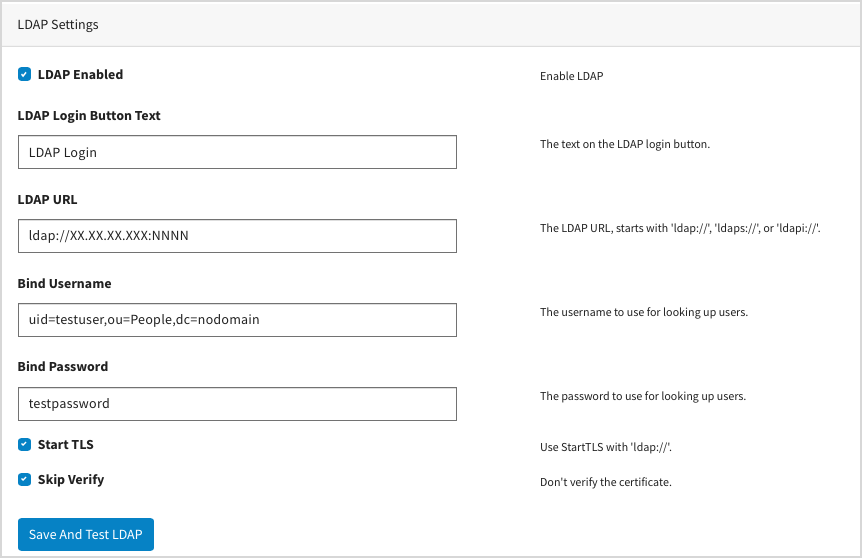
  4. Click Home > Zone Settings > LDAP settings and input the following:
    • LDAP Enabled: Checked
    • LDAP Login Button Text: LDAP Login This can be any other text you want on the LDAP login button.
    • LDAP URL: ldap://xx.xx.xx.xxx:nnnn
    • Bind Username: uid=testuser,ou=People,dc=nodomain
    • Bind Password: testpassword
    • Start TLS: Checked
    • Skip Verify: Checked

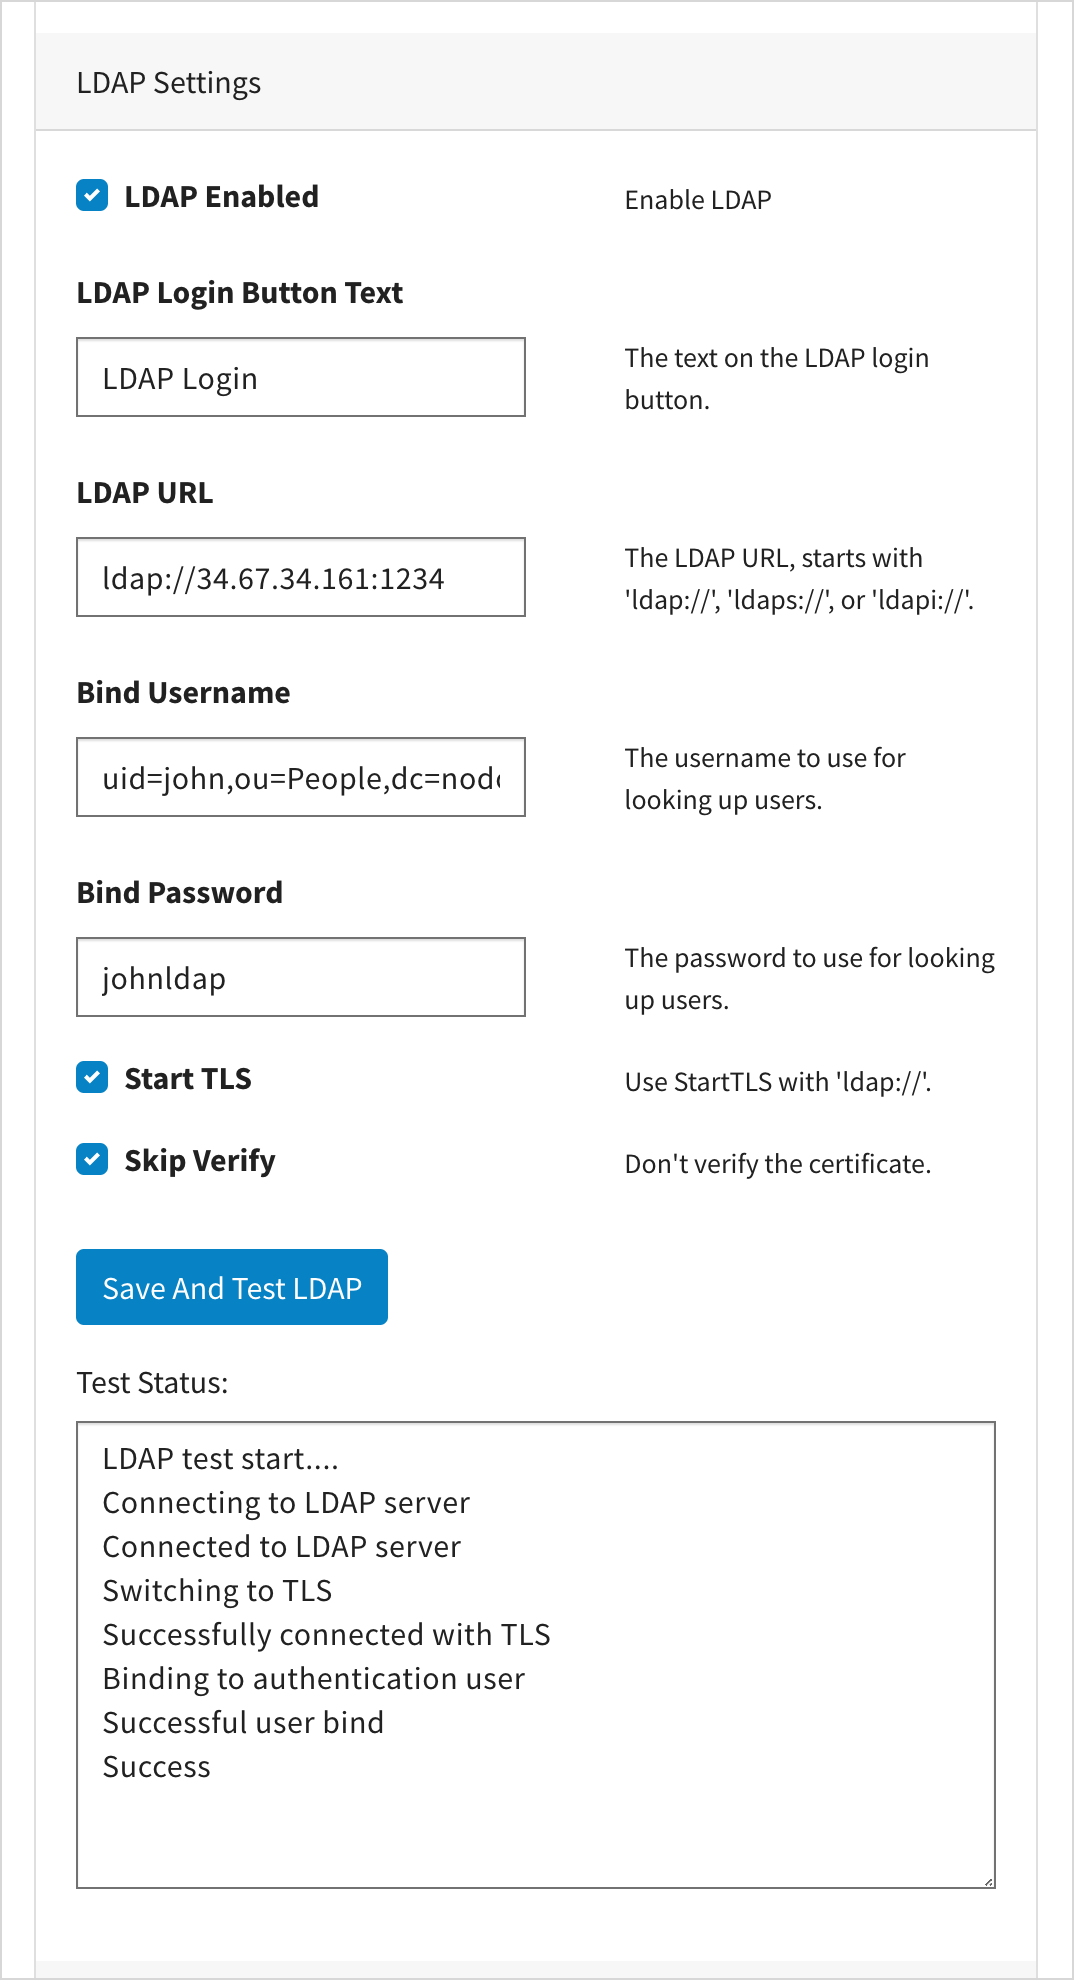
  5. Click Save and Test LDAP.
    On successful configuration the test status must be :
    LDAP test start....
    Connecting to LDAP server
    Connected to LDAP server
    Switching to TLS
    Successfully connected with TLS
    Binding to authentication user
    Successful user bind
    Success

Configuring SAML with Local Edition

Procedure

  1. Generate SAML certificate and key on SAML Server. Transfer this key and certificate on to local machine.
    openssl req -x509 -newkey rsa:2048 -keyout myservice.key -out myservice.cert -days 365 -nodes -subj "/CN=myservice.example.com 
  2. Launch the configuration manager and navigate to Members.
    https://<ip_of_cm_service>:8443/admin
  3. Create a new user as SAML and in the Portal Access Group tab, input the Administrator role to the saml user.
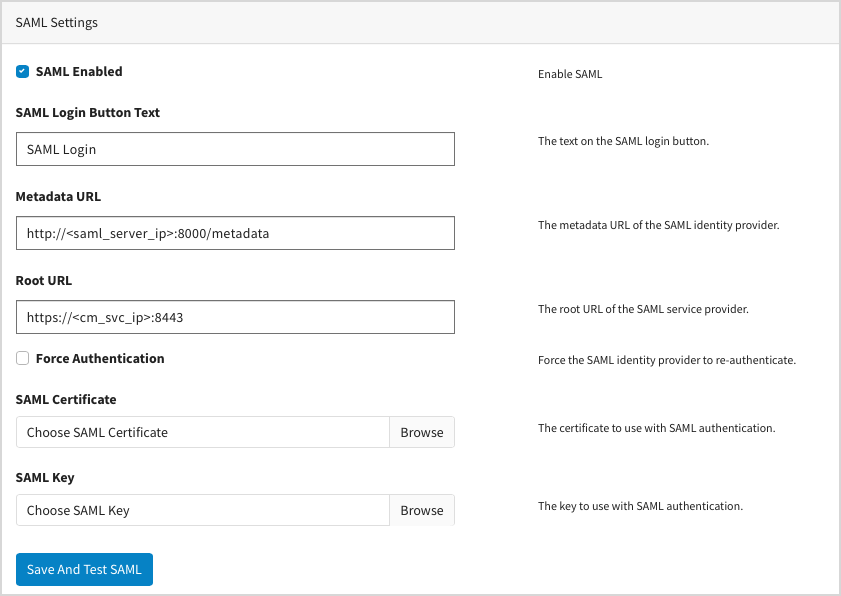
  4. Click Home > Zone Settings > SAML settings and input the following:
    • SAML Enabled: Checked
    • SAML Login Button Text: SAML Login. This can be any other text you want on the SAML Login Button.
    • Metadata URL: http://<saml_server_ip>:8000/metadata. This is the IP of VM or instance where SAML server is running.
    • Root URL: https://<cm_svc_ip>:8443. Here, cm_svc_ip is the IP of cm service that is used to launch the configuration manager.
    • Force Authentication: Checked
    • SAML Certificate: Browse and select the certificate generated in step 1.
    • SAML Key: Browse and select the key generated in step 1.

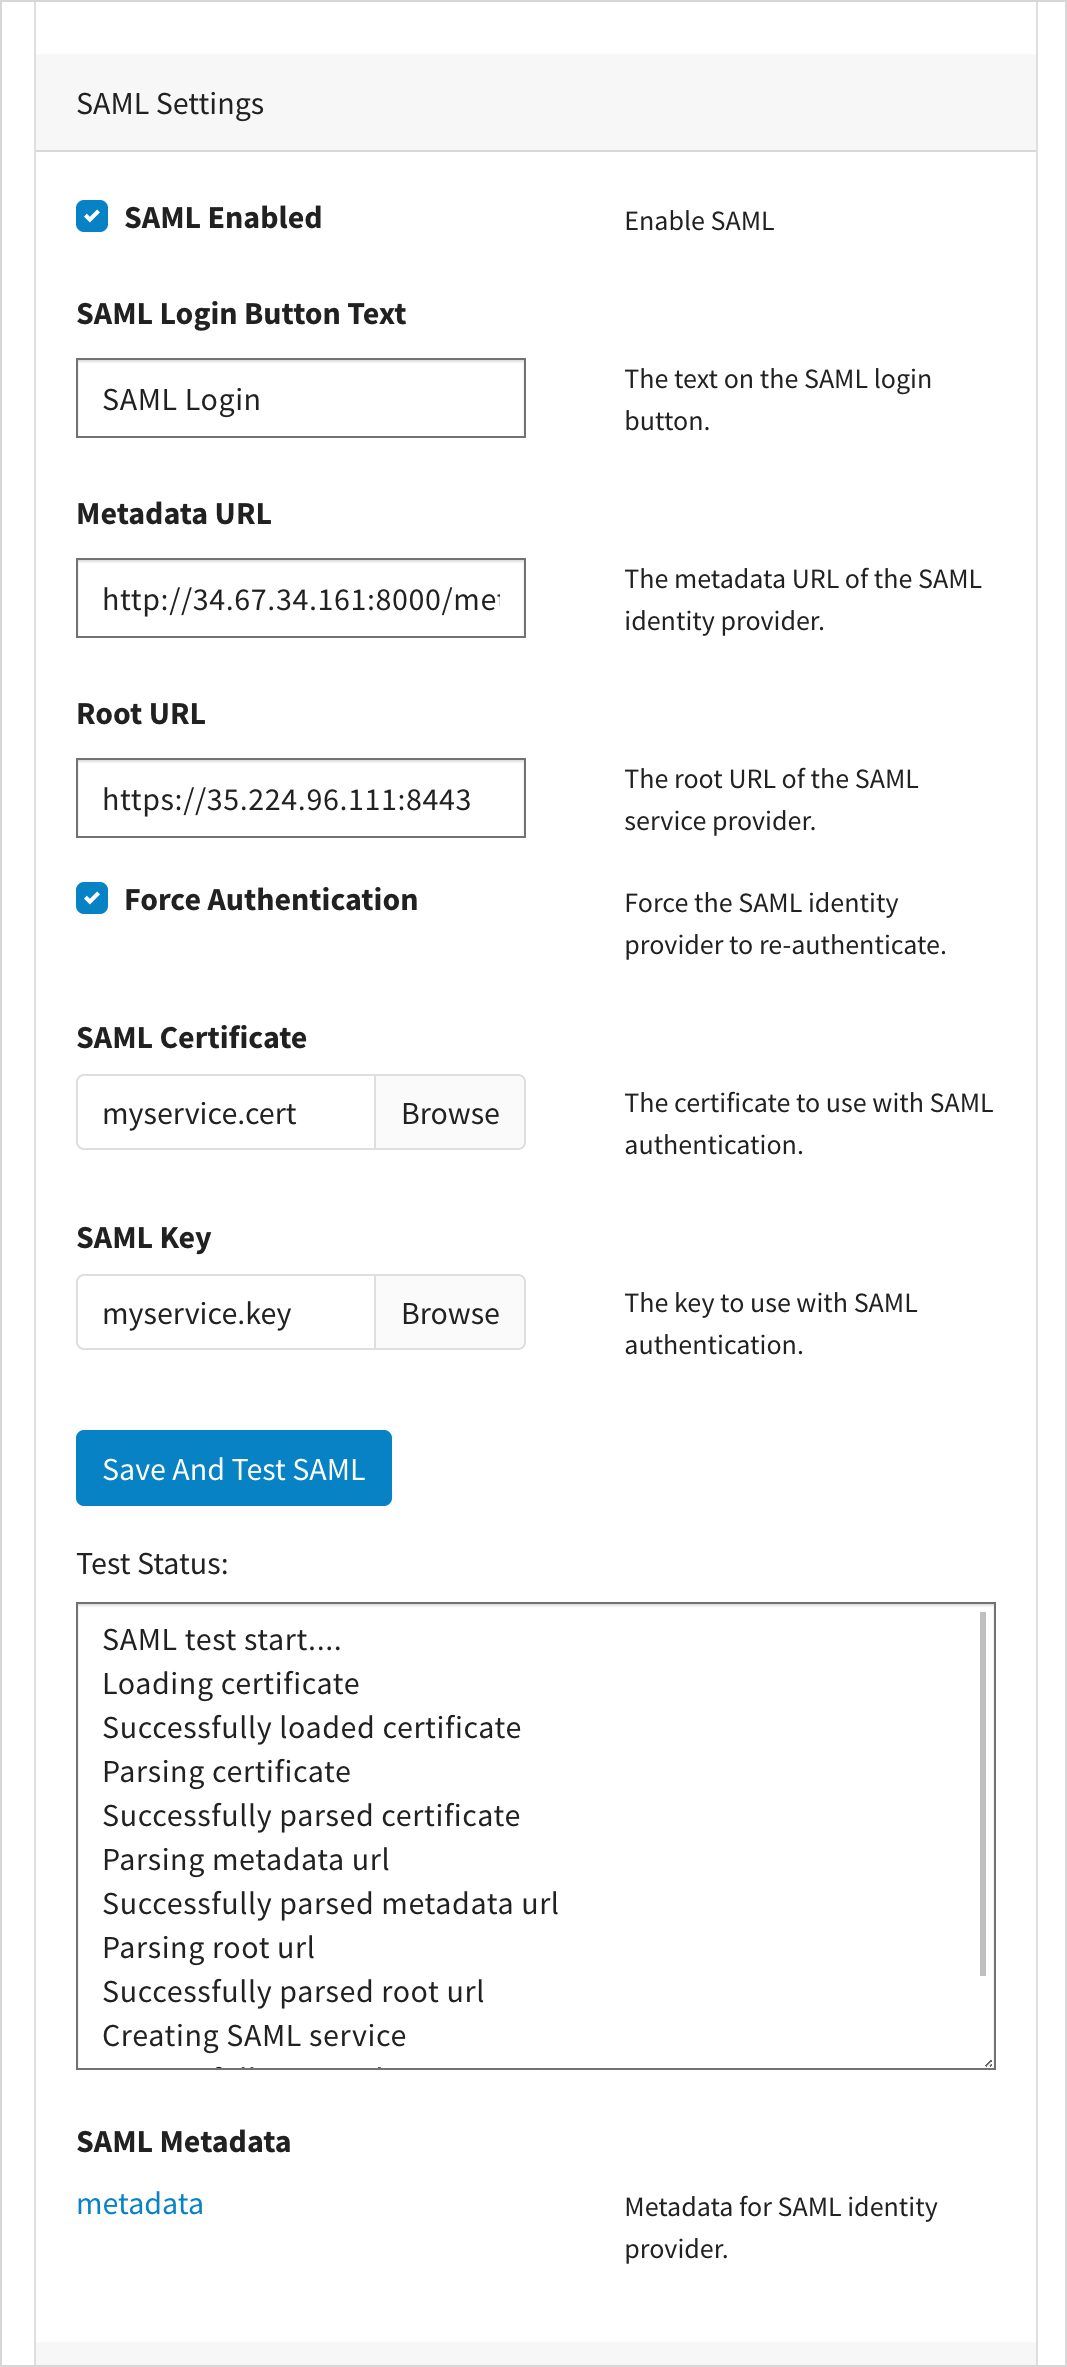
  5. Click Save and Test SAML.
    On successful configuration the test status must be :
    SAML test start....
    Loading certificate
    Successfully loaded certificate
    Parsing certificate
    Successfully parsed certificate
    Parsing metadata url
    Successfully parsed metadata url
    Parsing root url
    Successfully parsed root url
    Creating SAML service
    Successfully created SAML service

What to do next

On successful configuration download the metadata.xml file by clicking on the metadata link below the test status box.

Load the metadata file to SAML server.

curl -v -T metadata.xml http://<saml_server_ip>:8000/services/test
curl -v -T /Users/<user_name>/Downloads/metadata.xml http://xx.xx.xx.xxx:8000/services/test
*   Trying xx.xx.xx.xxx...
* TCP_NODELAY set
* Connected to xx.xx.xx.xxx (xx.xx.xx.xxx) port 8000 (#0)
> PUT /services/test HTTP/1.1
> Host: xx.xx.xx.xxx:8000
> User-Agent: curl/7.54.0
> Accept: */*
> Content-Length: 3795
> Expect: 100-continue
>
< HTTP/1.1 100 Continue
* We are completely uploaded and fine
< HTTP/1.1 204 No Content
< Date: Thu, 10 Dec 2020 23:49:21 GMT
<
* Connection #0 to host xx.xx.xx.xxx left intact