Using Configurations from Configuration Management Services for Docker
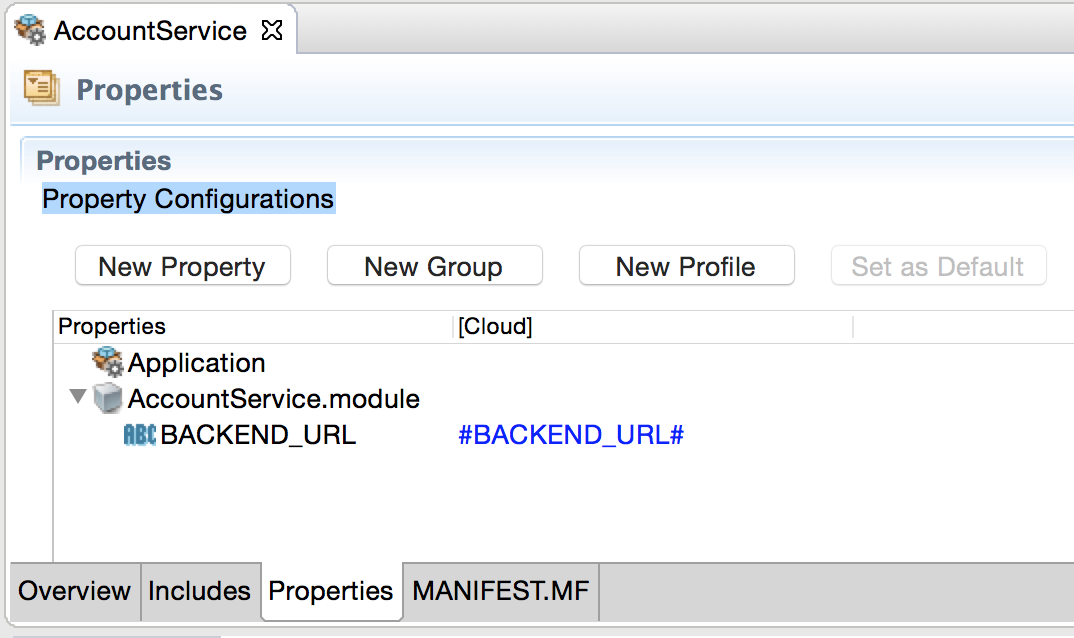
Use configurations from the configuration management services such as Consul and Spring-Cloud-Config, by defining a token such as
#<property name># in the application properties, where
<property name> is the name of the configuration parameter.
For example,
#BACKEND_URL#.
Follow these steps to use configurations from Consul:
- Set the environment variable
CONSUL_SERVER_URL. For more information, see Environment Variables. - In your Consul service define the keys using the format
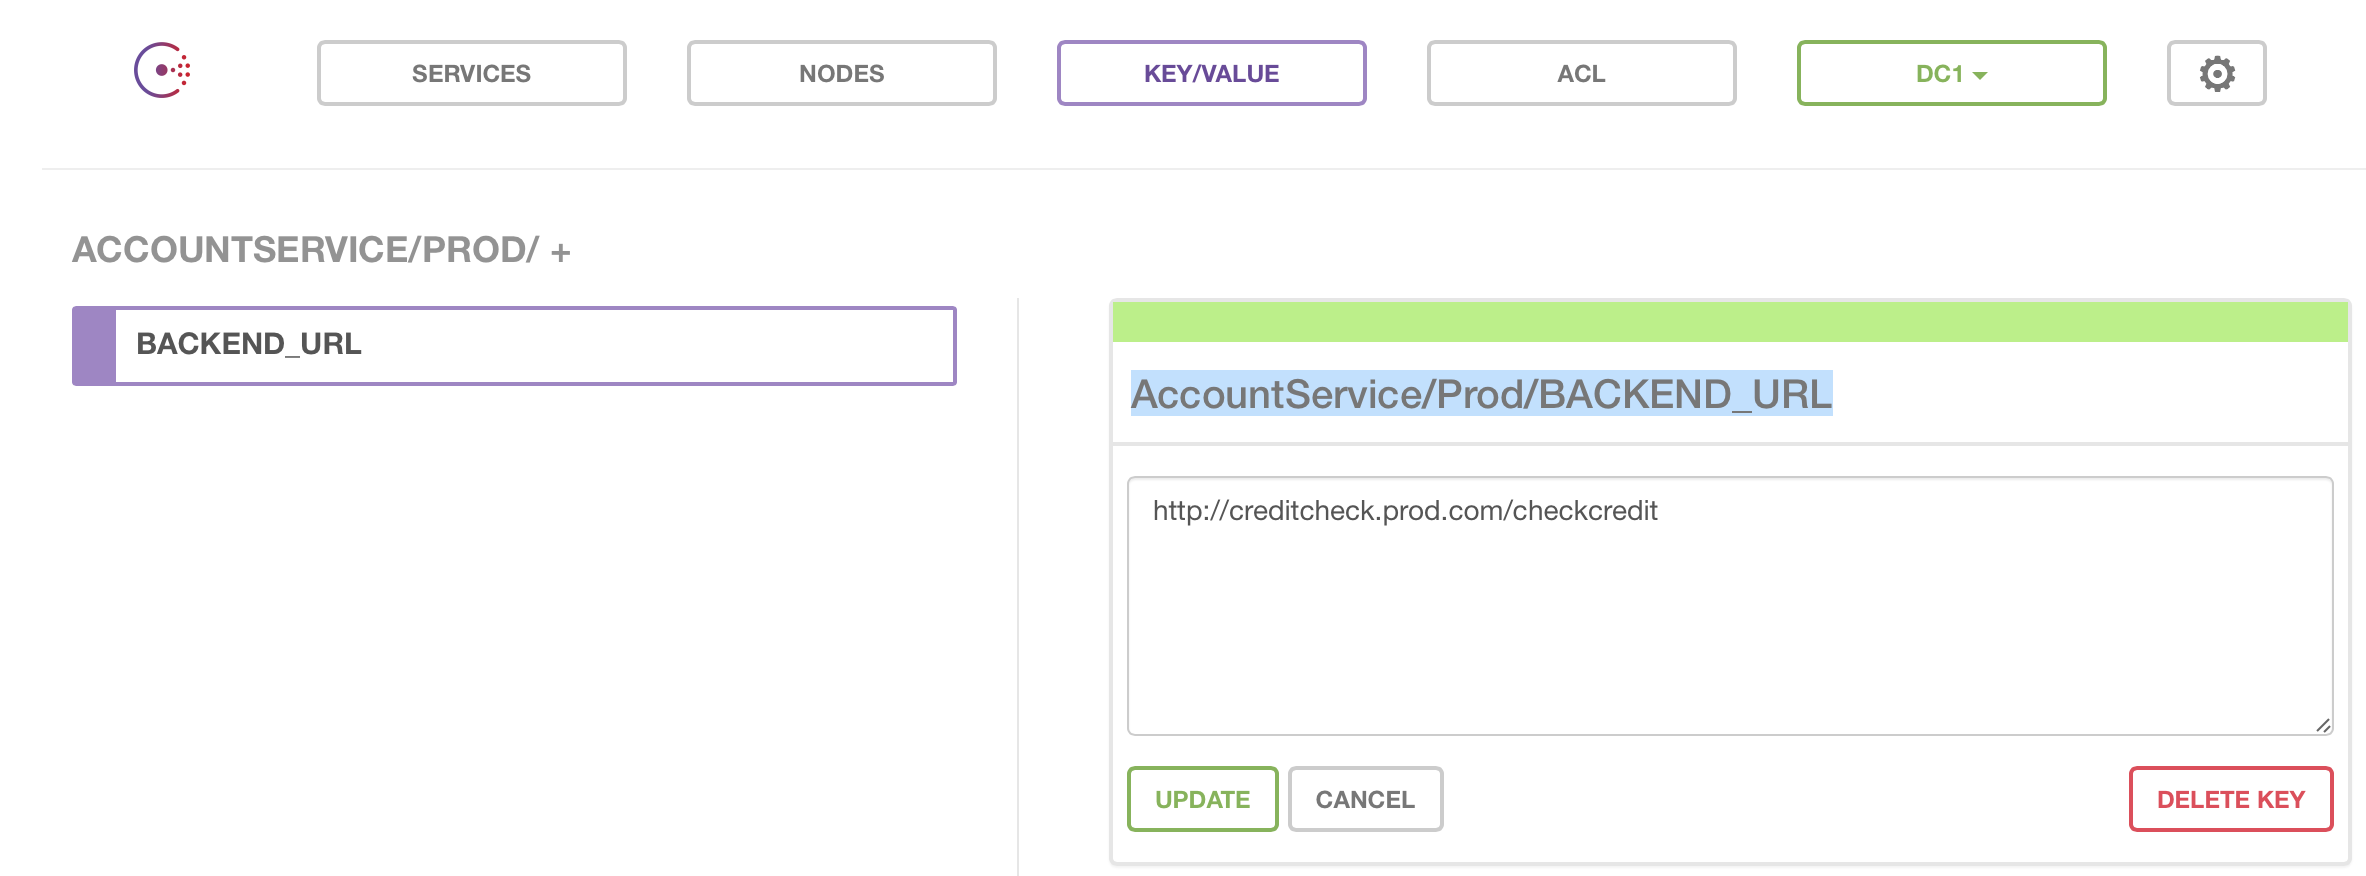
<BWCE_APP_NAME>/<PROFILE NAME>/<KEY Name>.For example,
AccountService/Dev/BACKEND_URL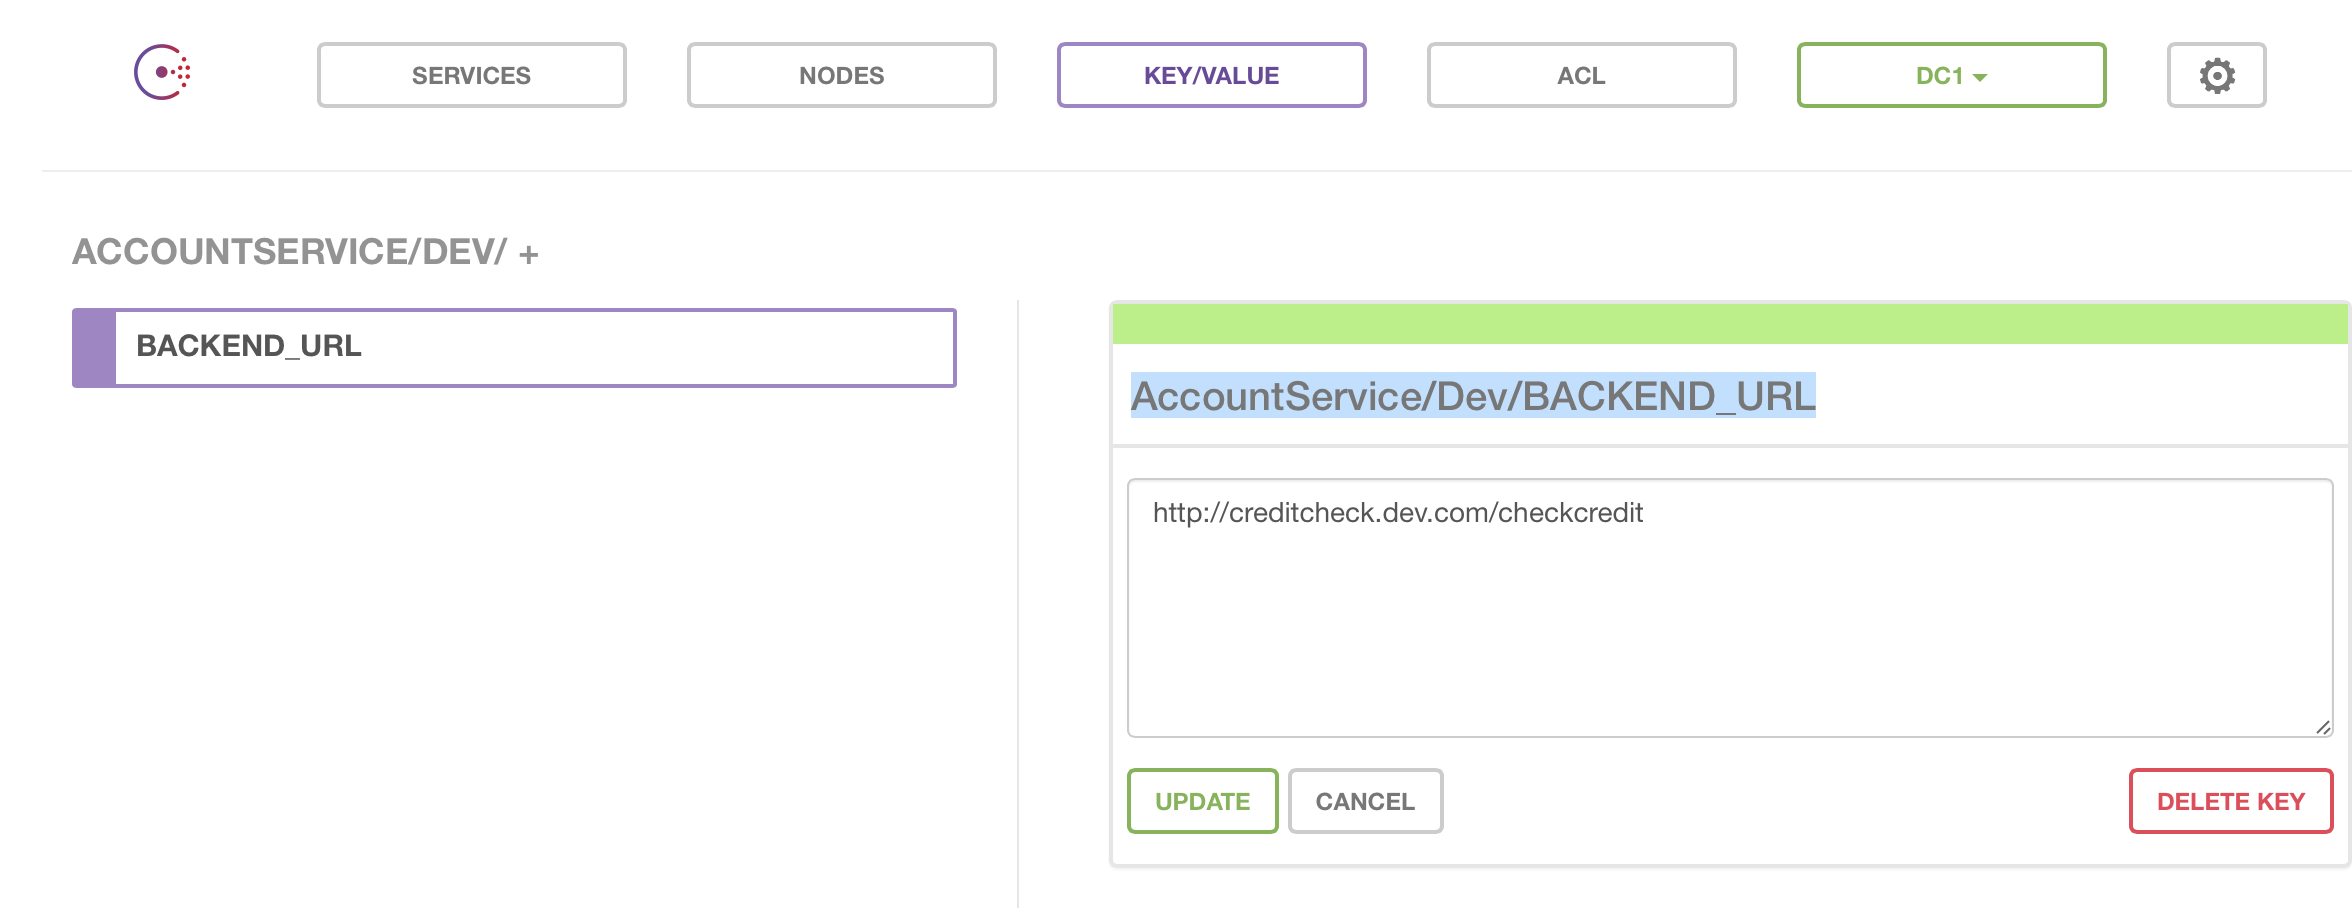
AccountService/Prod/BACKEND_URL Note: The X_CONSUL_TOKEN environment variable should be used when authenticatication is enabled on the Consul server.

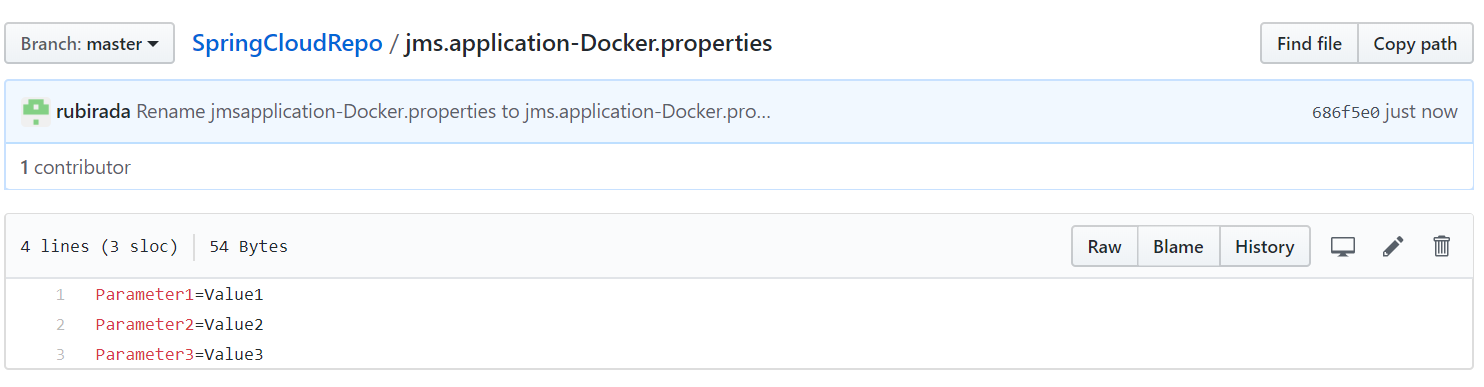
Follow these steps to use configurations from Spring Cloud Config:
- Set the environment variable
SPRING_CLOUD_CONFIG_SERVER_URL. For more information, see Environment Variables - Create a
.properties file and add the application properties and their values as key-value pairs in the file. The filename for application specific properties should be
<APPLICATION_NAME>-<PROFILE_NAME>.properties.
For example,
jms.application-Docker.propertiesFor common properties, the filename should be application.properties.
- Add the .properties files to the Spring Cloud Config Server backend.
com.tibco.bw.runtime.customProps package, users can write their own integration with custom config management servers.
Integration with custom config management server
- Create a new package and inside the new package create a new java class.
- Import
com.tibco.bw.runtime.customPropspackage in this java class and implement the custom config management by implementing the interfaceExternalApplicationPropertiesprovided in this package.The implementation of custom configuration management should register an OSGi service implementing the
ExternalApplicationPropertiesinterface.The interface has a method
getExternalApplicationProperties()of return typeMap<String, String>that should return the properties and their corresponding values fetched from the custom configuration management server. - Export the project as a plug-in by right-clicking on the newly created package and select .
- In the Export wizard, ensure that the package is selected, and specify a location to export the plug-in. Get the JAR file from the specified location in the plug-ins folder and place the JAR in TIBCO_HOME/bwce/2.5/docker/resources/addons/jars folder of the TIBCO BusinessWorks Container Edition installation.
- While deploying the application, make sure to set the value of the property
bw.application.config.management.typesame as the value of the property external.config in your OSGi service.- While deploying the application in the studio, set the property as a VM argument.
- For docker, set the property using the following syntax:
-e BW_JAVA_OPTS="-Dbw.application.config.management.type=custom"
Using Kubernetes ConfigMap for Configuration Management with TIBCO BusinessWorks Container Edition.
Follow the steps to use configuration management with ConfigMaps
- Export the application properties file for the profile containing the module properties. For more information, see Tokenizing Application Properties for exporting in the Properties file.
- Add a profile name to the exported properties file. For example, BW_PROFILE=Prod.
- Create a Kubernetes ConfigMap using the following command:
kubectl create configmap <Name-of-config-map> --from-env-file=<name-of-exported-file>.properties
- Add the created ConfigMap to the Kubernetes pod specification as follows:
apiVersion: v1
kind: Pod
metadata:
  name: bookstore-demo
  labels:
    app: bookstore-demo
spec:
  containers:
  - name: bookstore-demo
    image: bookstore-demo:2.4.4
    imagePullPolicy: Never
    envFrom:
    - configMapRef:
      name: <Name-of-config-map>
When a pod is created using above specification, the application will pick values of the tokenized module properties in the application from ConfigMap.