Configuring the data model
Configuration task map
The following map shows where you are in the add-on configuration process:

The following section outlines the steps to complete Task 1: Configuring the data model.
Steps to complete Task 1
To attach a digital asset to a record, you must add a field to the data model. This field's data type must be set to mediaType. The following steps describe how to accomplish this:
Locate and open an existing, or create a new data model to which you want to add asset management capabilities.
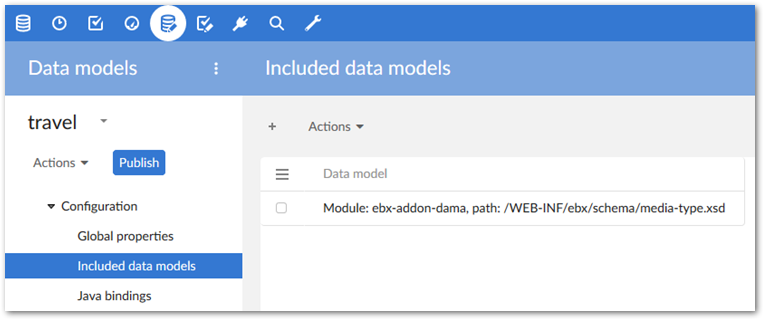
In the Navigation pane, open Configuration > Included data models and click the + icon to add a data model.
Select the Packaged in module option and in the Model properties group, choose ebx-addon-dama for the Module name and select /WEB-INF/ebx/schema/media-type.xsd for the Path in module field.
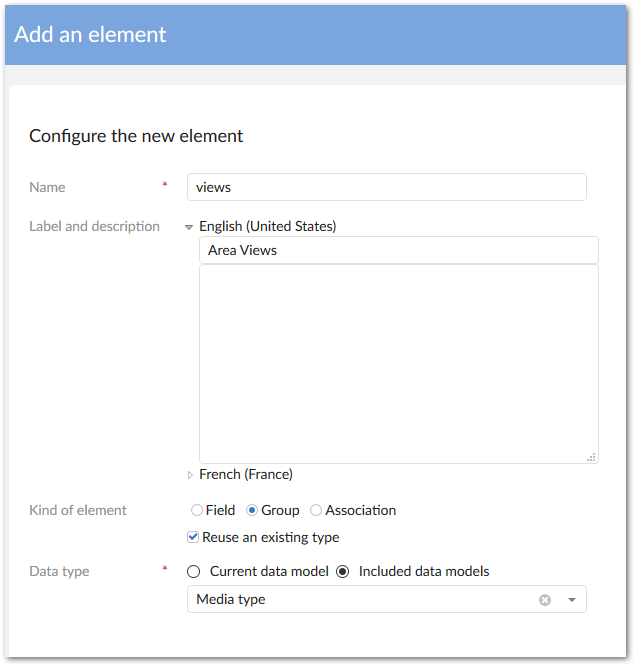
After saving and closing, create a field using the mediaType data type in the desired table by selecting Create child from the table's services menu and using the following options:
Enter a name and optionally a label and description.
For the Kind of element, select Group.
Select Reuse an existing type.
Select Included data models as the Data type and choose Media type from the drop-down menu.
Use the group's Minimum/Maximum number of values properties to specify the number of assets that users can attach to this field.
Attention
If you configure options for this field's Default views and tools, it can prevent users from accessing asset management functionality.
After clicking Create, you can publish the data model and, if needed, create a dataset.