Demo System
Foresight Studio ships with the following demo system:
| InstreamDemoSystem | Workflow that runs Instream, Docsplitter, and Response Generator. |
| Routes | Routes EDI 834, 835, and 837 data to directories under <TIBCO_HOME>\fsp-studio\<n.n> \Systems\Routes. |
To try out the InstreamDemoSystem system:
-
Copy Tutorial837IA.edi
From:
<TIBCO_HOME>\
fsp-studio\<n.n>\Systems\InStreamDemoSystem\DemoSystemFolders\TestDocumentsTo:
<TIBCO_HOME>\
fsp-studio\<n.n>\Systems\InStreamDemoSystem\DemoSystemFolders\ToWorkflow\Inbound837I -
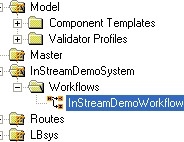
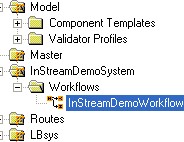
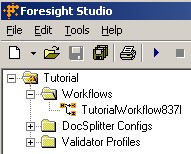
Return to Foresight Studio and open the workflow by double-clicking on InStreamDemoSystem | Workflows | InStreamDemoWorkflow.
-
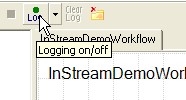
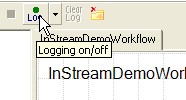
Click the log toolbar button
 until it turns green:
-
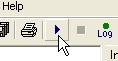
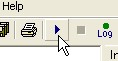
Click the Start Automator toolbar button.
-
After tasks in the Automator window return to Idle, close the window.
-
Output from the workflow should appear under <TIBCO_HOME>\
fspstudio\<n.n>\Systems\InStreamDemoSystem\DemoSystemFolders\From Workflow.

Navigation
Project Navigation Pane (top left)
A list of all systems and other files. Clicking on one updates the rest of the panes accordingly. You can expend or collapse an item in this pane by right-clicking on it or by using the + and – in front of the item.
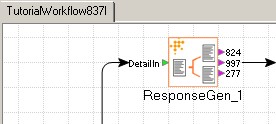
Work Area (center)
Your area to create workflows, edit files, etc. You can see an edit menu by rightclicking anywhere in the work area.
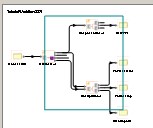
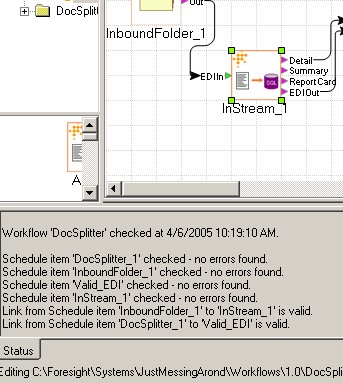
Workflow Overview (right)
When a workflow is selected in the project navigation pane, this area shows a miniature view of the entire workflow. You can zoom in on a workflow area by dragging over it with your mouse in this pane. The main work area then zooms in on the selected area. To zoom out, drag over a larger area.
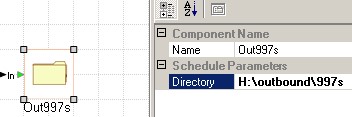
Component Properties (top right)
Properties of the selected workflow component.
Palette (Bottom left)
Tools and objects you can drag to the work area. Notice the tabs: Custom (if applicable, see Components under Custom Tab on page 126), I/O, Standard, Transaction Insight®, and Validator. Each tab contains different components. Each tab contains different components.
Tabs (top center)
Other documents and workflows. You can close an open tab by right-clicking on it.
Status bar (bottom border)
Information about the current document.

Status pane (bottom center)
Some views display a bottom pane with tabs that provide history and other information specific to the current view. Adjust the size of the pane by dragging the splitter bar at the top of this pane. A scroll bar at the right lets you see additional text.
In this example pane, the workflow author checks the loaded schedule to see if the entries make sense semantically: are required values used, do links match up, etc.
Toolbar
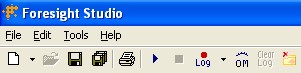
Hover over a button for help:
|
Icon |
Description |
|---|---|
|
|
New item. Use the arrow to choose the type of item. |
|
|
Open item. Whatever item you have selected in the left pane will open. |
|
|
Save the current item. |
|
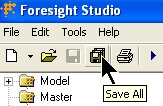
|
Save all changed items. |
|
|
Print current item. |
|
|
Start the current workflow. |
|
|
Stop the current workflow. |
|
|
To log the current workflow, click until the dot turns green. Choose the logging level with the arrow. |
|
|
Turn on (eye open) or off (eye closed) TIBCO Foresight® Operational Monitor. Necessary when running a workflow containing certain components such as ISFileIDInsert and MetaUpdater and ArchiverNoFilter. |
|
|
Clears the log tab at the bottom of the screen. |
|
|
Clears leftover files in the current workflow, after asking for confirmation. |


Teaching yourself Studio
The quickest and easiest way to learn Foresight Studio is to do the tutorial. See Tutorial Workflow.