Adding a Parsing Rule in an Advanced Data Model
You can add one or more parsing rules that define how to parse log events.
Note: You cannot add a new GP parsing rule in a data model.
You can duplicate an existing GP parsing rule, and make the required changes. For details, see Editing GP Parser Rules.
- Procedure
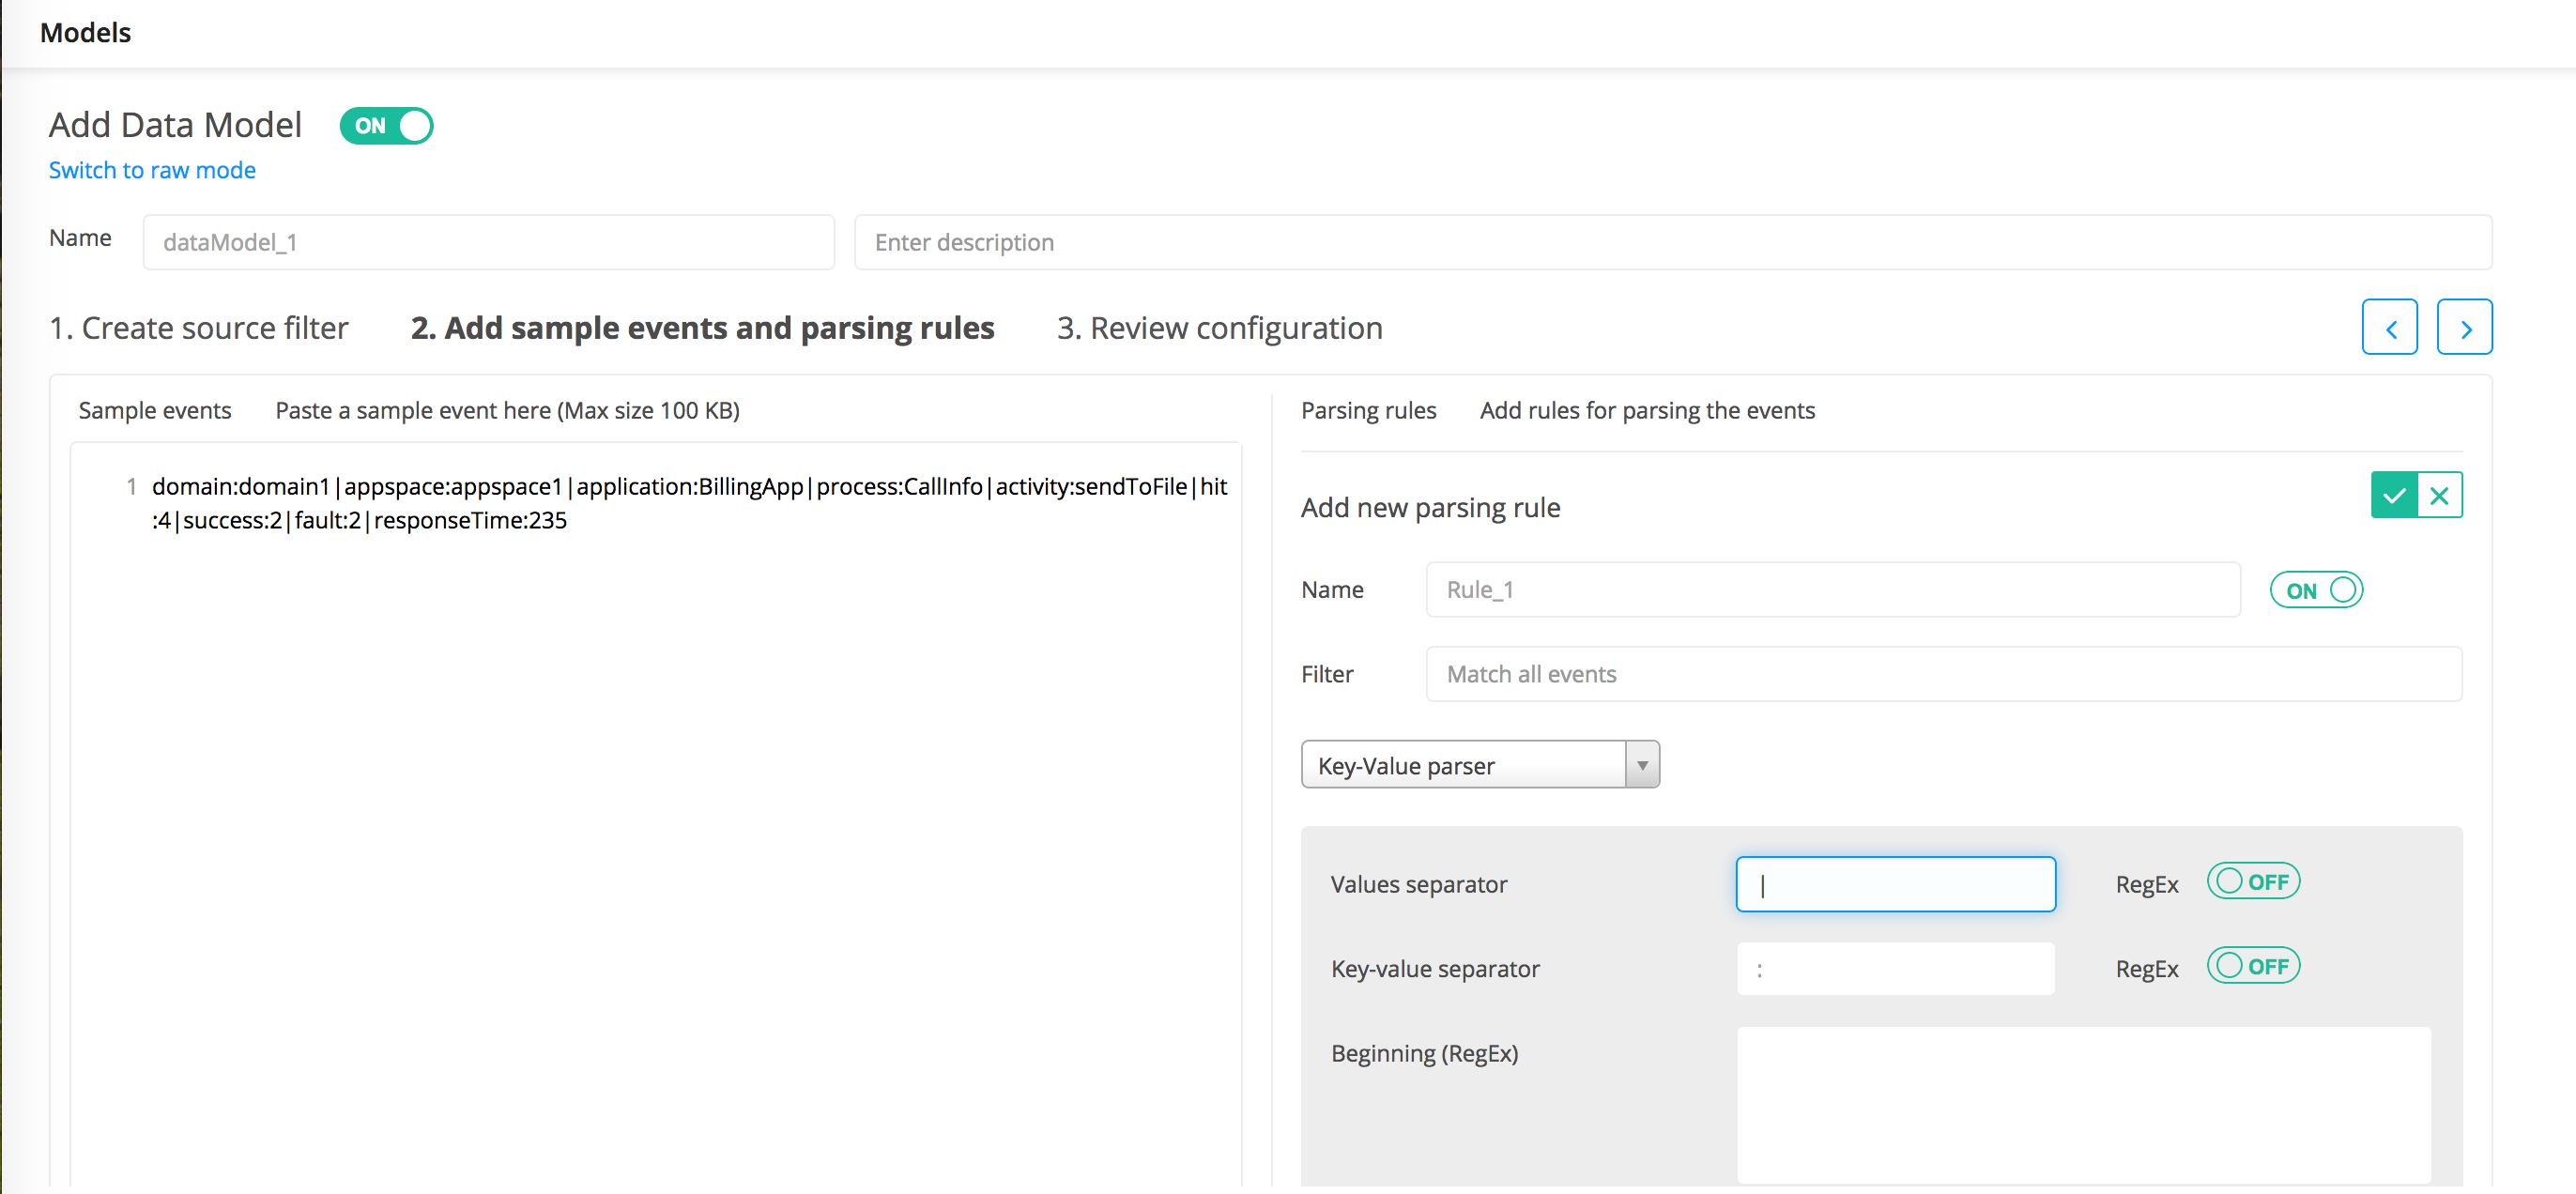
- Paste the sample log data in the
Sample events panel.
This data can be helpful in defining the parsing rule based on the log source. After saving the data model, the sample data is always available when editing the same data model or associated parsing rules.Note: You can paste a maximum of 100 KB sample data.
- In the
Parsing rules panel, click
Add new rule to add a new parsing rule.
You can add multiple rules for the same data model.
- In the
Name field, enter the name of the rule.
The name must contain an alphanumeric character. It can also contain an underscore (_) and hyphen (-).
- To enable the parsing rule, ensure that the slider is set to ON. To disable the rule, click the slider to OFF.
- In the
Filter field, enter the filter that is assigned to the parsing rule. All regular expression patterns are supported.
Note: If you do not define the filter, all events are matched with this rule. Parsing rules that are listed after such parsing rule are ignored.

- From the Choose parser list, select the type of parser you want to use. Depending upon the selected parser, you must provide additional information in various fields: see Parser Field Reference - Advanced Data Models.
- To configure downstream parsing for this parsing rule to another data model, enable the Manage downstream parsing field. Note: By default, this field is disabled. You can configure the downstream parsing only for one parsing rule and to only one advanced data model. Only that parsing rule must be enabled and all other parsing rules must be disabled.
Field Description Data model Select the data model whose parsing rules you want to apply immediately after the parent rule. Expression Select the expression to apply to the columns generated by the parent parsing rule. For more information about downstream parsing, see Downstream Parsing.
- To extract columns based on the parser type, click
Auto generate columns.
All custom columns are extracted in the Manage columns for this rule panel.
- (Optional) By default, the Store rule identifier on a new column field is disabled. To store the rule identifier in the ll_parsingRuleName column, enable this field. Doing so displays the rule identifier in Advanced Search results. Then you can filter by the rule identifier column, and check which log messages matched this parsing rule. From the search results you can easily detect if the parsing rule works precisely or needs changes.
- You can add, edit, or delete custom columns. To add a column, click
 . To edit any values, click inside the
Column and
Expression fields. To delete a custom column, click the Delete
. To edit any values, click inside the
Column and
Expression fields. To delete a custom column, click the Delete
 icon for that column.
Column field: The name of the column that is displayed in the results. Click in the row to add or update any column name. The content assist shows contextual matches of the existing custom column names and you can select the required one.Note: Two columns cannot have the same name. Column names are not case sensitive. When defining column names, follow the guidelines described in the COLUMNS Statement section.Expression field: Define how to map the values extracted by the parser into the defined columns. You can use arithmetic operators and conversion functions when defining an expression. The conversion functions are typically used when you need to define new columns where the expressions for new columns can use conversion functions to convert between data types and combine them using various operators. For more information, see the following topics:
icon for that column.
Column field: The name of the column that is displayed in the results. Click in the row to add or update any column name. The content assist shows contextual matches of the existing custom column names and you can select the required one.Note: Two columns cannot have the same name. Column names are not case sensitive. When defining column names, follow the guidelines described in the COLUMNS Statement section.Expression field: Define how to map the values extracted by the parser into the defined columns. You can use arithmetic operators and conversion functions when defining an expression. The conversion functions are typically used when you need to define new columns where the expressions for new columns can use conversion functions to convert between data types and combine them using various operators. For more information, see the following topics:- For details about the arithmetic operators, see FILTER Statement.
- For conversion functions, see Predefined EQL Functions.
- The type of expression depends on the parser type: see Parser Field Reference - Advanced Data Models.
- Click the Refresh
 icon. The
Parser preview panel displays all extracted columns and their data types that are matched by the corresponding parsing rule.
icon. The
Parser preview panel displays all extracted columns and their data types that are matched by the corresponding parsing rule. If you have configured downstream parsing, then the Parser preview panel displays the following information:
- Null as the values - if downstream parsing failed.
- Values as per the parsed fields - if downstream parsing is successful.
For easy readability, each event that matches with the corresponding rule is identified in the same color. To change the supported data type of a custom column, click in the corresponding Type field and select the appropriate data type from the list.Note: The parser preview is displayed only if log data exists in the Sample events panel and if at least one parsing rule is enabled.
- To save the new parsing rule, click the Save
 icon.The Parsing rules panel displays the newly added rule.
 - Click
3. Review configuration or click
 located on the right side of the page.

What to do next
Manage columns, review the configuration, and save the data model. For more information, see Managing Columns and Data Types.
Subtopics