Registering a Bare-Metal Data Plane
You must register your before you start using the different TIBCO® Control Plane capabilities. Use the following steps to register your single micro-kubernetes cluster on the .
- You must have Data Plane Manager permission. For more information, see Permission.
- If you have not already set up a Kubernetes cluster, see Setting up a Single Kubernetes Cluster on MicroK8s.
- If you want to configure custom Helm repository, ensure that the latest Helm charts from TIBCO GitHub repository are available in your custom repository.
- Procedure
- In TIBCO Control Plane, click the Data Planes menu on the sidebar.
- Click Register a Data Plane.
- On the Bare-Metal Data Plane card, click Start.
- On the Prerequisites screen, refer the workshop link for setting up a single Kubernetes cluster on MicroK8s and preparation for provisioning a Bare-Metal Data Plane on TIBCO Platform that supports Linux.
-
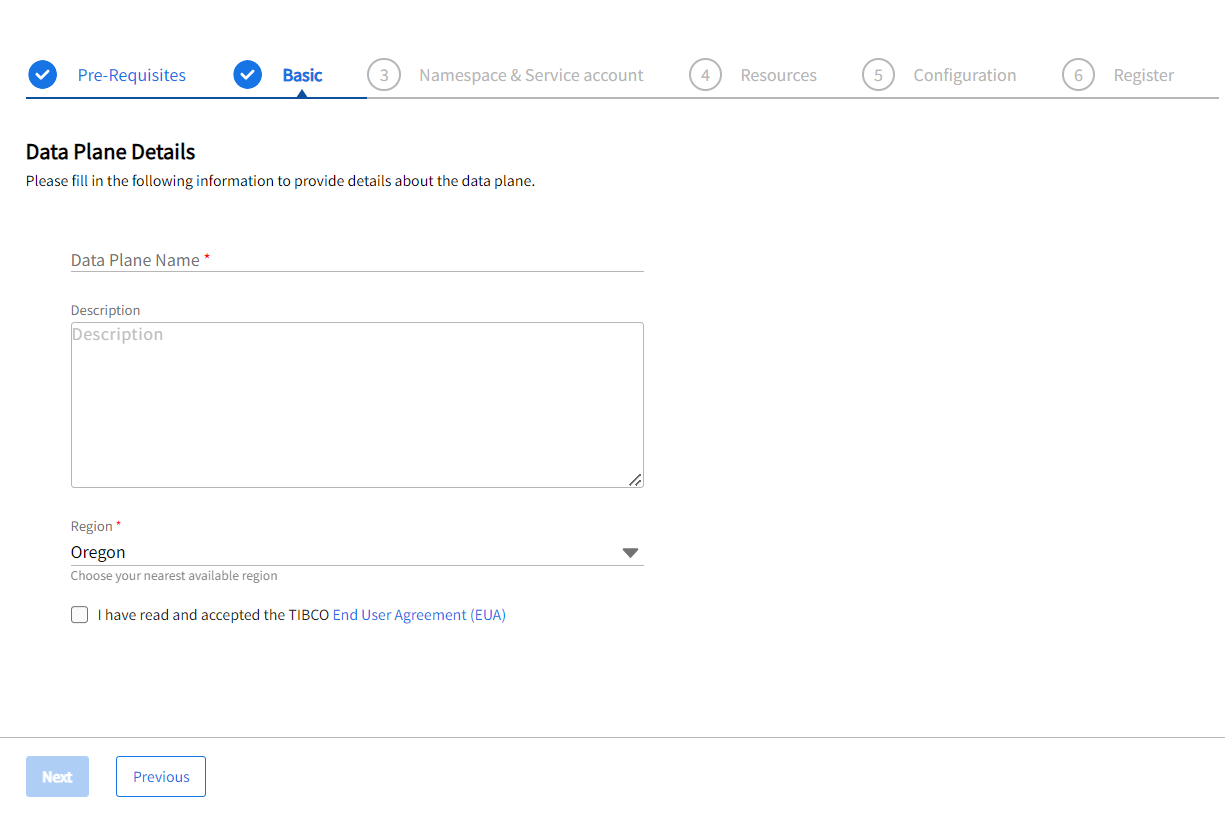
On the Basic screen, provide the Data Plane Name, the Description, the Region from the dropdown list.
-
You must select the EUA checkbox before proceeding.
- On the Namespace & Service account page, specify the following details.
-
On the Resources page, specify the following details:
Storage Class: The host storage class provides persistence for TIBCO services running inside the bare-metal data plane.
Field Description Resource Name The name of the resource. Description The description of the resource. Storage Class Name The name of the storage class that you want to use to provision file storage. Ingress Controller: An Ingress Controller acts as a reverse proxy and load balancer. It implements a Kubernetes to route and accept requests to send data or notifications from outside the Kubernetes system and load balancing to the TIBCO services running inside.
Field Description Resource Name The name of the resource. FQDN Fully qualified domain name (FQDN) configured for Ingress Controller.
Note: You must use a unique FQDN and path prefix combination within a single cluster for the same Ingress Controller resource.Ingress Class Name The Ingress class name used in the Ingress specification.
Example: nginx
Ingress Controller Specify the type of ingress controller.
Click Next. For more information, see Workshop link, which guides you through the installation of an Ingress Controller preparing for the provisioning of the Bare Metal Data Plane.
-
On the Configuration page, enter the following configurations.
Field Description Proxy You can use a proxy server to route your outbound and inbound requests through the proxy server. By default, the proxy configuration is disabled. HTTP Proxy A proxy URL to use for creating HTTP connections outside the data plane.
The format for the HTTP proxy is:
http://http_proxy:port/Example:
http://proxy.example.com:8080/HTTPS Proxy A proxy URL to use for creating HTTPS connections outside the data plane.
The format for the HTTPS proxy is:
https://https_proxy:port/Example:
http://proxy.example.com:8084/No Proxy NO_PROXY value defines a list of destination URLs to exclude from using the proxy.
The format of NO_PROXY is:
https://no_proxy1:port/, https://no_proxy2:port/Container Registry By default, uses JFrog registry for all component Docker images. Registry URL Username to access the container registry. Repository Password to access the container registry. Helm Chart Repository Global Repository The default Helm chart repository configured at the global level is used by default for the data plane. Custom Helm Chart Repository To configure a new Helm chart repository at the data plane level, click Add Helm Chart Repository to this data plane. Specify the details for the repository. For more information of the fields, see Configuring a Custom Helm Chart Repository. Link other / alternative Global Repository To use a different Helm chart repository than the default one, click Link other / alternative Global Repository. Select the repository from the list. Custom Certificate (Optional) You can use a custom certificate to secure the communication between TIBCO Control Plane and your data plane by providing a Kubernetes secret containing this custom certificate. For more information about how to generate and use the custom certificate, see Using Custom Certificate.
This feature is applicable to self-hosted TIBCO Control Plane only. Custom certificate can be configured for new data planes created starting from TIBCO Control Plane 1.4.0.
Custom Certificate Secret Name Specify the custom certificate secret name. - Preview the configuration.
-
On the Register a Data Plane page, the helm commands for Helm repository configuration, namespace creation, service account creation, and cluster registration are provided. Run the helm commands in your single micro-Kubernetes cluster in the sequence specified on the screen. It is mandatory to run all four commands whether you have an existing namespace and service account or you want to create a one. Cluster Registration command deploys TIBCO Control Plane Infrastructure components in your Kubernetes cluster, which is required to manage and monitor the data plane by using TIBCO Control Plane.
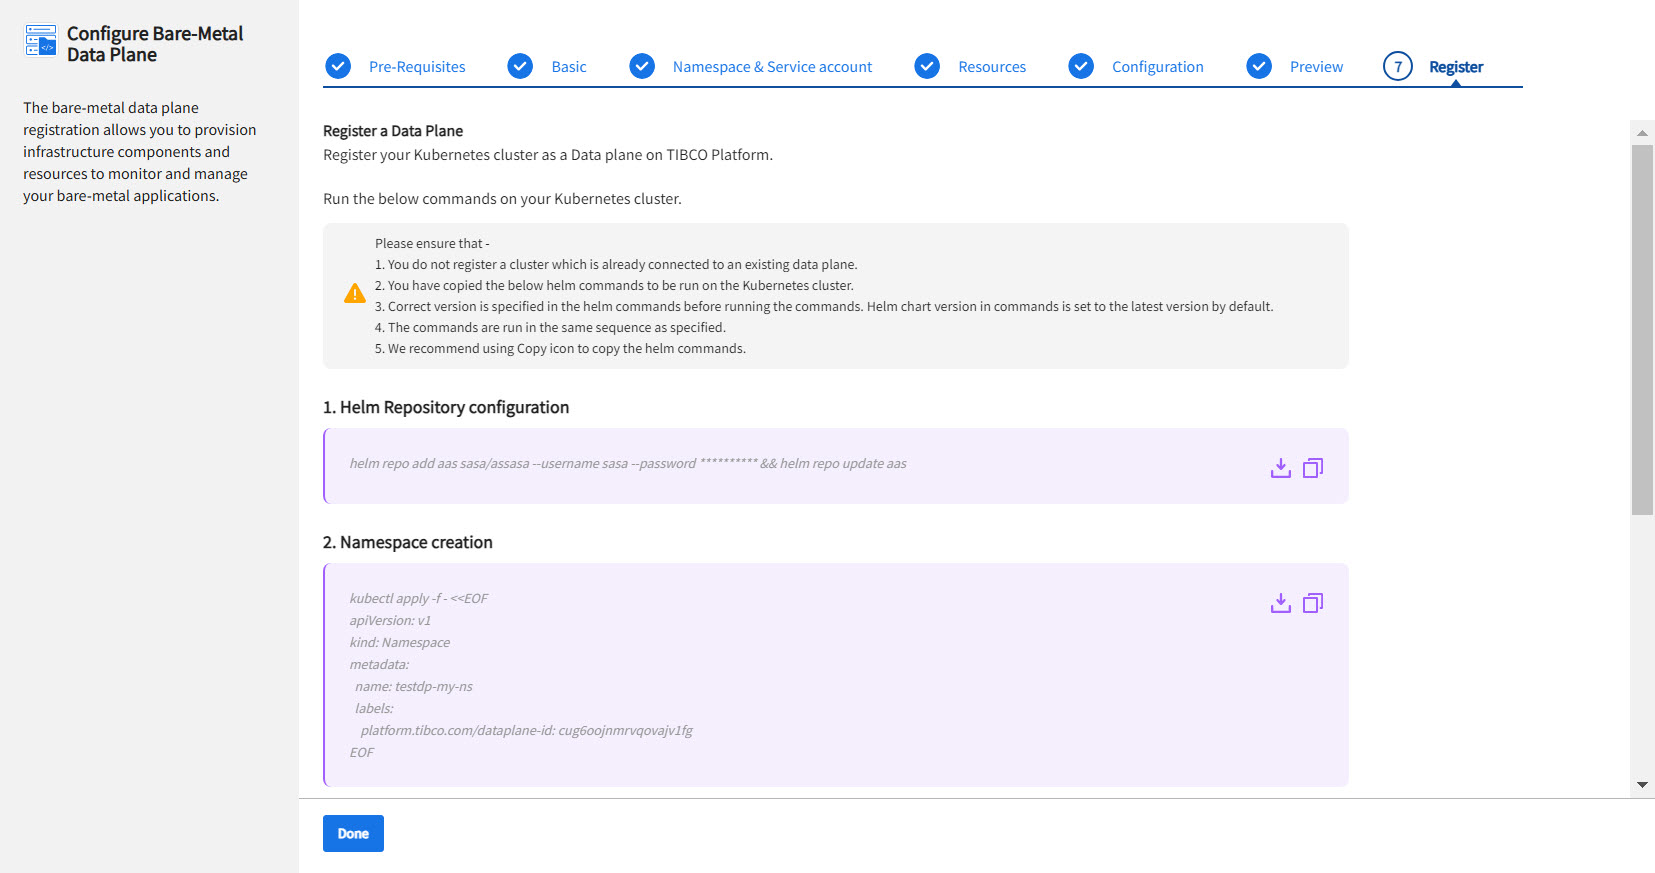 Note: The Helm commands are unique for each data plane. Copy or download the commands before clicking Done. After you close this screen, you cannot access the Helm commands, and you need to follow the previous steps again.
| Field | Description |
|---|---|
| Namespace | Namespace in which you want to deploy infrastructure components and capabilities. If the namespace is not already created, you can create it by running the command on the last screen of the wizard. |
| Service Account | Specify the Kubernetes Service account name. The service account is used when deploying infrastructure components and capabilities. If the service account is not already created, you can create it by running the command on the last screen of the wizard. |
| Enable or disable the cluster scope permissions for RBAC | By default, the service account has cluster-scope permissions. If you do not want service account to have cluster-scope permissions, disable the Allow cluster scope permissions option. If cluster-scoped permissions are disabled, cluster-scoped RoleBindings are not created. It creates namespace scoped Role and RoleBindings, which only apply to resources in every namespace. For more information, see Data Plane RBACs. |