You can navigate downwards as well as upwards in the treemap
hierarchy.
About this task
Navigating
downwards in the treemap hierarchy makes it possible to view the details of a
level in a branch. The branch level in question fills the entire visualization,
and other branches are no longer visible. After viewing the details, you can
navigate upwards again.
Procedure
-
In the treemap, move the cursor over the header of the branch
level you want to view the details for.
The header becomes underlined.
-
Click the header.
The branch level in question fills the entire
visualization. At the uppermost header of the treemap, the path of the
hierarchy levels is displayed.
-
To return to an overview again, that is, navigate upwards in the
hierarchy, click the wanted level in the hierarchy path.
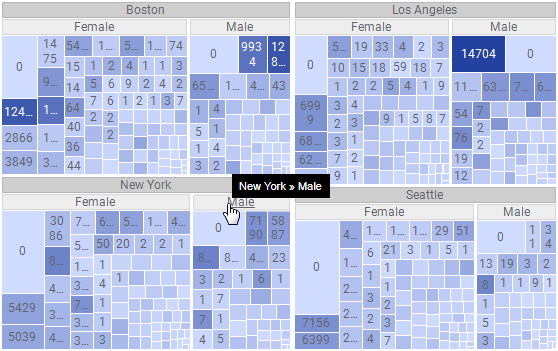
Example
If you want to take a closer look at the 'New York >> Male'
level, click the 'Male' header as shown below.
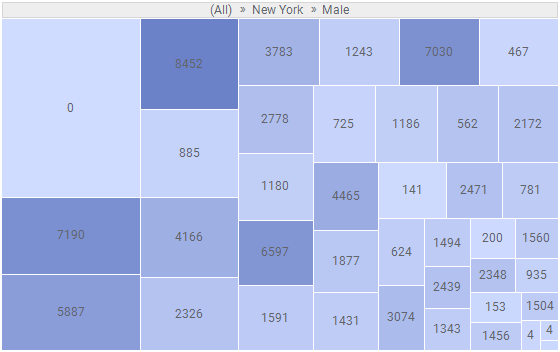
In the resulting treemap, you can now view more details:
To navigate upwards in the hierarchy, click (All) in the hierarchy
path to return to the initial view. Alternatively, you can move only one step
up in the hierarchy by clicking 'New York' instead.