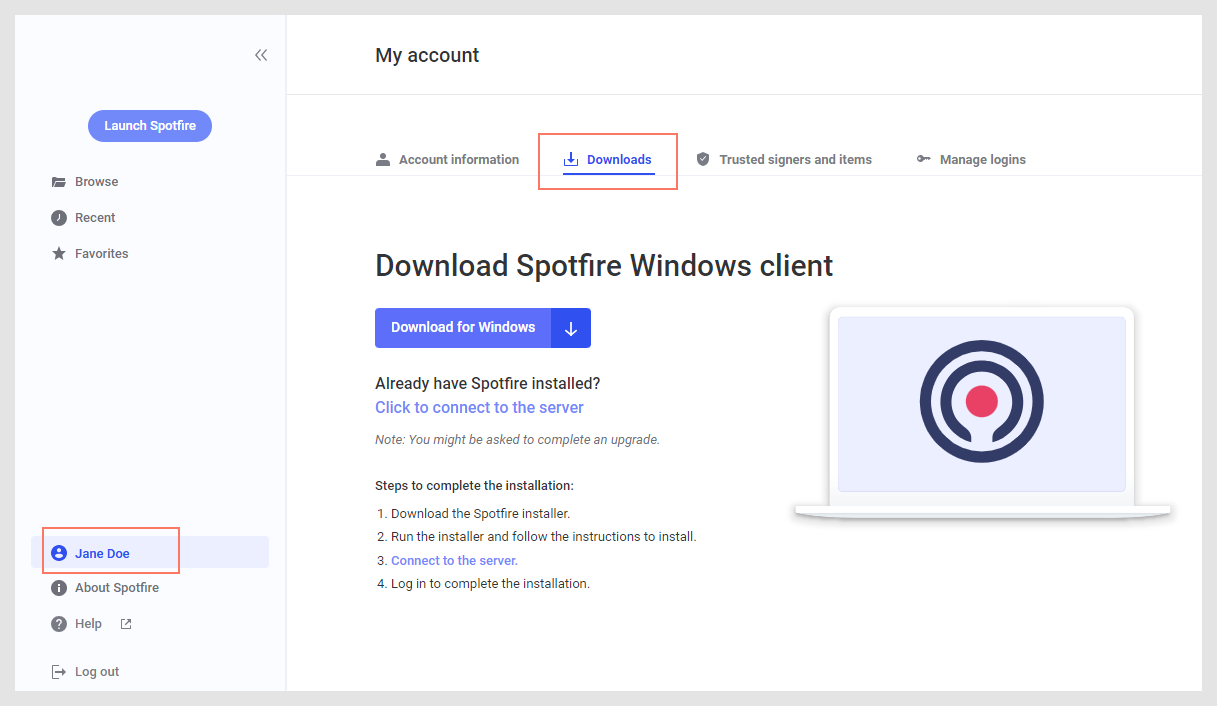
Downloading TIBCO Cloud™ Spotfire® Analyst
In TIBCO Cloud™ Spotfire®, at least one user is assigned an author seat. As an author, you have access to two authoring tools, the TIBCO Cloud™ Spotfire® web client, and TIBCO Cloud™ Spotfire® Analyst, an installed client. When you use TIBCO Cloud Spotfire Analyst, you have access to more features for creating advanced analyses.
About this task
You can use either client, TIBCO Cloud Spotfire Analyst or the TIBCO Cloud Spotfire web client, to create analyses for your own analytic purposes, or to share with end-users through the web client. See About users and roles for more information about the differences between the clients.
Before you begin
Procedure
What to do next
Run the file to install the
TIBCO Cloud Spotfire
Analyst client. Once installed, you log in using your
TIBCO Cloud Spotfire
credentials.
Note: Selecting the
right server
When you start the Spotfire Windows application, make sure you log in
to the right server. Depending on the TIBCO Cloud region you selected for your
Spotfire subscription, you must log in to the corresponding server:
- US, Oregon: https://spotfire-next.cloud.tibco.com/
- Europe, Ireland: https://eu.spotfire-next.cloud.tibco.com/
If the server for your Spotfire region is not selected by default, you
can add it from the Spotfire Windows application login dialog:
- In the login dialog, click the Manage servers link.
- If the Available Spotfire servers field does not show the correct server, click Edit.
- In the Edit Server dialog, paste the server URL you want to log in to.
- To save your changes, click OK.
Parent topic: Feature access and support
