Creating a Touchpoint
In this tutorial, learn how to build, run, output, and publish results from your first touchpoint.
Creating a touchpoint begins with choosing a workflow. For this tutorial, use an example workflow. When you finish, you have a touchpoint that takes in user input and displays rows with fewer than that number of dependents. Then publish the touchpoint to the catalog, which is an organization-wide collection of touchpoints that business users can explore. To get started, make a workflow variable to hold the user input.
- Procedure
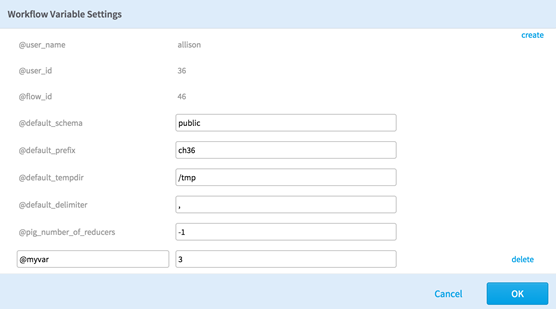
- Create a variable called
@myvar and set the default value to 3.
For more information on creating a workflow variable, see Defining New Workflow Variables.Note: All workflow variables must start with the character @.
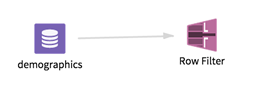
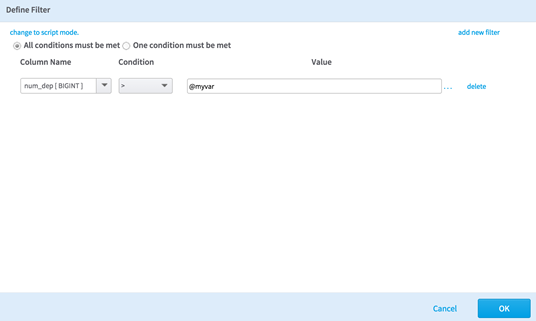
- Set up the Row Filter operator to take input from the workflow variable.
- Navigate to the workflow you are interested in. Select the workflow, and then from the menu, click
Create Touchpoint.
 The Create a New Touchpoint dialog is displayed.
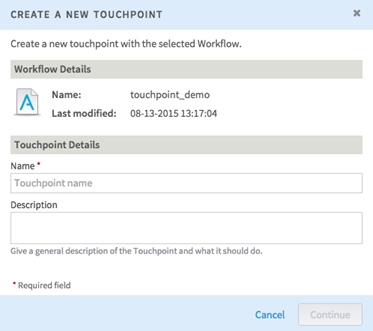
- Enter the name and a short description for the touchpoint, and then click
Continue.
Note: Valid names for touchpoints include numbers, letters, spaces, and any of the following characters: ( ) . - _
Work files with other characters in the name are not created.
Specify the Run Settings Tab and Adding Parameters to a Touchpoint to your touchpoint.