Installing ibi iWay Trading Partner Manager on Windows
On Windows, the iWay TPM installer is packaged as a self-extracting (.exe) file (for example, ibi_sm-edi_9.1.1-tpm.exe).
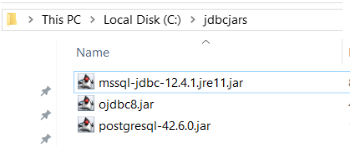
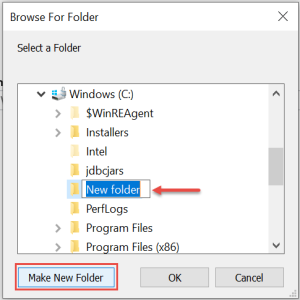
Before continuing with the installation, create a directory on your file system for your JDBC driver .jar files. For example:
C:\jdbcjars
Copy your JDBC driver .jar files to this directory, as shown in the following image.
To install and run iWay TPM:
- Procedure
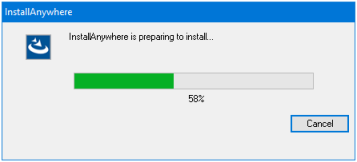
- Double-click the installation file (for example, ibi_sm-edi_9.1.1-tpm.exe).
The installer (InstallAnywhere) loads on your system, as shown in the following image.
Once loaded, the Introduction screen displays, as shown in the following image.
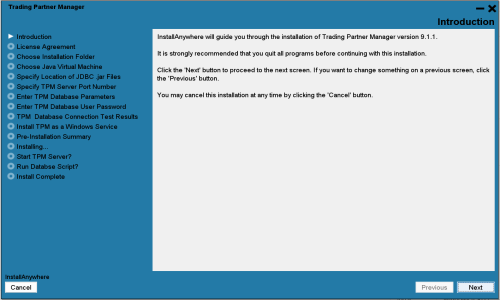
- Click Next.
The License Agreement screen displays.
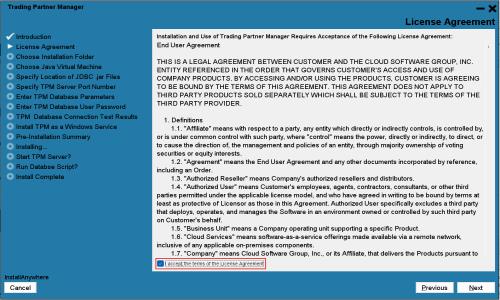
Select the I accept the terms of the License Agreement check box to proceed.
- Click Next.
The Choose Installation Folder screen displays. You can keep the default folder location as C:\Program Files\tpm, as shown in the following image, or choose any other location.
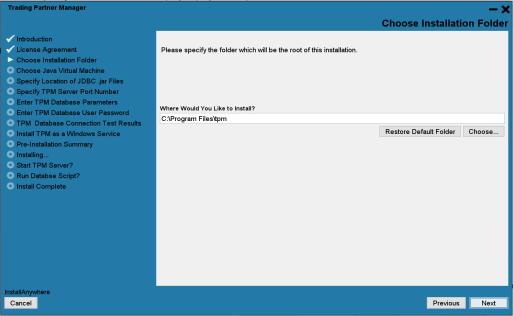
You can also have the installer create a new folder.
- Click Next.
The Choose Java Virtual Machine screen displays, as shown in the following image.
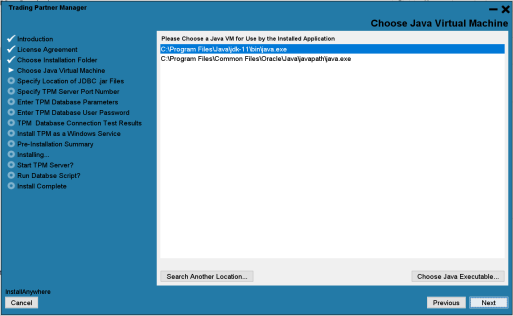
- Select Java 11 that is installed on your system.
- Click Next.
The Specify Location of JDBC
.jarFiles screen displays, as shown in the following image.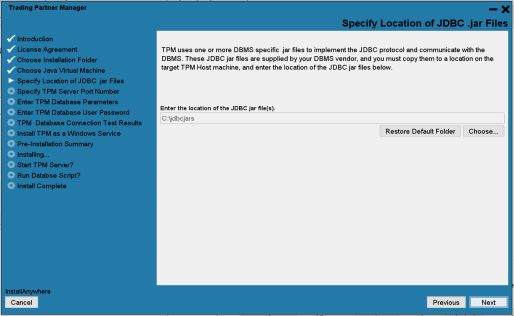
- Select the directory on your file system that you created earlier, which contains your JDBC driver
.jarfiles (for example, C:\jdbcjars). - Click Next.
The Specify TPM Server Port Number screen displays, as shown in the following image.
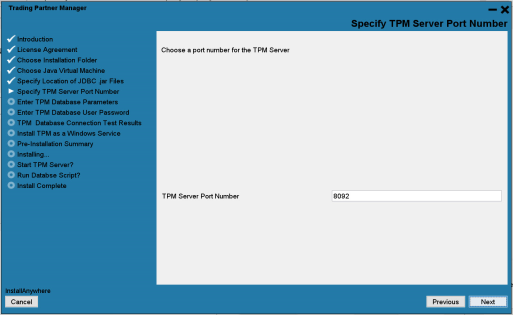
- Specify an available port number on your system to be used by the iWay TPM server.
- Click Next.
The Enter TPM Database Parameters screen displays, as shown in the following image.
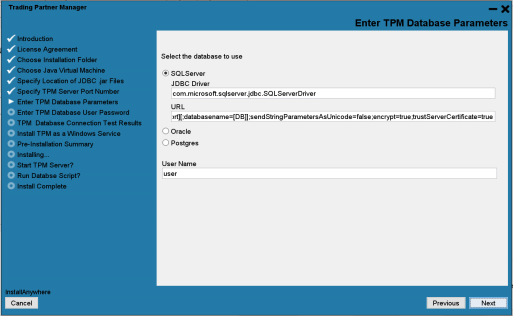
- Select SQL Server, Oracle, or Postgres as the database type.
- Enter the JDBC driver class name, connection URL string, and username for the database you are configuring with iWay TPM.
JDBC Driver Classes
SQL Server:
com.microsoft.sqlserver.jdbc.SQLServerDriver
Oracle:
oracle.jdbc.driver.OracleDriver
Postgres:
org.postgresql.Driver
Connection URLs
SQL Server:
jdbc:sqlserver://[host][\instance][:port][;databasename=[DB]];sendStringParametersAsUnicode=false;encrypt=true;trustServerCertificate=true
Oracle:
jdbc:oracle:thin:@[HOST][:PORT]:[SID]
Postgres:
jdbc:postgresql://[host]:[port]/[databasename]
- Click Next.
The Enter Password screen displays, as shown in the following image.
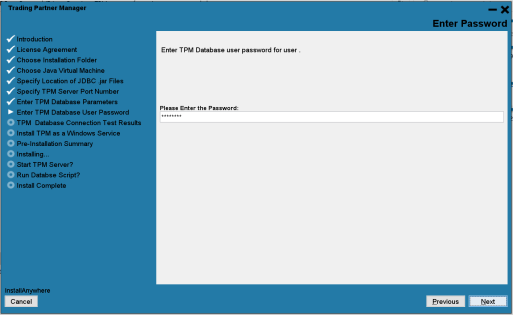
- Enter the password for the database that you are configuring with iWay TPM.
- Click Next.
The TPM Database Connection Test Results screen displays, which shows the results of the database connection test, as shown in the following image.
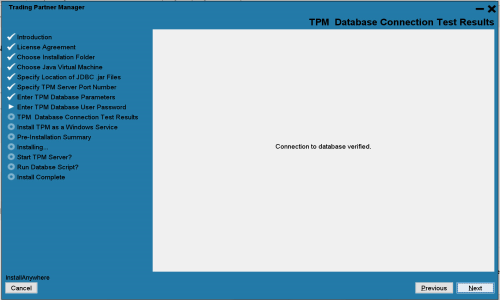
- If the connection to the database is verified, click Next to continue.
-
If you encounter any issues, click Previous to adjust your database connection parameters and retest your connection.
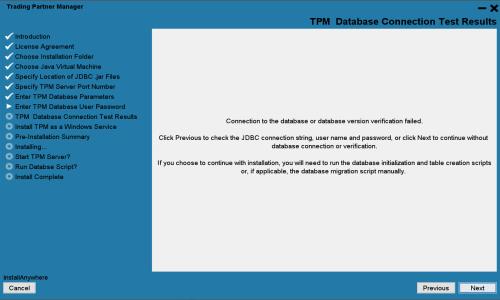
If you choose to continue with the installation without the database connection verified, you must create the database using database tools.
Note: The scripts to create a database are not provided by the installer. - If the database connection is verified, but the tables are not created, the following message is displayed.
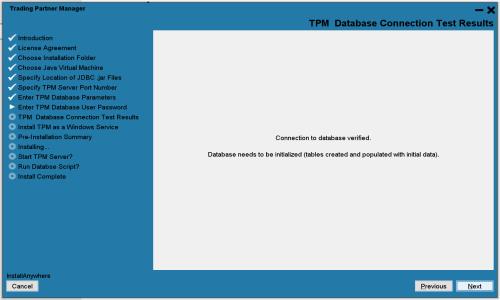
The tables can be created later on by the install procedure, or you can choose to run the scripts manually and create them after installation. For more information, see Using SQL Scripts.
-
Click Next. The Install TPM as a Windows Service screen is displayed, as shown in the following image.
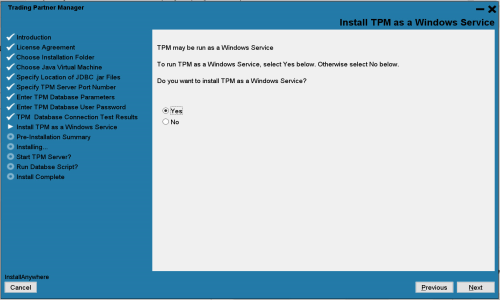
- Select Yes if you would like to install iWay TPM as a Windows service.
- Click Next to continue.
The Pre-Installation Summary screen displays, as shown in the following image.
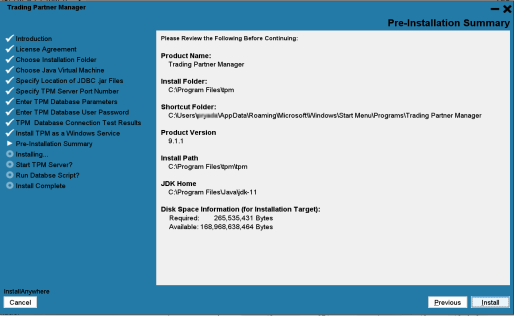
- Review the installation summary and click Install if all the information is correct. If you want to change any value, click Previous to return to the appropriate screen.
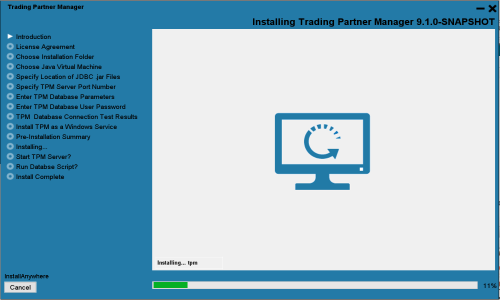
A progress indicator is displayed during the installation, as shown in the following image.
A prompt to Initialize Database displays after the installation has finished. This prompt is displayed if the database connection was verified in Step 18, but the tables did not exist.
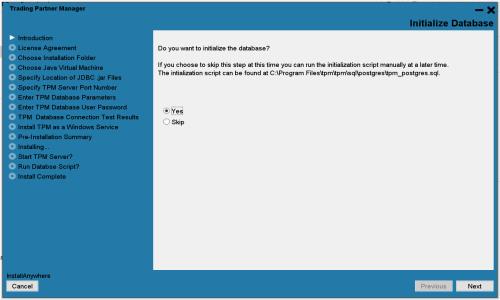
Select Yes to initialize the database and create the tables now, or Skip to create the tables manually after the installation completes. For more information, see Using SQL Scripts.
When the installation has finished, a prompt to start the iWay TPM server displays, as shown in the following image.
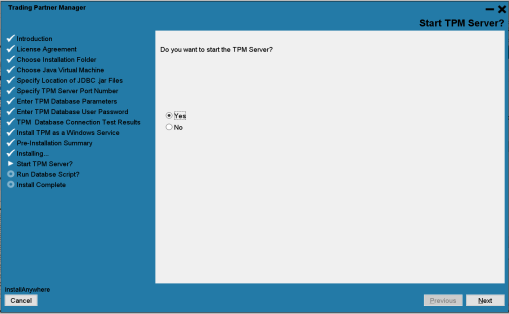
You can now start the iWay TPM server.
- Select Yes, and then click Next.
iWay TPM automatically starts and runs in the background.
For more information on how to start and stop iWay TPM through the Windows Start menu, see Using the Start and Stop Menu Options.
-
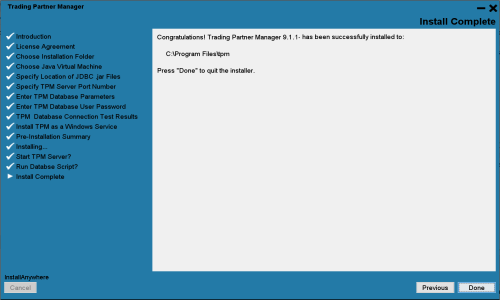
The Install Complete screen displays, as shown in the following image.
If you selected Skip on the Initialize Database screen in Step 22, the following message displays.
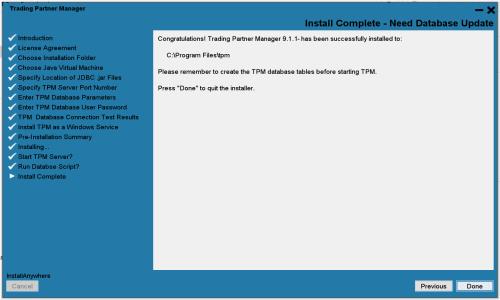 Note: Run the database scripts to create tables before starting iWay TPM.
 - Click Done.
You are now ready to run iWay TPM and verify your installation.
- Open your browser and enter the following URL:
http://hostname:port_number
where:
hostnameIs the name of the system hosting iWay TPM.
port_numberIs the port number that you specified for the iWay TPM server during the installation. For example:
http://localhost:8092
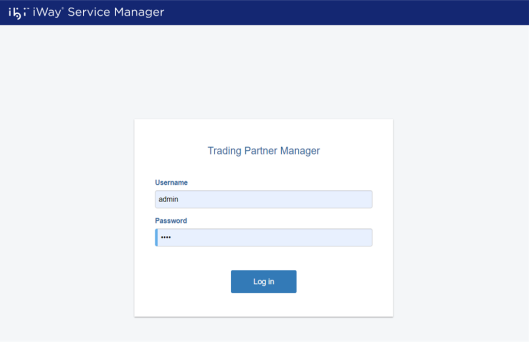
The login page opens in your browser, as shown in the following image.
 Note: If you are unable to see the login page, check that the TPM service is started and the database is accessible.
 - Enter the following default login credentials:
- Username: admin
- Password: iway
- Click Sign in to begin using iWay TPM.
The iWay TPM console opens, as shown in the following image.
