Set Graph Area Button
Click the
![]() button (or select Graph placement from the
View menu) to specify the placement of the plot(s) within the graph window. There are two methods to do it interactively using this tool (in addition to making the adjustment in the Document Size and Scaling dialog accessible by clicking the
button (or select Graph placement from the
View menu) to specify the placement of the plot(s) within the graph window. There are two methods to do it interactively using this tool (in addition to making the adjustment in the Document Size and Scaling dialog accessible by clicking the
![]() button).
button).
You can increase (or decrease) the margin around the plot by clicking this button and dragging the resizing squares that are displayed around the edges of the graph window. As you drag the buttons towards the plot, the margins around the plot increase.
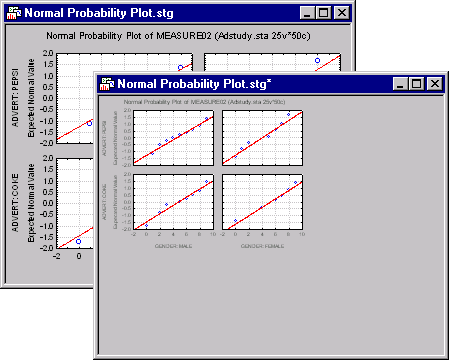
You can also increase the margins by simply drawing a rectangle in the place where you want the graph to be. After clicking the
![]() button, drag the mouse pointer across the graph to "draw" a rectangle in the graph window (see the dashed line in the illustration below). When you release the mouse button, the plot will be redrawn in the area specified by the rectangle and the margins will have been increased (or decreased).
button, drag the mouse pointer across the graph to "draw" a rectangle in the graph window (see the dashed line in the illustration below). When you release the mouse button, the plot will be redrawn in the area specified by the rectangle and the margins will have been increased (or decreased).
You can use the Snap to Grid option to align the area of the graph with other objects, e.g., other graphs to be pasted later in the blank area of the display.