Using the AMS Web Client
This topic explains how to navigate the user interface. The available options displayed in the web client vary based on your assigned user role and privileges.
Artifact Editor
The Artifact Editor is where you build and edit decision table artifacts. By default the Artifact Editor is located on the right side of the web client. Working with artifacts using the Artifact Editor is described in Building Rules for Decision Table Artifacts.
Tool Panel
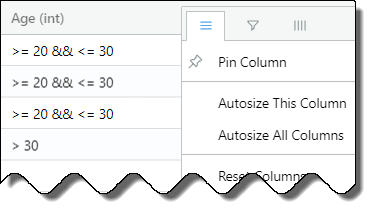
The Tool Panel provides various artifact display options based on the item selected (such as a row or column). Different menu combinations are also possible depending on whether the artifact is checked out.
Hover your mouse to the right of the column or ID to invoke the selection button.
 |
-
 Filter: Provides column display options
 -
 View/Hide items: Displays or hides row or column
 -
 Filter: Provides search field for the selected column
Viewing Messages and Errors
By default, the Artifact Editor color-codes operations you perform on artifacts, depending on the operational context. Operations include editing artifacts or comparing artifacts during a synchronization operation.
Status messages, such as successfully completed operations, are also displayed in the web client, depending on your activity.
Refer to the following color decorations:
-
Green: the operation initiated by the user is completed correctly by the server.
-
Yellow: the operation initiated by the user is NOT completed by the server for some reason.
-
Blue: the web client has initiated some state check and updated some state successfully.
-
Red: an unexpected error occurred in either the web client or the server.
Setting User Preferences
To set user preferences for working in the web client, click the selection button ![]() in the upper-right corner and click Settings. Changed settings take effect immediately and are preserved across user sessions.
in the upper-right corner and click Settings. Changed settings take effect immediately and are preserved across user sessions.
- Personal Preferences
-
Toggle the button to choose whether to:
-
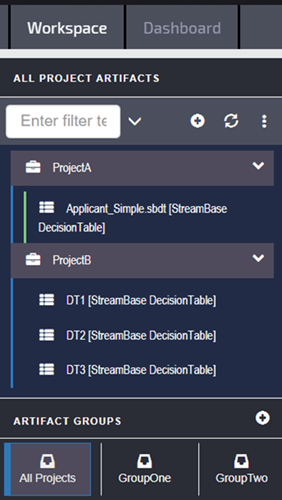
Only display checked-out artifacts in the Project Explorer (Workspace view). This setting does not affect artifacts displayed in Artifact Groups (Default: Off).
-
Always highlight differences in the Artifact Editor (Default: On).
-
Automatically validate when changes to the artifact are added, saved, or loaded (Default: Off). Setting to On ensures validation is only performed when requested.
-
Show empty folders when filtering artifacts (Default: Off).
-
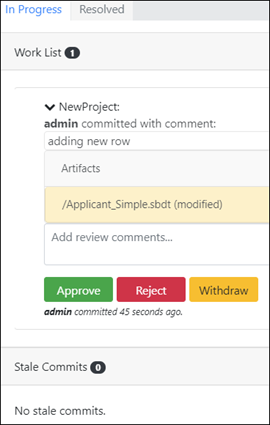
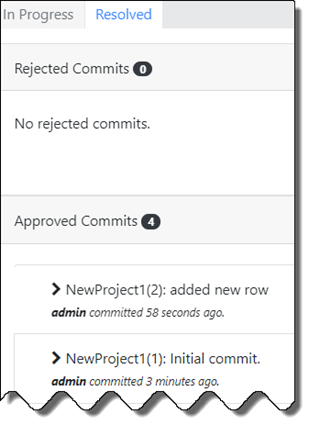
Display notifications when work list items have changed status (Default: On).
-
- Projects Configuration
-
Per project shown, set the following as needed:
-
Toggle the button to show or hide the selected project in the Workspace view.
-
Click to permanently remove the project from the AMS repository. You must enter the project name in the confirmation dialog to complete the commit operation.
![[Note]](images/note_826758100.png)
Note When deleting an AMS SCM project using this dialog, the directories and files that were imported into AMS in creating the project are NOT deleted in the repository.
-
- Account Settings
-
Account settings displays any bindings between OpenID Connect identities and the currently logged-in user, as well as the option to change your password.
-
Click to delete the binding between the Provider ID and AMS, but not the account itself.
-
Click to change your password. Changes take effect the next time you sign onto AMS.
-


