Click
New Overlay. The
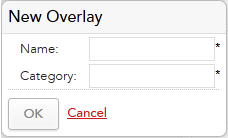
New Overlay
dialog displays.
Complete the dialog as follows:
Note: You must complete all the fields in the dialog to
create a new base calendar.
Name: The
name of the new overlay calendar.
Category: A
category for the new overlay calendar. Calendars are grouped by category when
opening and copying calendars. See
Opening Calendars and
Copying Calendars.
Click
OK to create the new overlay calendar or
Cancel to cancel your changes.
Once you have created your overlay calendar, you can specify the
exclusions in the same way you did for the system calendar. See
Creating System Calendar Exclusions.