Creating Calendars
To set up a system of calendars for your business, you need to plan which calendars are needed to meet your business requirements.
First, since a Base calendar is associated with a time zone, you will want at least one Base calendar for each time zone in which your business operates. If you have multiple offices or other business units in the same time zone but with different working weeks—perhaps in different countries, or perhaps offices that work five-day weeks and transport depots that work six or seven days—you will want more than one Base calendar with the same time zone, but different working-days properties.
For example, in an environment that provides 24-hour support, you might have:
- An Early Base calendar, defining working hours as from 06:00 to 14:00 per day, which would be referenced by the organization unit EarlyShift,
- A Late Base calendar, defining working hours as from 14:00 to 22:00, which would be referenced by the organization unit LateShift,
- A Night Base calendar, defining working hours as from 22:00 to 06:00, which would be referenced by the organization unit NightShift.
Alternatively the same functionality could be provided by defining a 24-hour working day on the Base calendar and using three overlay calendars to modify it.
You might also use Overlay calendars:
- On a national level, to define public holidays, if you choose not to do so in the Base calendar,
- To restrict working hours for shifts. For example, a claims assessment department in an insurance company works from 08:00 to 20:00. But no individual works a 12-hour day; the department is divided into two shifts that work 08:00 to 16:00 and 12:00 to 20:00. Therefore the department uses:
While organizational entities such as organization units or groups will use these Overlay calendars, your system of calendars need not correspond directly to the organization model. The same Overlay calendar might be referenced by several different organizational entities.
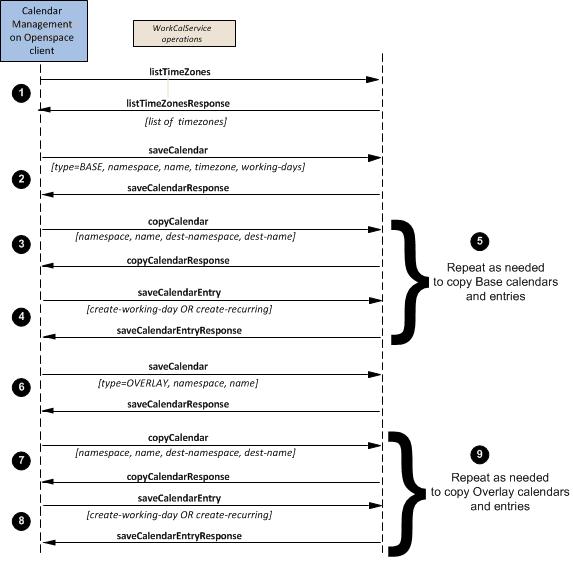
Having planned your calendars, you can follow a procedure similar to that shown in the figure below.