In this topic, we will create a new StreamBase project. StreamBase Studio uses projects to store applications and their associated files.
Note
Throughout this tutorial, we suggest names for projects, applications, and other resources files that you will create. We will refer to those resources using the suggested names, but you are free to choose other names.
-
Make sure that you are in the SB Authoring perspective, which presents the views most commonly used for editing StreamBase applications. The button should be selected in the Perspective bar (typically in the top right corner of the Studio window):
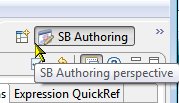
If it is not, click the
 button and switch to the SB Authoring perspective.
-
Click the
 button near the top of the SB Authoring perspective, or navigate to → → .
-
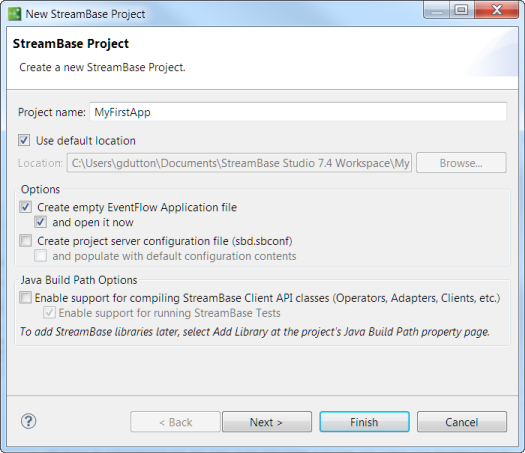
In the New StreamBase Project wizard Project name field, type
MyFirstApp. -
By default, StreamBase Studio creates your project in your current workspace. Accept this setting, as well as the default options to create an empty EventFlow application file.
-
Under the option to create an EventFlow Application file, check the option, and open it now.
-
Uncheck the Create a server configuration file option, because we will not be changing the default configuration settings for StreamBase Server.
-
Uncheck the StreamBase Client API option, because we will not be adding custom Java components to our first application.
-
Click . Click to dismiss the confirmation window.
The two stub application files are created. Both have the same name as the project, with
.sbappand.sblayoutextensions. The.sblayoutfile describes your application's layout in the EventFlow editor. Both are added to your Package Explorer, andMyFirstApp.sbapp, opens in the EventFlow Editor.