Enabling Single Sign-On - SAML and Configuring SSO Options
You can now use single sign-on with Team Studio to streamline your user provisioning and security.
Prerequisites
server_url = http://mytsdsinstallation.mydomain.com:8080
Procedure
-
Click
Authentication. The Authentication Configuration panel is displayed. By default, it shows
Internal Chorus Authentication enabled and others disabled. Only one authentication system can be enabled at a time.

-
Review the
Identity Provider (IdP) section.
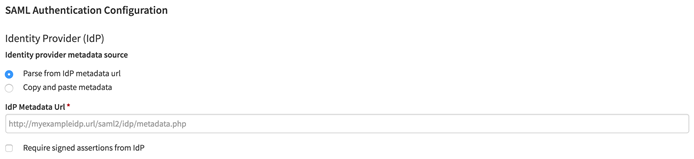
For the Identity Provider metadata source, you have two options:- Parse from IdP metadata: This option attempts to fetch the IdP metadata from a URL that you enter. Additionally, whenever you start Team Studio, it fetches the metadata again. This design is useful for when you are first configuring the system.
- Copy and paste metadata: Access the IdP metadata and paste it into the box provided. This stores the IdP metadata in the Team Studio database.
For extra security, you can enable Require signed assertions from IdP. With this enabled, Team Studio looks for a signature on incoming assertions from your IdP and displays an error if the signature is missing or invalid.
-
Configure the
Service Provider section. The service provider is the application that you are using SAML to log into (in this case,
Team Studio).

Usually, you can leave Custom SP Entity ID blank. The default entity ID is used, which is the URL where the Team Studio SAML SP metadata is located. This URL is of the form:http://<tsds domain name>/auth/saml/metadata.If you want Team Studio to digitally sign outgoing SAML assertions, select the Saml sign own sp assertions box. If you enable this setting, you must also configure an SSL certificate/private key pair.
-
Configure the
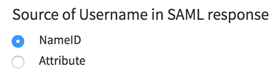
Source of Username in SAML response - set whether the user ID is obtained from the
NameID or an attribute within the SAML assertion.
-
Configure the
Attribute map section.
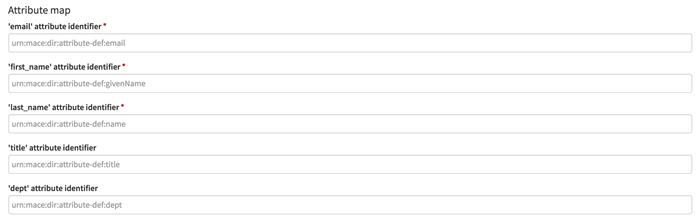
SAML authentication includes user provisioning and user updating. In other words, if a new user attempts to log in to Team Studio using SAML and is not already present in the Team Studio system, Team Studio creates a new user for them and then logs them in. This means that the SAML assertion must contain all of the required information for creating a new user in Team Studio. Some of the information must be parsed out of the SAML assertion. The User Roles can either be parsed from the SAML assertion, or retrieved using an external script.
The attribute map allows you to adapt the key format within your own system's SAML assertion, to the Team Studio key format. The following example demonstrates these settings.
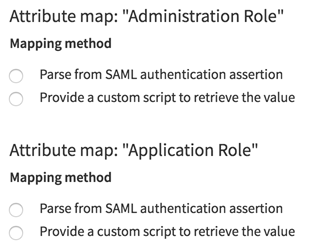
For the Administration Role and Application Role settings, you either configure a slightly more complicated mapping setup, or you can specify the path to an external script installed in your system's path. The external scripts can be written in any language, but must be executable from the command prompt. They return an exit code that indicates which role to assign the newly created user.
-
Complete the
Other section.
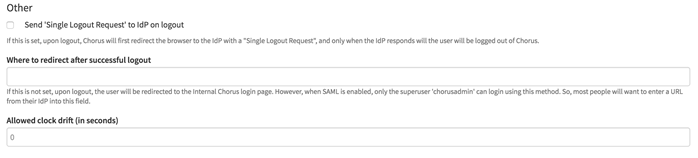
- Send Single Logout Request: When this option is selected, before terminating the session, Team Studio sends a SLO request to the IdP. Only when the IdP responds does Team Studio terminate the local session.
- Where to direct after successful logout: This option is usually your IdP's landing page. If left blank, users are redirected to the internal Team Studio login page. However, when SAML is enabled, only the siteadmin user can log in using that authentication method.
- Allowed clock drift (in seconds): This option allows some lock skew between the Team Studio server and your IdP server.
What to do next
If you have trouble with your SAML configuration and need to return to the administration panel, you can skip authentication by appending /?skip_saml=true to your Team Studio URL. (For example, http://mytsdsinstallation.mydomain.com/?skip_saml=true.)
For information about configuring the IDP, see Configuring the IDP.
- Configuring the IDP
After you enable single sign-on in Team Studio, when you visit the Team Studio URL and are not logged in, it attempts to redirect to the IDP login page instead of showing the normal Team Studio login page.