Example - Querying a Database Using OLE DB
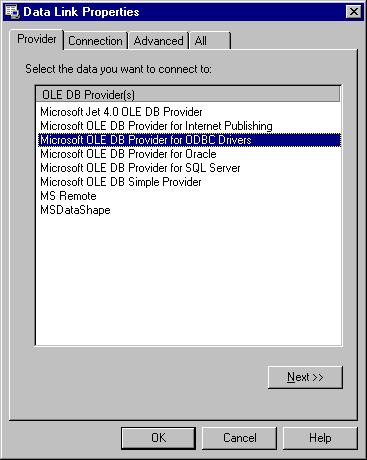
Within STATISTICA, select Create Query from the Data - Get External Data menu (or the File - Get External Data menu) and click the New button on the Database Connection dialog to display the Data Link Properties dialog, which is used to create a new database connection. Note that for detailed documentation on the Data Link Properties dialog, press the F1 key on your keyboard while the Data Link Properties dialog is displayed to show the Microsoft Data Link Help®.
On the Provider tab, select the driver for your OLE DB connection. To create an OLE DB connection, select the appropriate Microsoft Jet OLE DB Provider for your database. Click the Next button to display the Connection tab, or click on the Connection tab.
Select the database to which you want to connect in the Select or enter a database name field by clicking the
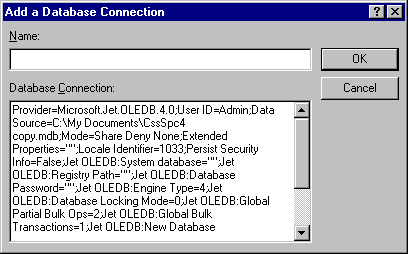
![]() button. Then, click the Test Connection button to test your connection to the database. After the test connection has succeeded, click the OK button on the Data Link Properties dialog to display the
Add a Database Connection dialog.
button. Then, click the Test Connection button to test your connection to the database. After the test connection has succeeded, click the OK button on the Data Link Properties dialog to display the
Add a Database Connection dialog.
On the Add a Database Connection dialog, enter a name for your OLE DB connection in the Name field and click the OK button. Your new database connection is now listed in the Database Connection dialog. Select the connection that you just created and click the OK button.
At this point, STATISTICA Query will be available for you to create your query. Use the Tree pane on the left side of the STATISTICA Query window to expand the tables and view their fields (to do this, either double-click on the table names or click the plus sign next to them). Double-click the desired fields to select those fields for your query (the fields are then selected and displayed in the Graphic pane on the right side of the window).
You can then use the various menu commands and/or the
Text Mode to further customize your query. When you are finished specifying your query, select
Return Data to STATISTICA from the File menu or click the
![]() toolbar button to display the
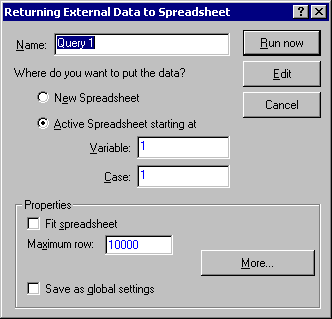
Returning External Data to Spreadsheet dialog.
toolbar button to display the
Returning External Data to Spreadsheet dialog.
On the Returning External Data to Spreadsheet dialog, you can name the query. You can also send the query to a new spreadsheet or to the active spreadsheet by selecting the desired option button. Click the OK button and the data the query returns will be available on the specified spreadsheet.


